Sausage and Apple Handpies

Can I just say again how frustrating Martha’s search engine is on her website? Why doesn’t it work? Aaargh.

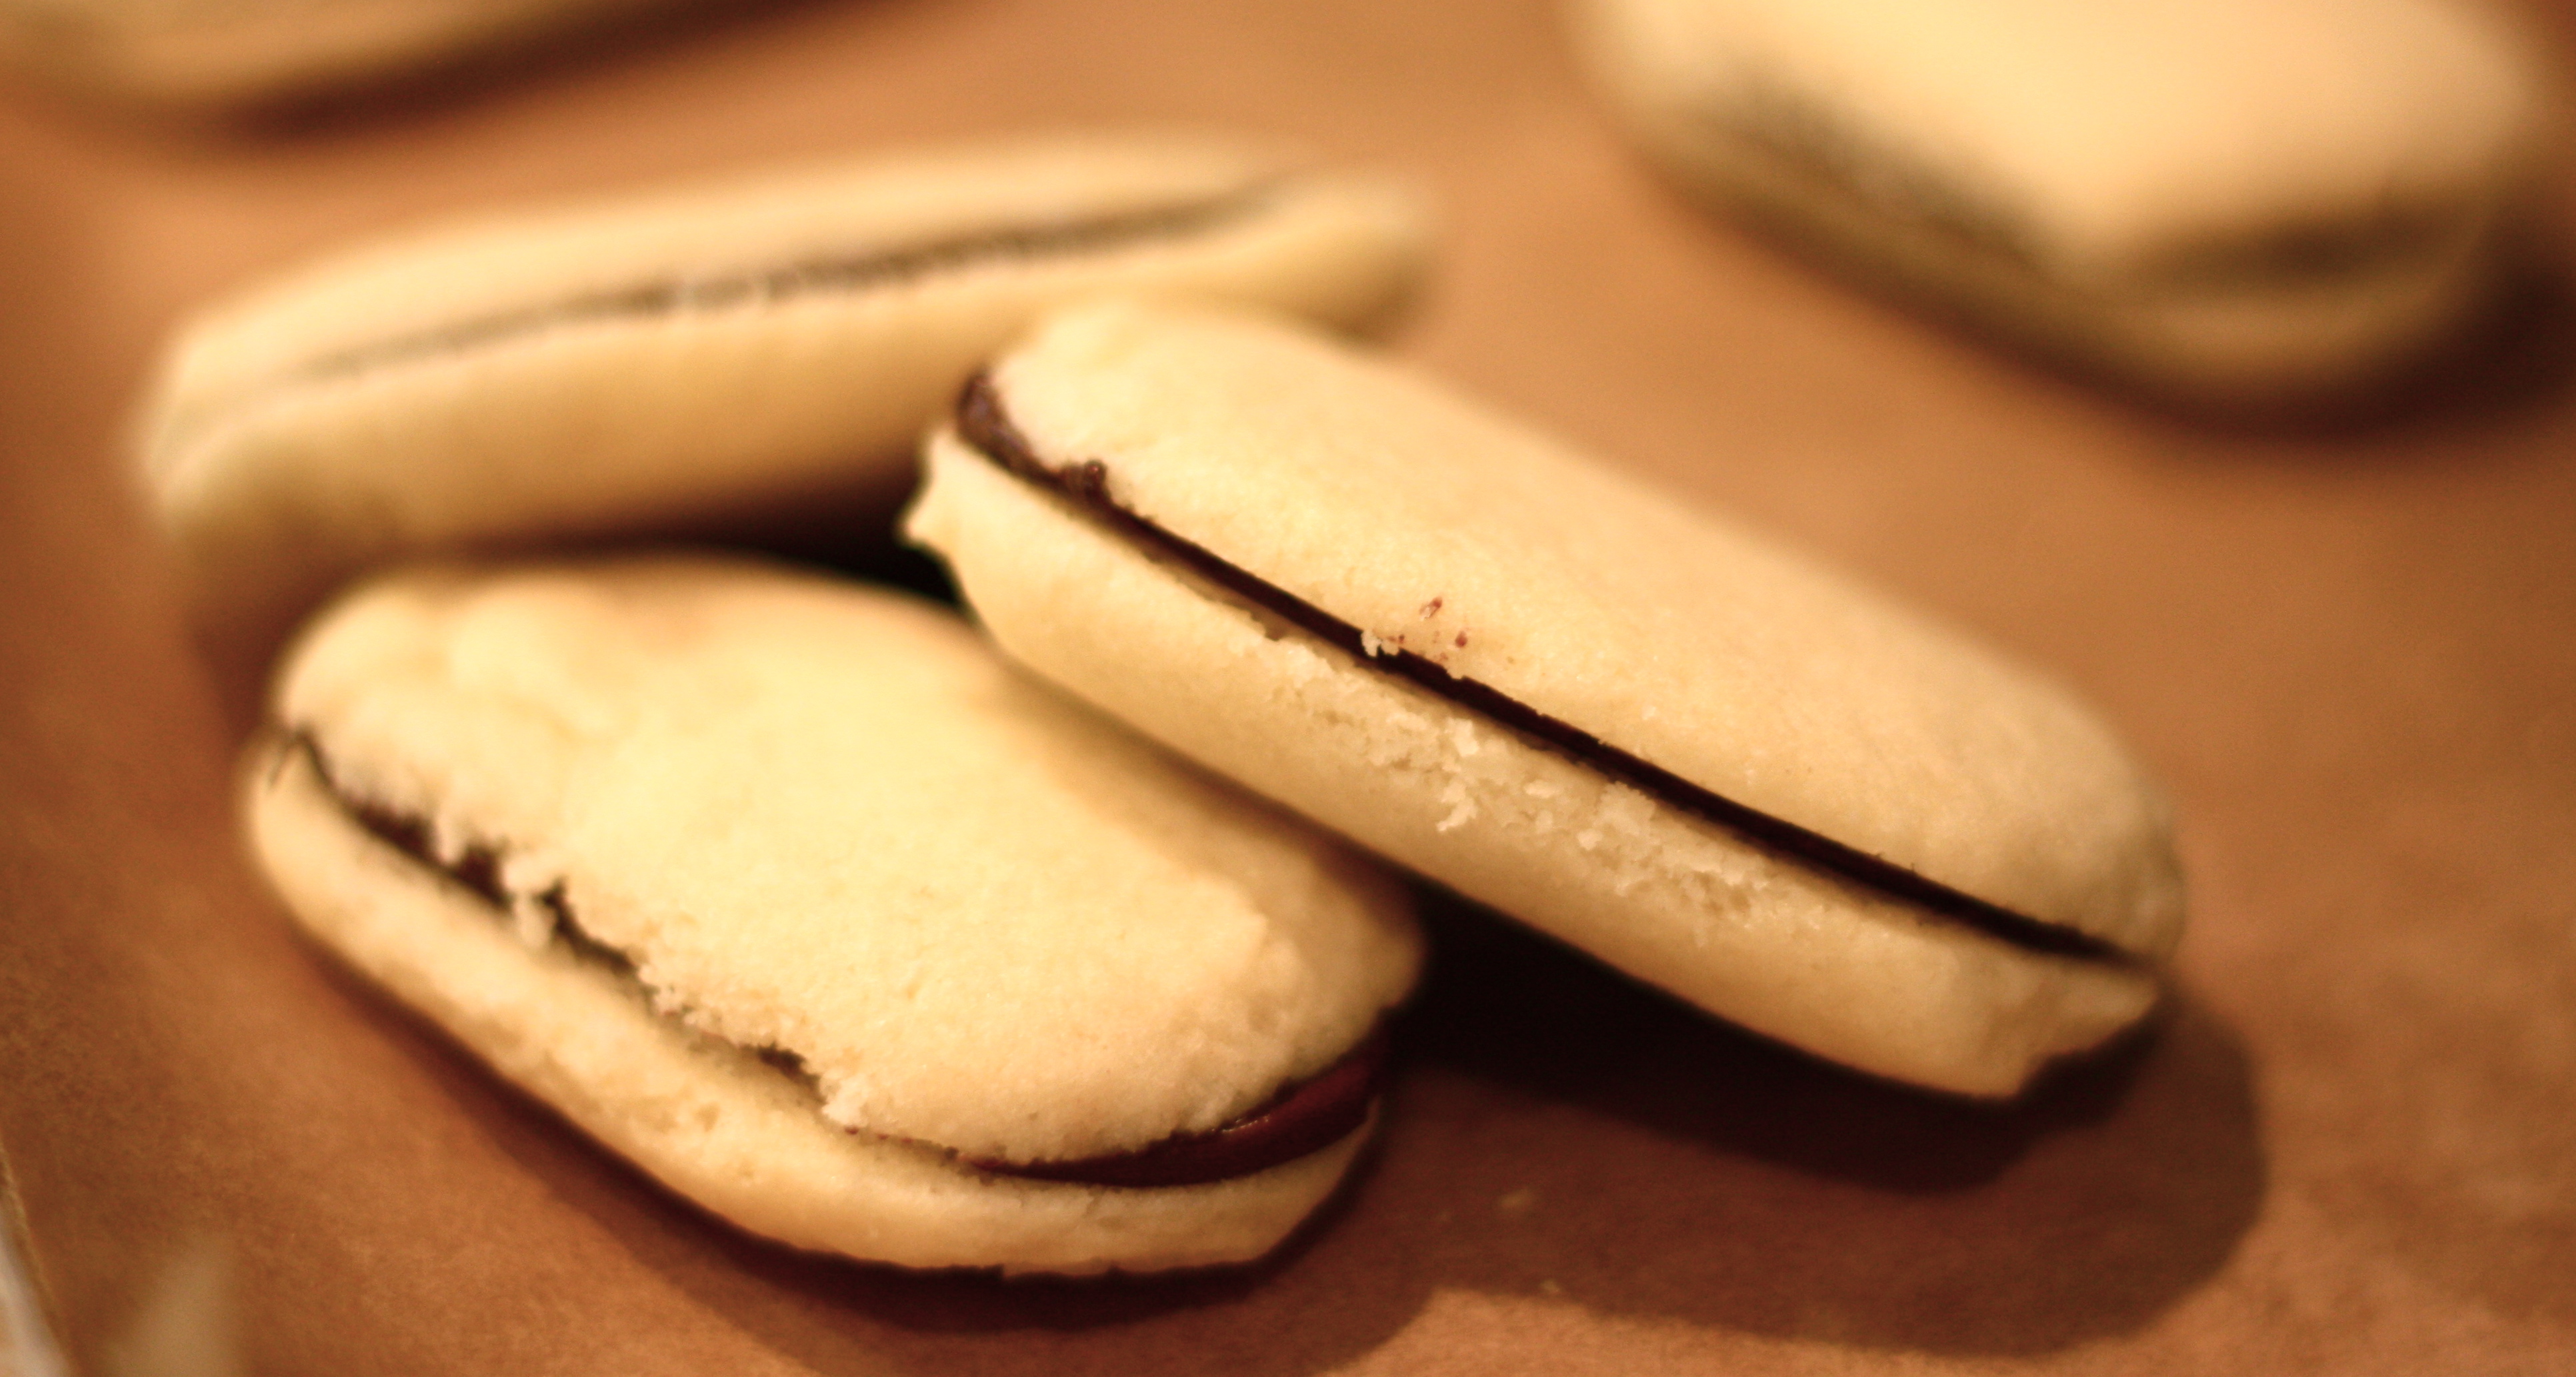
So, I tried this recipe last year from Martha’s Halloween Issue, and I love it. I already made it this year for Halloween, but I’m posting it now because I can see it as a terrific appetizer for Thanksgiving (jeff!). It’s a bit of work, so if you have many Thanksgiving assignments besides this one, I wouldn’t recommend tackling it (especially not on Thursday), but they do freeze well if you have time in advance. And they are extremely nice–a great, delicate buttery crust, and a bit of a thick, savory filling. Together. Yum.

Sausage and Apple Handpies

1 lb. sweet Italian sausage, casings removed
1 large onion, diced (1 1/2 c.)
1 t. minced fresh thyme leaves
1/4 t. fresh ground pepper
1 T. vegetable oil
1 T. + 1 t. all-purpose flour, plus more for dusting
3/4 c. chicken stock
1 medium granny apple, peeled and cut into 1/2″ cubes
Pate Brisee (recipe follows)
1 large egg, lightly beaten

1. In a large skillet over medium-high heat, cook sausage, breaking it up with a spoon, until no longer pink, about 5 minutes. With a slotted spoon, transfer sausage to a plat. Reduce heat to medium, add onion, thyme, and pepper (if pan is dry, add th oil). Cook, stirring occasionally, until onion is translucent, about 5 minutes.

2. Add flour to pan; cook stirring, until thick, about 1 minutes. Stir in apples and reserved sausage. remove from heat, let mixture cool. (Filling can be refrigerated up to overnight in an airtight container.)

3. Preheat oven to 375. On a lightly floured surface, roll out one disk of dough into a 14″x16″ rectangle slightly less tan 1/8″ thick. Transfer to a baking sheet lined with parchment paper,; top with a second piece of parchment. Repeat with remaining dough disks, covering with parchment and stacking rolled dough. Refrigerate 15 minutes.

4. Using 3 3/4″ circle cutter (or bottom of a cup), cut rounds from sheets of dough. Place 2 T. filling in center of half of the round. Brush edges lightly with beaten egg. Top with remaining rounds, pressing edges with a fork to seal. With a small leaf-shaped cutter, cut shapes from scraps and adhere to pies with some of the beaten egg (alternatively, cut leaf shapes out of tops and add cutout slightly off-center to cover the open portion–this is a really nice presentation). Combine scraps and reroll. Cut rounds and repeat to fill and form more handpies. Place on parchment-lined baking sheets. Brush with egg. Refrigerate 15 minutes (this step is important if you want to see the fork tines. Alternately, you can pitch the edges with two fingers on one hand and your knuckle on the other–as you would a pie crust. I think this looks nicer).

5. Bake, rotating sheets halfway through, until golden brown, about 40 minutes. Serve warm or at room temperature. [You can also freeze the pies for 3 days–you don’t need to thaw, and they bake for the same amount of time.]

Pate Brisee
[This recipe is really remarkable. The dough turns out bakery=quality, but you need to be sure not to overknead or work it, so the flour doesn’t develop gluten and become tough. Last year, I used frozen butter and mixed the dough with my fingers, and the result was fantastic. This year, I used the cold butter, still mixing it with my fingers instead of a food processor, and it still worked fine–but the food processor is more fool=proof, I think].

5 c. all-purpose flour
2 t. salt
2 t. sugar
1 lb. (4 cubes) cold unsalted butter, cut into tablespoons (you can let out a small gasp–but remember, you yourself are not eating 1 lb. of butter! It’s divided up!)
3/4c.-1 c. ice water

Combine flour, salt and sugar in a food processor. Add butter and pulse just until pea-size chunks remain. With machine running, add water through the feed tube, and process just until dough starts to come together. Transfer mixture t a work surface and bring together to form a dough. Divide dough in thirds. Flatten each piece into a disk, then wrap in plastic and refrigerate at least 1 hour (or up to overnight).

Thin-Cut Pork Chops with Rosemary-Balsamic Glazed Shallots

This is another really great recipe that has come from my experiments with fast-cooking these last few weeks. It’s from Emeril’s 20-40-60 Fresh Food Fast. It also goes back to the library tomorrow.

Pork Chops with Rosemary-Balsamic Glazed Shallots

4 6-oz. center-cut pork chops
2 t. kosher salt
1 t. white pepper (I used black)
2 T. Wondra Flour (I used all-purpose)
3 T. olive oil
1 T. unsalted butter
1 c. thinly sliced shallots
1 t. minced garlic
1/2 t. chopped fresh rosemary
1/2 c. balsamic vinegar
1 1/2 c. chicken stock

1. Season the pork chops on both sides with salt and pepper. Dust each pork chop lightly with the flour and set aside.

2. Set a 12″ cast-iron skillet over medium-high heat, and add the olive oil and butter. When it is hot, place the pork chops in the skillet and sear for 2 minutes per side. Remove the chops from the skillet and set them aside. Add the shallots to the skillet and cook, stirring often, until lightly caramelized, about 2 minutes. Add the garlic and rosemary and cook until fragrant, about 30 seconds.

3. Add the balsamic vinegar and deglaze the skillet. When the vinegar has nearly evaporated (about  1/2 minutes), add the chicken stock. Increase the heat to high, and return the pork chops to the skillet. Baste the pork chops with the stock and cook until the liquid has reduced to a sauce consistency 6-8 minutes.

4. Remove from heat and serve. (I completed the meal with polenta and roasted acorn squash.)

Skillet Tamale Pie

This is a recipe Rex loved from the Best’s 30-minute meals. I’m cataloging it because I have to take the book back to the library tomorrow.

Skillet Tamale Pie

2 T. vegetable oil
1 onion, minced
2 T. chili powder
2 garlic cloves, minced
1 lb. 90% lean ground beef
1 (15 oz.) can black beans, drained
1 (14.5 oz.) can diced tomatoes, drained
1 (6-8 oz.) package cornbread mix (or homemade)
1 c. shredded cheddar cheese
2 T. minced cilantro

1 . Heat oven to 450.

2. Heat oil in a 12″ skillet over medium and saute onion, chili powder, 1/2 t. salt and cook until onion is softened, about 5 minutes. Stir in garlic and cook until gragrant, about 30 seconds.

3. Make filling” stir in ground beef, beans, tomatoes, and bring to simmer, breaking meat with a spoon.

4. Make topping batter either to package instructions or homemade recipe below.

5. Stir in cheddar and cilantro into filling and seaons with salt and pepper. Dollop corbread batter over filling and spread evenly.

6. Bake 10-15 minutes and serve.

Homemade cornbread topping:

3/4 c. all-purpose flour
3/4 c. cornmeal
3 T. sugar
3/4 t. baking powder
1/4 t. baking soda
3/4 t. salt
3/4 c. buttermilk
1 large egg
3 T. butter, melted and cooled

Whisk dry ingredients together. In separate bowl, whisk buttermilk and egg together. Stir buttermilk mixture into flour mixture until uniform, then add butter until combined. Proceed in recipe above.

Apple Pecan Kuchen

A friend of mine came over on Halloween and we had an Autumn cooking party.  We made butternut squash soup,Tennessee pumpkin bread, apple pockets and Apple Pecan Kuchen.  This recipe is from the Apple Lovers Cookbook, which I bought at an orchard shop after apple picking one year because I LOVE apples.  So, basically, this cookbook was made for me.

This would be a perfect Thanksgiving dessert.  It is very rich and tastes kind of like a blend of apple and pecan pies, with a little cake thrown in.

Apple Pecan Kuchen

3/4 C. sugar
1/4 C. butter
1 egg, slightly beaten
1/2 C. milk
1 1/2 C. flour
2 t. baking powder
1/2 t. salt
1/2 t. cinnamon
1/8 t. ground nutmeg
1/8 t. ground cloves

1/2 C. brown sugar, firmly packed
2 T. flour
1 t. cinnamon
2 T. melted butter
2 C. peeled, sliced apples

3 T. butter
4 T. honey
3/4 C. chopped pecans

Cream together sugar and shortening.  Add egg and mix well.  Stir in milk.  Sift together flour, baking powder, salt, cinnamon, nutmeg and cloves.  Stir dry ingredients into creamed mixture until smooth.  Spread half of the batter in a greased 9″ square baking dish.

Mix together brown sugar, 2 T. flour, 1 t. cinnamon and 2 T. melted butter.  Sprinkle over batter; then arrange sliced apples over crumbs.  Cover with remaining batter.

Mix together 3 T. butter, honey and pecans.  Sprinkle over top layer.

Bake in oven at 375, 30-35 minutes or until golden brown.  Technically makes 9 servings, but is so rich, you can probably get 12-18 servings.

Tomato Basil Bisque

I have been searching unsuccessfully for over a year for a really good tomato soup recipe. Today I finally found it on one of the food blogs I frequent (melskitchencafe.com). This soup was divine.  Creamy.  Well seasoned.  Beautiful color. And, it made enough for me to have more tomorrow.  Perfect.

Don’t be fooled by the title though.  Shellfish do not make an appearance in this “bisque.”  I didn’t know until today that a bisque could also mean a creamy soup made from roasted vegetables. In this case, the roasted vegetable is butternut squash (one of my fall favorites but, alas, not my kiddies – their loss).

Enjoy!

Tomato Basil Bisque

1 medium butternut squash (for about 1 1/2 cups cooked squash)

1 T butter or olive oil

1/4 cup finely diced onion

3 cloves garlic, finely minced

1 can (14.5 0z) Italian-style stewed tomatoes (I used a can of regular diced plus 1 tsp Italian seasoning)

1 cup chicken stock

1 tsp salt

1 T sugar

1 tsp dried basil

1 cup heavy cream or half-and-half

Preheat oven to 350 degrees. Prepare the butternut squash by cutting it in half, lengthwise, so you have two long pieces. Scoop out the seeds and pulp.  Place both sides cut-side down in a 9×13 pan. Add enough water to come about 1/4″ up the sides of the squash.  Cover with foil and bake for about an hour.  Test with a fork to make sure the squash is very tender in several places.  If the flesh doesn’t easily give to the pressure of the fork, continue baking in ten minute increments until tender. Remove the squash from the pan and let cool for about 15 minutes.  Scoop out the flesh.  If preparing the day before, scoop out the flesh and place it in a tupperware.  Let cool completely before refrigerating.  If using the squash immediately, scoop the squash into a blender.

While the squash is cooking, melt the butter and saute the onion until soft and translucent.  Add the minced garlic and cook, stirring constantly, until fragrant (30 seconds).  Scoop the onion/garlic mixture into the blender with the squash.

Add the canned tomatoes (undrained) to the blender.  Process until smooth.  I had to add about 1/2 of the chicken stock to the blender to thin it out enough to process. Pour the blended mixture into a saucepan and add the remaining chicken stock, salt, sugar, basil and cream.  Stir to combine well.  Heat over medium low until the soup is warm. Don’t boil or simmer – the cream will curdle.  Serve immediately.

Homemade Mint Milano Cookies

Mint Milano 2So, Martha published this recipe in September’s Everyday Food, and it’s delightful. Not only are Pepperidge Farm’s Mint Milano cookies a favorite around here, it’s just fantastic to make 20+ of them at a time (I’m sure you could freeze the extras if this doesn’t excite you). I’ve made them twice now, and they’ve all disappeared within 2 hours, even with doubling the recipe.

A tip: I had better results not chilling the dough before piping them (I wanted them to look flatter, like Pepperidge Farms’, and chilling them made mine too stiff; they didn’t spread at all), and I flattened them slightly with the back of a spatula before baking.  I also just added 1/2 t. peppermint extract to the chocolate, rather than making the icing. This worked a lot better: the cookies set up easier, the taste was just as great,  and I forewent a little unnecessary sugar.

Homemade Mint Milano Cookies

  • 1 1/4 cups all-purpose flour (spooned and leveled)
  • 1/2 teaspoon coarse salt [I used table]
  • 1/2 cup (1 stick) unsalted butter, room temperature
  • 2/3 cup granulated sugar
  • 1 teaspoon pure vanilla extract
  • 1 large egg
  • 4 ounces semisweet chocolate, coarsely chopped
  • 3/4 cup confectioners’ sugar
  • 1/4 teaspoon pure peppermint extract
  1. Preheat oven to 325 degrees, with racks in upper and lower thirds. In a small bowl, whisk together flour and salt. In a medium bowl, using an electric mixer, beat butter and granulated sugar on high, scraping down bowl as needed, until light and fluffy, 4 minutes. Add vanilla and beat to combine. Add egg and beat to combine. With mixer on low, gradually add flour mixture and beat just until combined. Transfer dough to a quart-size zip-top bag; with scissors, snip a 3/4-inch hole in one corner (or use a pastry bag with a plain tip). Pipe 54 cookies (3/4 by 2 inches), 1/2 inch apart, onto two parchment-lined baking sheets. Chill until firm, 20 minutes.
  2. Bake until cookies are light golden at edges, about 15 minutes, rotating sheets halfway through. Transfer immediately to wire racks and let cool.
  3. Place chocolate in a medium heatproof bowl set over (not in) a saucepan of simmering water. Stir until melted, 2 minutes. Remove bowl from pan. (Alternatively, melt chocolate in microwave at 30 second intervals.) In another medium bowl, whisk together confectioners’ sugar, peppermint extract, and 4 teaspoons water [I didn’t do this–I just added the extract to the chocolate–I recommend!]. With a small offset spatula or table knife, spread chocolate on flat side of half the cookies and mint glaze on the other half. Sandwich cookie halves together.

Martha’s Hint on piping the cookies: Twist and squeeze the bag so that the batter is in one corner. Snip an opening, then squeeze out excess air. To pipe, hold bag at an angle to sheet with one hand and apply pressure from top with the other.


Stir-Fried Shrimp and Snow Peas with Coconut Curry Sauce

With all the craziness of our new schedule, I have decided I needed to drastically cut down on dinner prep time, and so I checked out the Best Recipe’s 30-Minute Meals and have been trying a few out. This was by far my favorite from this last week. I thought it was great, so I’m thinking of making it again this week 🙂

Stir-Fried Shrimp and Snow Peas with Coconut Curry Sauce

This is the recipe--made with chicken, though


Coconut Curry Sauce
1 c. coconut milk
1 T. fish sauce
1-2 t. red curry paste
1 t. light brown sugar
1 t. cornstarch

Stir Fry
1 lb. 21/25 shrimp, peeled and deveined (or thinly sliced chicken breast or steak or cubed tofu)
2 t. soy sauce
2 T. vegetable oil
1 bell pepper, cored, seeded, and sliced (1 1/2 c.)
8 oz. snow peas, strings removed
1 c. bean sprouts
3 garlic cloves, minced
1 T. grated fresh ginger

1. Prepare Sauce and stir-fry shrimp (or meat): Prepare sauce and set aside. Toss shrimp with soy sauce. Heat 2 t. of oil in 12″ nonstick skillet over high heat until just smoking. Add shrimp and cook, stirring occasionally and breaking up clumps, until curled and lightly browned, about 1 1/2 minutes. Transfer shrimp to clean bowl.

2. Stir-fry vegetables: Add 1 more tablespoon of oil to pan and return to high heat until shimmering. Add bell pepper and cook, stirring occasionally, until crisp-tender, about 2 minutes. Stir in snow peas and bean sprouts and cook for 1 minute.

3. Combine and simmer: clear center of pan and add remaining 1 t. oil, garlic, and ginger. Cook, mashing garlic mixture into pan with back of spatula until fragrant, about 30 seconds. Stir in cooked shrimp. Whisk sauce to recombine, add to pan, and bring to simmer. Cook until sauce thickens, 1-2 minutes. Serve immediately. [I served just with rice, and left some of the chicken and snow peas out of the sauce, to be sure my kids would eat it–was great!]

Pumpkin knots

Hurrah for fall and pumpkin recipes!  This one is a new recipe for me but it turned out very well and was fairly easy to pull together.  The rolls are soft and fluffy with just a hint of pumpkin flavor.  Give them a try and let me know what you think.

2 T instant dry yeast

1 cup warm milk (between 110-115)

1/3 cup butter, softened (I used extra virgin olive oil)

1/2 cup sugar

1 cup pumpkin puree

2 eggs

1 1/2 tsp salt

5 1/2 to 6 cups flour ( I used 1/2 whole wheat with success)

1 T cold water

1 egg white

In a bowl, dissolve yeast in warm milk. Add the butter, sugar, pumpkin, 2 eggs, salt, and 3 cups flour.  Beat until smooth. Stir in enough remaining flour to form a soft dough.  Turn onto a lightly floured surface; knead until smooth and elastic, 8 minutes (I did this in my Bosch).  Place in a greased bowl, turning once to grease the top.  Cover and let rise in a warm place until doubled, about 1 hour.

Punch dough down.  Turn onto a lightly floured surface; divide in half.  Shape each portion into 12 balls.  Roll each ball into a 10 inch rope; tie into a knot and tuck ends under.  PLace 2 inches apart on greased baking sheets. Cover and let rise until doubled, about 30 minutes.

In a small bowl, beat water and egg white.  Brush over rolls.  Sprinkle with sesame or poppy seeds if desired.  Bake at 350 for 15-17 minutes or until golden brow.  Remove from pans and cool on wore racks. Yield: 2 dozen

Butternut Squash Soup

After a few unseasonably warm days this week, I was thrilled when the weather people told us it was only going to be in the 60’s today. We had some friends over for dinner and I had 2 butternut squash on hand. Perfect for some Autumn soup! This is a mishmash of a few different recipes and tasted great, if I do say so myself.

Butternut Squash Soup

1-2 butternut squash (about 4 lbs total weight)
3 T. butter
1 medium onion, diced
2 cloves garlic, minced
6 C. broth (I used homemade turkey stock I had tucked away in the freezer)
3-4 t. nutmeg
2 t. kosher salt
1 C. milk

In stockpot or dutch oven, saute onions and garlic in butter until onions are clear. Meanwhile, peel, seed and dice squash. Or, do what I did, which is poke holes all over the squash and microwave for 10-15 minutes. Cut in half, scoop out seeds, and scoop the now-mushy squash into the stockpot.

Add broth, nutmeg and salt and simmer on medium for about an hour (or if you added raw squash, until the squash is soft enough to be mashed). Remove from heat and blend either in sections in a regular blender, or in the pot with an immersion blender. (I got to use my newish immersion blender!)

Prior to serving, whisk the milk into the soup. I used 1%, though I think it would have been better with whole milk.  Or even cream.  Yum!

Dark Chocolate Zucchini Cupcakes (or Muffins)

For anyone else who might be searching for new ways of using zucchini, I really, really like this recipe, and my kids have no idea that zucchini is in it–a definite plus. This recipe was originally published in Everyday Food as “Ian’s Sweet Zucchini Cupcakes” (May 2007), but I’ve changed it a bit (added the chocolate and the milk), because of a memory I had of a chocolate zucchini bread that I loved. If you want to go without the chocolate, just omit the milk as well, and you’ll have the original. Note: I used dutched cocoa, but if you only have baking cocoa like Hershey’s, I would love to hear if the recipe would still work as well–I imagine it would. Also, you can leave these cupcakes unfrosted to be more like a muffin, or you can insert the cream cheese frosting into the middle of the cupcake for a really fun surprise, or spread on top, and sprinkle with cinnamon. Also, as far as I can tell, muffins usually have one less egg than cupcakes, and sometimes a little less sugar. I think these could count as muffins as they are, but if you want them to be denser, omit one egg.

Dark Chocolate Zucchini Cupcakes (or Muffins)

I thought these to be pretty little things, even without frosting

1 1/2 c. flour
1 c. packed dark brown sugar
1/3 c. dutched cocoa
2 t. baking powder
1/2 t. ground cinnamon
1/2 t. salt
1/2 c. coarsely chopped pecans
1 zucchini (10 oz.), grated (1 1/2 c.)
1/3 c. vegetable oil
2 large eggs, lightly beaten
2 1/2 T. milk
1/2 t. pure vanilla
Cream Cheese Frosting (optional)

1. Preheat oven to 375. Line cups of a standard muffin tin with a paper or foil liners. Set aside.

2. In a medium bowl, mix together flour, brown sugar, baking powder, cinnamon, cocoa, and salt. Mix in nuts.

3. In another bowl, combine zucchini, oil, eggs, milk, and vanilla,; add to flour mixture, and mix just until combined.

4. Divide batter evenly among cups. Bake until a toothpick inserted in the center of a cupcake comes out clean, 30-35 minutes.

5. Cool in tin on a wire rack for 10 minute; turn cupcakes out, right side up, and cool completely. Meanwhile, make Cream Cheese Frosting (if using–see below). Using an offset spatula or butter knife, spread frosting on cupcakes. The frosted cupcakes are best eaten within 1 day.

Cream Cheese Frosting
In a medium, with an electric mixer, beat 4 T. room-temperature butter with 4 oz. cream cheese until smooth. Add 2 c. powdered sugar and 1/2 t. vanilla. Beat until light and fluffy.