Pumpkin Ginger Braid Bread

Ginger Pumpkin Bread
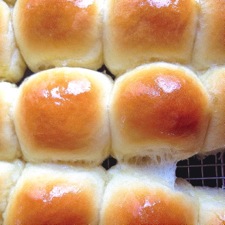
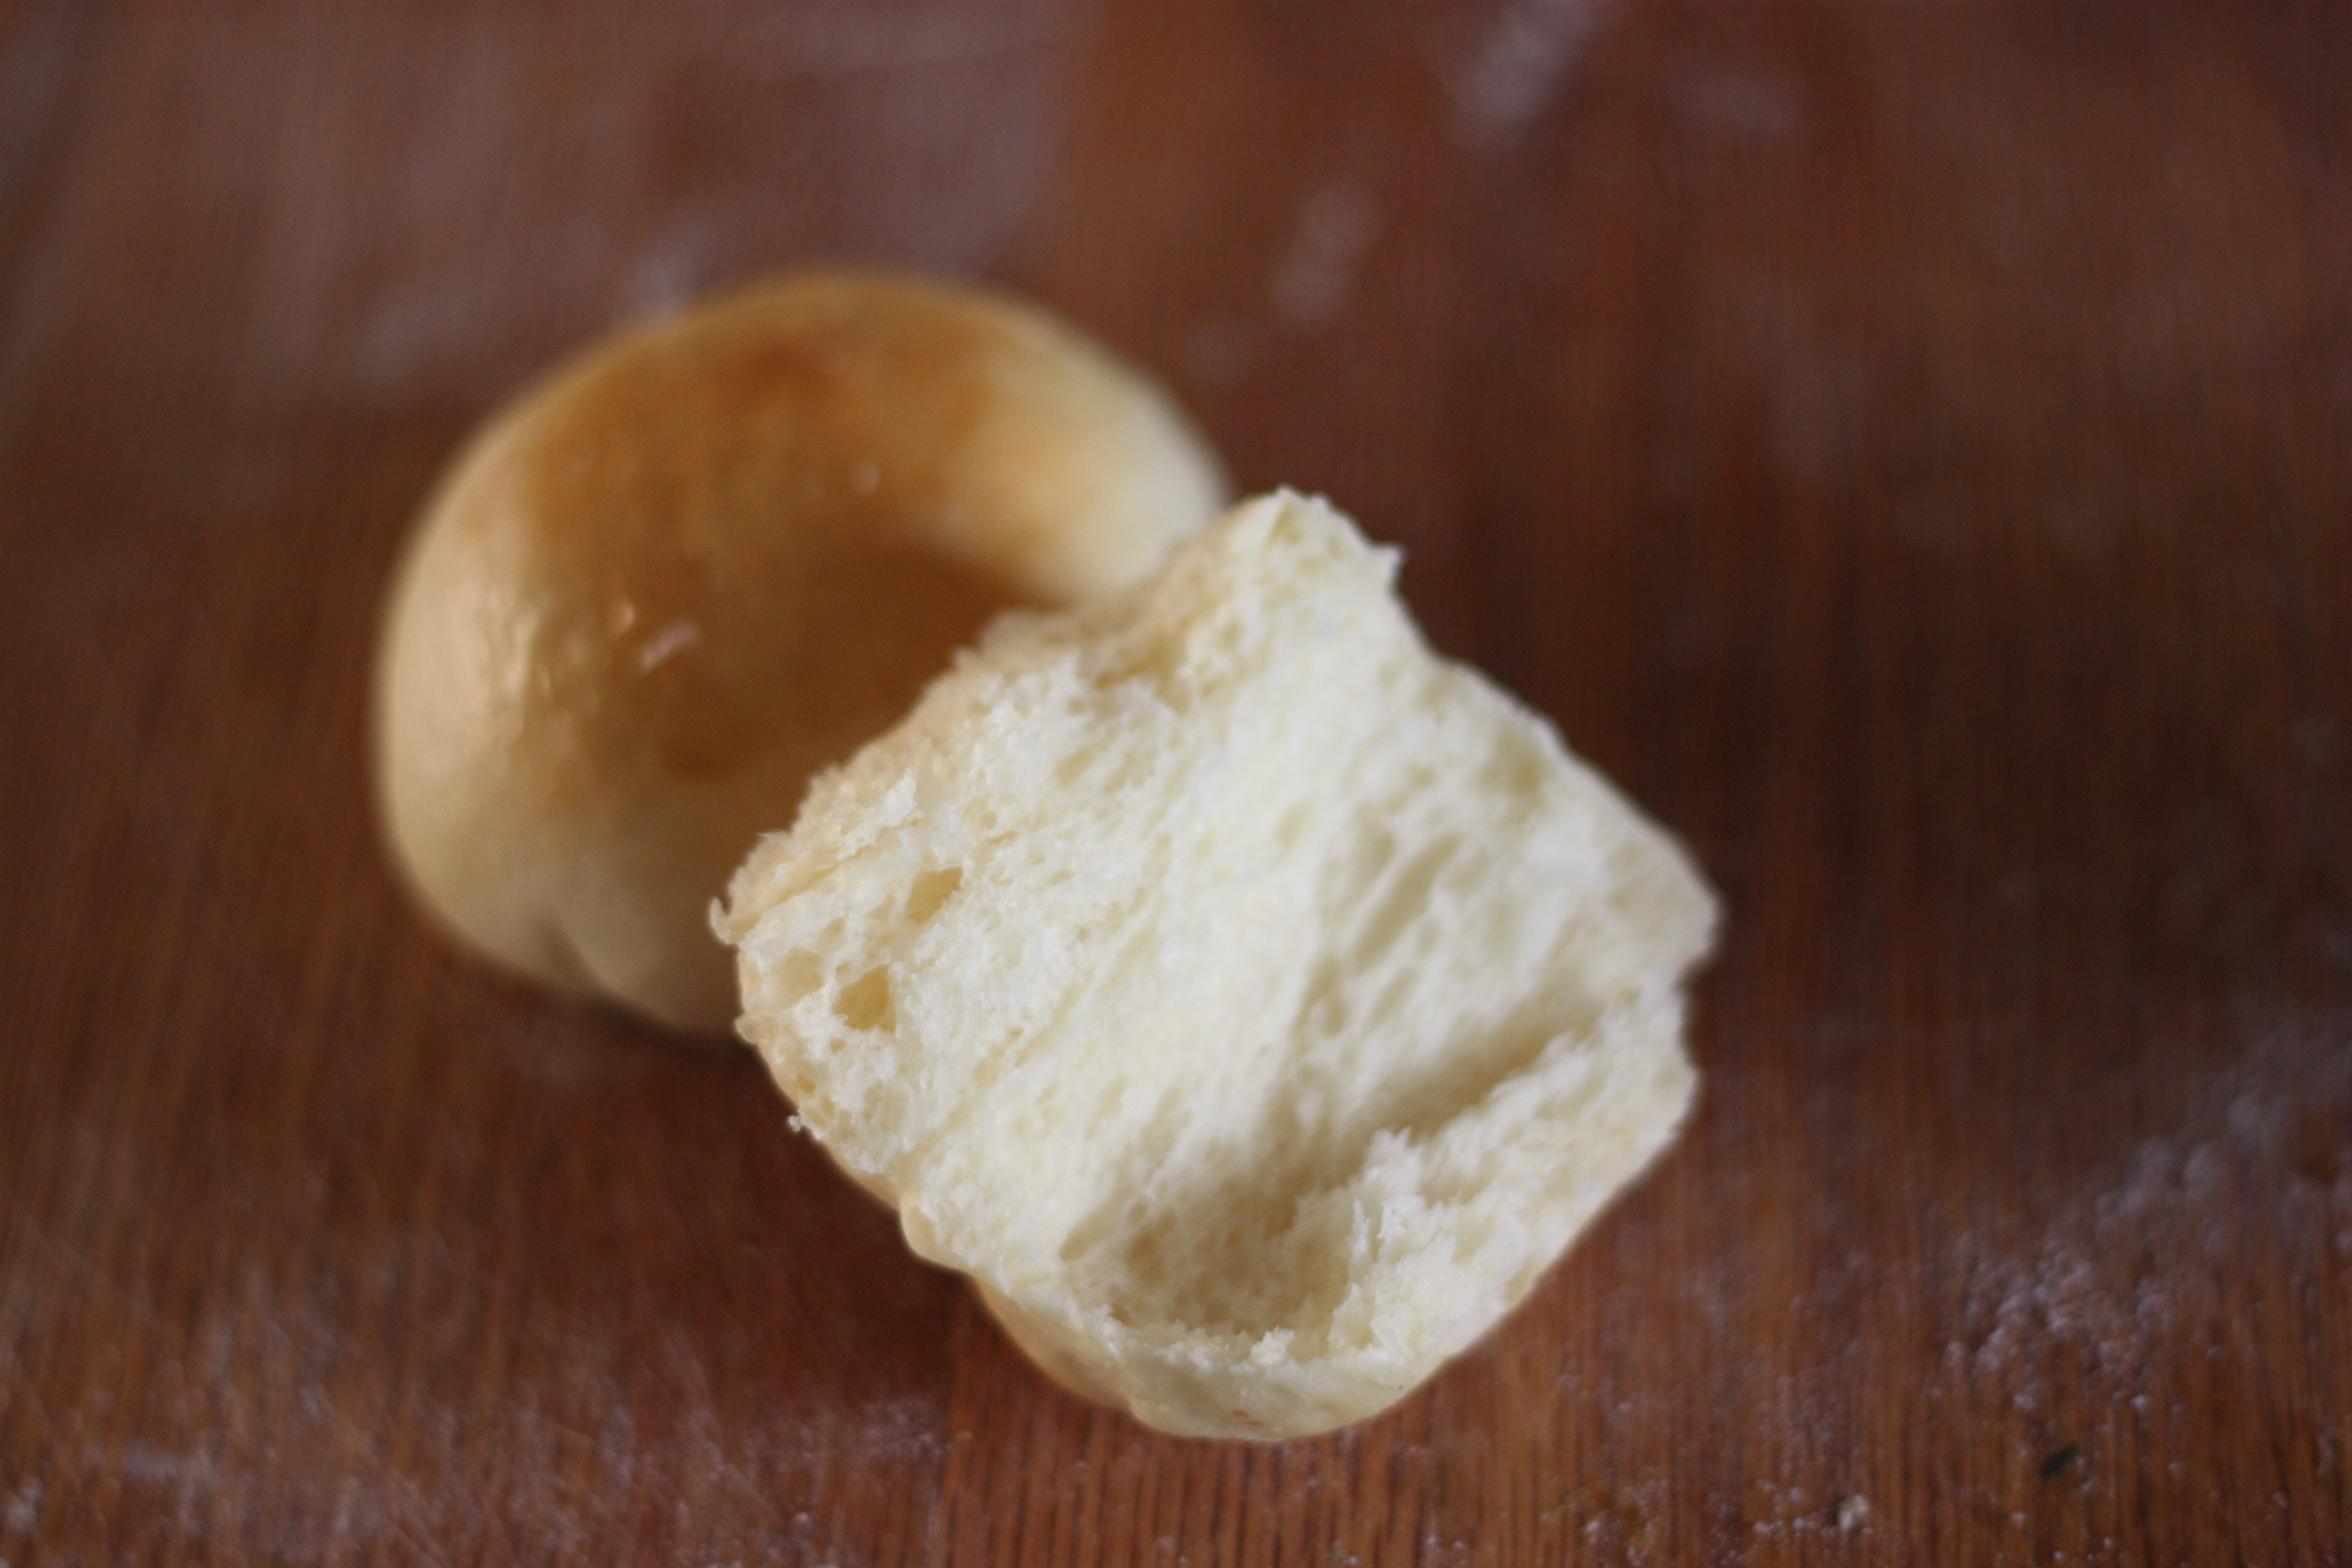
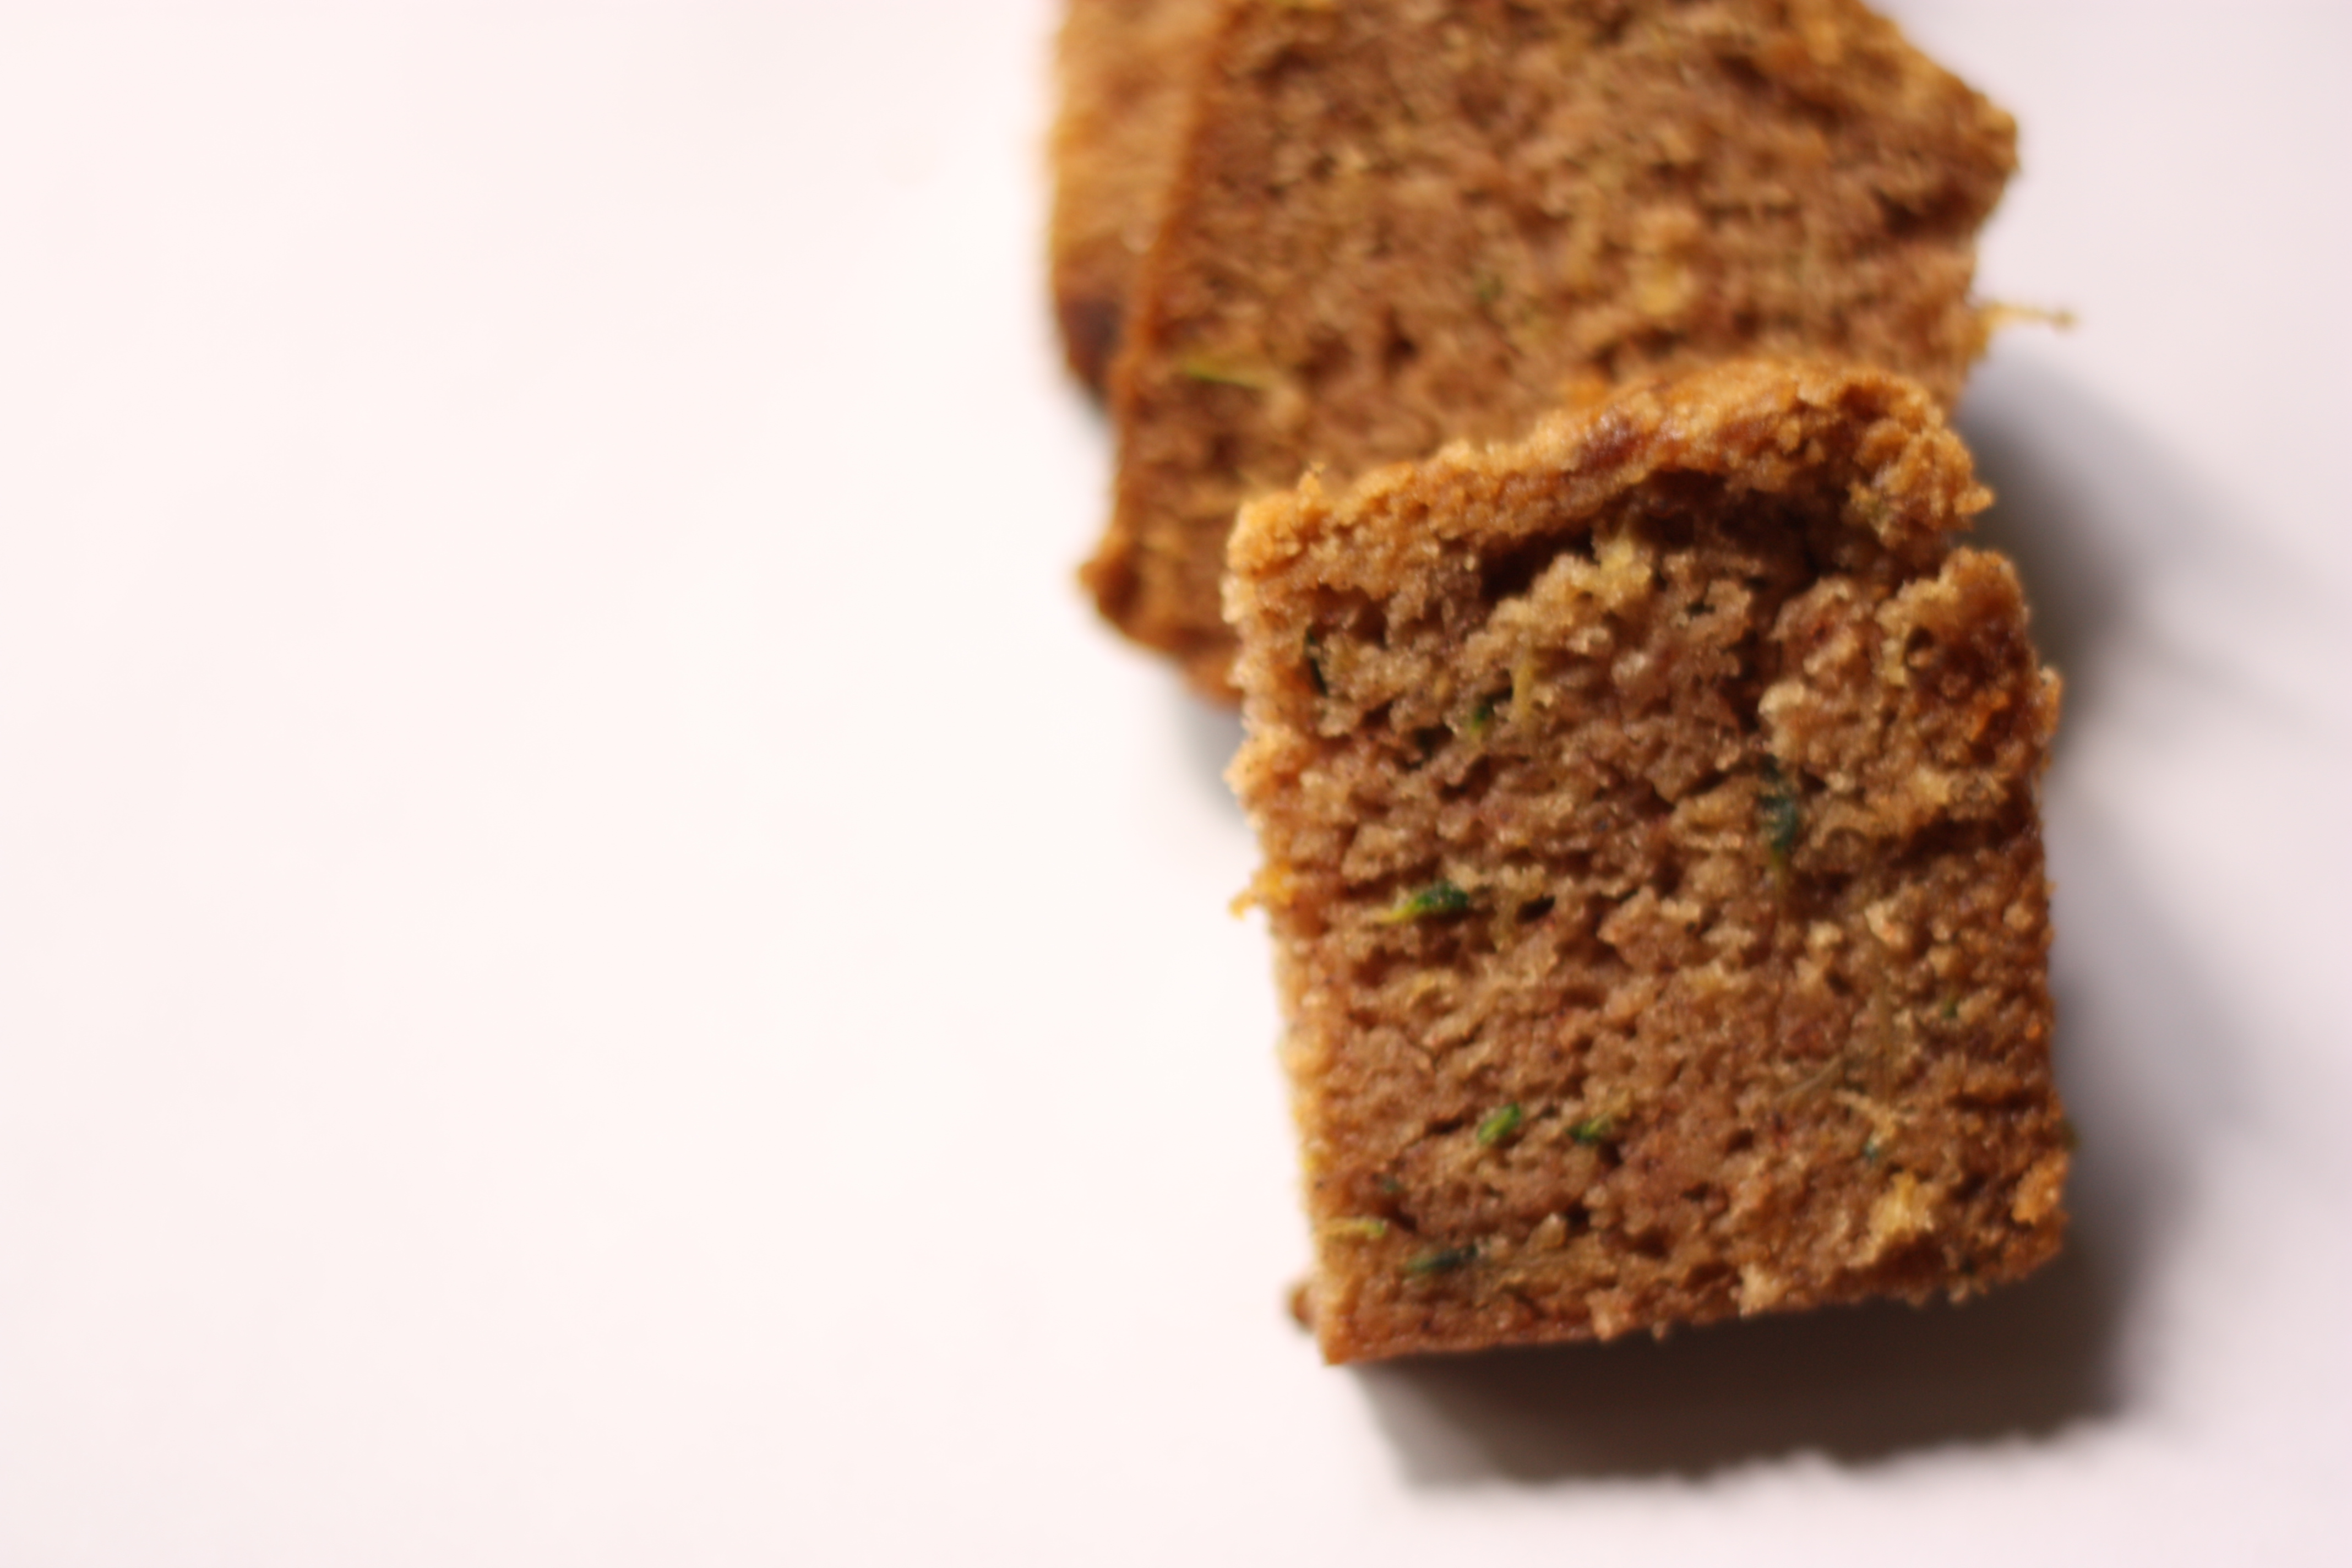
This bread isn’t nearly as sweet as I thought it was going to be, which actually made me like it better than I thought I would. I was expecting a yeasted version of the traditional pumpkin quick bread, but this loaf was quite different. The texture is light, and the bits of ginger are a surprise–I thought they might cause my kids to not eat it, but they didn’t seem to mind (or maybe didn’t notice?). I really liked this bread, and see it taking a nice role in my fall inventory of great bread for toast, french toast, and afternoon snacks. It might also make an interesting Thanksgiving Day roll! I got the recipe from a King Arthur Flour Magazine (you can also find it on their website). 

Pumpkin Ginger Braid Bread

4 1/2 c. King Arthur Unbleached Special Bread Flour
1 t. cinnamon
1 t. ground ginger
1/4 t. ground cloves (optional)
1/3 c. sugar
1/3 c. diced candied ginger
1 1/2 t. salt
1 t. instant yeast
1 3/4 c. pumpkin
2 eggs
1/4 c. (1/2 stick) butter, melted
1/2 c. raisins (optional)

In a large mixing bowl, combine the flour, spices, sugar, ginger, salt and yeast, mixing till everything is well-distributed. In a separate bowl, stir together the pumpkin, eggs and melted butter till well-combined. Add the wet ingredients to the dry ingredients, stirring until the dough begins to come away from the sides of the bowl. Knead the dough with an electric mixer for 2 minutes; allow it to rest for 15 minutes, then continue kneading it for an additional 5 to 7 minutes, or until it’s smooth. Add the raisins, and continue kneading just until they’re incorporated.

If you’re kneading by hand, transfer the dough to a lightly oiled work surface; knead it for 3 minutes, allow it to rest for 15 minutes, then continue kneading till smooth, an additional 8 to 10 minutes. Add more flour sparingly, and only if the dough is absolutely impossible to work with by hand. Knead in the raisins right at the end.

Transfer the dough to a lightly oiled bowl, cover the bowl with plastic wrap, and set it aside to rise for 1 to 1 1/2 hours; it should be just about doubled in bulk.

Turn the dough out onto a lightly greased surface, divide it in half then divide each half into three pieces. Roll each piece into a 10-inch log.

Working with three logs at a time, place them on a lightly greased or parchment-lined baking sheet. Braid them together; be sure to pinch the ends together well, and tuck them under. Repeat with the remaining logs. Set the braids aside, covered with lightly greased plastic wrap or an acrylic dough-rising cover, to rise for 1 hour; they should look puffy, though not necessarily doubled in bulk.

Bake the bread in a preheated 375°F oven for 25 to 30 minutes, until lightly browned and a cake tester inserted in the center comes out clean. Remove the braids from oven, and allow them to cool on a wire rack. Serve them warm or at room temperature. If any is left over after a few days, use bread to make bread pudding (recipe follows).Yield: two 10-inch braids.

The Thanksgiving Roll Round-up

I usually make 2-3 kinds of rolls for Thanksgiving dinner: a crusty roll, a dried fruit, slightly sweet roll, and a soft buttery dinner roll. If you need any ideas for your own baking, here are some really great rolls.

Chewy Italian NEW 2
Chewy Italian Rolls
A non-fat, start-the-night before, yummy bread, especially good for the end of meal plate cleaning 🙂

KAFs Photo!

KAFs Photo!

Golden Pull-Apart Buns
These rolls have a great light texture, but not nearly as much butter as many other rolls of the same character have. This roll is great!

Crescent Roll 1
Crescent Rolls
This is the best roll. Sooo delicious and the best crumb. It also rivals pies in terms of the amount of butter, but it’s definitely worth it!

I hope this picture gives an idea of the great texture this roll has

I hope this picture gives an idea of the great texture this roll has

BA Poppyseed Buttermilk Bun
I love that this roll is made with cream, not butter, so it seems faster to make up. Bakes beautifully, but, like the roll before, not really the lightest calorie option! I also left off the poppyseeds in this photo, but they are also a beautiful addition.

thumb
Crusty European Roll
Another great nonfat, crusty roll from King Arthur Flour (as is this picture), that you have to start the night before, but is a lovely addition to the sweeter, more bodied options!

My Favorite Zucchini Bread

Zucchini Bread

Maybe there’s nothing notable to mention about any zucchini bread recipe, but I don’t think that’s the case with this one. This recipe got us through a very prolific zucchini plant this season, and so I’m very grateful for it (my kids just weren’t into zucchini tempura, zucchini pancakes, slow-cooked zucchini, or any of the other many things I tried). The lemon in this recipes makes it unique, so many thanks to my friend Mark for sharing it! He adapted it from the Food Network, and I think I might have made it somewhere between 5-7 times this year. It’s that amazing, and we have that much zucchini. And the prep time is about 10 minutes. Makes it a winner in my book. 

My Favorite Zucchini Bread

3 1/4 c. all-purpose flour (I usually do 1 c. whole wheat, the rest all-purpose)
1 1/2 t. salt
1 t. ground nutmeg
2 t. baking soda
1 t. ground cinnamon
2 1/4 c. sugar (I’ve cut this down from the original 3 c.)
1 c. vegetable oil
4 eggs, beaten
1/3 c. water
2 c. grated zucchini
zest and juice from 1 lemon
1 cup chopped walnuts or pecans (or chocolate chips!)
Preheat the oven to 350 degrees F. Spray two standard bread pans with nonstick cooking spray.

In a large bowl, combine flour, salt, nutmeg, baking soda, and cinnamon. In a separate bowl, combine oil, sugar, eggs, water, lemon zest, and lemon juice. Mix wet ingredients into dry, then add the zucchini and nuts and fold just until all the ingredients come together. Divide the batter between the two standard bread pans, and bake for one hour, or until a tester comes out clean. (To make mini loaves instead, divide the batter into five mini loaf pans and bake for about 45 minutes.)

Yield: Makes 2 loaves.

Rustic Plum Cake

Rustic Plum CakeI’m surprised that my kids don’t just love eating plums. I love them, and I remember loving them when I was little, too. But, my kids don’t. So, I yesterday many, many Italian plums from a big basket I bought at the farmer’s market that were starting to wrinkle, and the only solution, of course, was to make them into a cake. This recipe I’m just a fan of–of course, the almond meal and almond extract make it delightful, and I love the color that the plums seep into the cake. Incidentally, I have also used non-Italian plums in this recipe. I adapted it (just a little!) from the 2009 America’s Test Kitchen Annual. 

Rustic Plum Cake

2 T. red currant jelly or seedless raspberry (I used a Cherry, Raspberry, Rhubarb jam)
1 lb prune plums halved and pitted (about 10-12)
3/4 c. sugar
1/3 c. almond meal (which you can now buy at Costco! Hooray!)
3/4 c. flour
1/2 t. baking powder
1/4 t. salt
6 T. butter, softened
1 egg
1 egg yolk
1 t. vanilla
1/4 t. almond extract

Melt jelly in a nonstick skillet over medium heat until just loosened and bubbling. Add the plums face down and cook until they shed juices and thick syrup is formed (about 5 minutes). Remove from heat and allow to cool while assembling the cake.

Grease and flour a 9″ springform pan. Preheat the oven to 350.

Mix almond meal and sugar until combined (in a food processor or by hand). Add flour, salt and baking powder and pulse or whisk to combine. Add the butter, and mix until batter resembles coarse sand (I usually do this by hand, also!). Finally add the eggs, vanilla, and almond extract and process until the mixture comes together, but the batter will be thick.

Spread the batter in a thin layer on the bottom of the pan. Arrange the plum halves skin side down on the surface of the batter.

Bake until cake is golden brown and wooden skewer comes out clean, about 40-50 min. Allow cake to cool in pan on wire rack for 30 min. Sprinkle with powdered sugar and serve.

Beef & Broccoli with Oyster Sauce

Beef and Broccoli
I always come to my blog thinking I have already posted this recipe, only to find that I never have, and that surprises me. So, tonight’s the night. This recipe is one of my favorite dinners. It’s the first one that comes to mind when I have broccoli on hand, and my husband and I always surprise ourselves by how much broccoli we can eat when we make it! I also have tried cheaper cuts of beef, but getting the flank steak makes all the difference–it just works perfectly. This makes one of the most perfect weeknight dinners we know. The recipe comes from The Best International Recipe from America’s Test Kitchen.

Beef & Broccoli with Oyster Sauce

1 T. rice cooking wine or dry sherry
2 T. low-sodium chicken broth
5 T. oyster sauce
2 T. light brown sugar
1 t. toasted sesame oil
1 t. cornstarch

2 t. soy sauce
2 t. Chinese rice cooking wine or dry sherry
1 1/2 lbs. flank steak, cut into 2-inch-wide strips with the grain, then sliced across the grain into 1/8-inch-thick slices
6 medium cloves garlic, pressed through garlic press or minced (about 2 tablespoons)
1-inch piece fresh ginger, minced (about 1 T.)
1 t. peanut oil or vegetable oil, plus extra for cooking
1 1/4 lbs. broccoli, cut into bite-sized pieces
1 red bell pepper, stemmed, seeded, and sliced into matchsticks
1/3 c. water
3 medium scallions, sliced 1/2-inch thick on diagonal, optional

In a liquid measure or small bowl, combine rice wine vinegar, chicken broth, oyster sauce, brown sugar, sesame oil, and cornstarch for the sauce. Set aside.

In a medium bowl, combine beef, soy sauce, and the 2 t. rice wine. Cover with plastic wrap and refrigerate at least 10 minutes or up to 1 hour.

In another small bowl, combine garlic, ginger, and 1 teaspoon peanut oil. Set aside.

Heat 1-2 teaspoons peanut oil in 12-inch nonstick skillet over medium-high heat until hot and rippling. Add half of beef to skillet and break up clumps; cook, without stirring, for 1 minute, then stir and cook until beef is browned around edges and cooked through, about 1-2 minutes. Don’t overcook the meat – cook until just barely cooked through so the meat stays tender. Transfer beef to a medium bowl and cover with a lid and tin foil. Heat another 1-2 teaspoons peanut oil in the skillet and repeat with remaining beef.

Add 1 tablespoon peanut oil to now-empty skillet; heat until rippling and hot. Add broccoli and cook 30 seconds; add water, cover pan, and lower heat to medium. Steam broccoli until tender-crisp, about 2 minutes. Remove the lid, add the bell pepper and continue to cook until the vegetables are crisp-tender, about 2 minutes.

Push the broccoli to the sides of the skillet and add the garlic/ginger mixture. Cook, mashing the mixture with a spoon, until fragrant, about 15-30 seconds. Stir the mixture into the vegetables. Add the beef back to skillet and toss to combine. Whisk the sauce to recombine and add to the skillet. Cook, stirring constantly, until sauce is thickened and evenly distributed, about 1-2 minutes. Transfer to a serving platter, sprinkle with scallions, and serve.

Parsley Butter for Preserving Parsley

Parsley ButterI was reading through a couple of magazines and books, and this idea struck me as a great way to preserve parsley. My potted parsley plant has done great this year, but I know if I don’t start clipping and storing it, I won’t have enough to last through winter. I’ve also found that freezing herbs preserves their flavor (in this case, especially) so much better than drying them. So, this is my way of keeping a stash of fresh parsley this winter–it will be great for topping salmon, squash, baked potatoes, steaks, or just a slice of bread! 

Parsley Butter for Preserving Parsley

1/2 c. butter, softened (either on the counter or briefly, like 12 seconds, in a microwave)
1/2 c. washed and blotted parsley, stems mostly removed, and chopped

Combine the two together in a medium and cream with a wooden spoon. When completely incorporated (this might take 3-5 minutes), shape into a log. Refrigerate  for 1 hour.

Remove the log from the fridge and slice into 1″ wide circles (see photo above). Place on a baking sheet lined with waxed or parchment paper and freeze 4 hours or overnight. Remove from the sheet and store in a airtight baggie or container.

White Chocolate + Citrus Cookies

Orange White Chocolate Chip Cookies
This is a yummy variation on the traditional chocolate chip cookie! I loved the citrus in it, and if you bake at high altitude, like I do, the texture of this cookie works well, and the cookie holds its shape (that’s a big plus!). So, here’s a thought for your next batch of cookies. I know I will be using this recipe many times–we just loved them! This recipe comes from Six Sister’s Stuff, but I’ve changed the name (they call it an orange dreamsicle cookie–the connection isn’t right for me, but there you have it:)

White Chocolate + Citrus Cookie

2 1/2 c. all purpose flour
3/4 t. baking soda
1/2 t. salt
1 c. (2 sticks) butter, softened
1/2 c. sugar
1/2 c. firmly packed brown sugar
1 large egg
1 t. vanilla extract
2 T. orange zest (for me that was the zest of 2 oranges)
2 c. white chocolate chips

Preheat oven to 375 degrees.
In a small bowl, combine flour, baking soda, and salt; set aside.
In a large bowl, cream butter and sugars until light and creamy. Beat in egg and vanilla until smooth. Gradually add flour mixture until combined. Stir in orange zest and white chocolate chips.
Drop rounded teaspoonfuls onto ungreased cookie sheets. Do not flatten cookies; it will make them dry. Bake 8 – 10 minutes or until golden brown around edges. Do not overcook! Cookies will be plump. Cool for several minutes on cookie sheets before transferring to rack to cool completely. Store in airtight container.

Homemade Ice Cream Cones

Homemade Cone 1
I’ve been wanting to try making my own cones with my pizzelle maker, and with the aid and excitement of a great friend, I finally gave it a go. Super fun! The cones were small, and I couldn’t quite get the bottom to close, so I had to dip them in chocolate (darnit!). But they were actually the perfect size for one scoop of ice cream, and I can’t wait to try them again, and even trying some different mix-ins, like perhaps lemon zest?  If you got lost at pizzelle maker, here’s a link to amazon‘s sampling of choices–they are great for Christmas cookies! I got this recipe from
The Perfect Scoop by David Lebovitz. 

Homemade Ice Cream Cones

  • 1/4 c. (60 ml) egg whites (about 2 large egg whites)
  • 7 T. (85 g) sugar
  • 1/2 t. vanilla extract
  • 1/8 t. salt
  • 2/3 c. (90 g) flour
  • 2 T. (30 g) unsalted butter, melted

Plug in and turn on your waffle cone or pizzelle maker.

In a small mixing bowl, stir together the egg whites, sugar, and vanilla. Stir in the salt and half of the flour, then mix in the melted butter. Beat in the rest of the flour until smooth.

If you want to bake these in an oven (it seems a little complicated to me), here’s the epicurious link. Otherwise, fill each mold in your cone or pizzelle maker with about 1 1/2 T. batter, and bake for about 1 minute. Remove cookie and immediately shape around your fingers or in a ramekin (for more of a seashell). You may want to use a tea towell or gloves ’cause these are hot!! Enjoy! I doubled the recipe and it yielded about 20 in a pizzelle maker.

Homemade Cone Hazel

My cute four-year-old loving it!

Some Variations:

For Sesame or Poppy Seed Ice Cream Cones, stir 3 tablespoons (35 g) toasted sesame or poppy seeds and a bit of grated lemon zest into the batter.

To make Chocolate Ice Cream Cones, increase the sugar to 1/2 cup (100 g), and use 6 tablespoons (60 g) flour and 3 tablespoons (21 g) unsweetened Dutch-process cocoa powder in place of the 2/3 cup (90 g) flour.

For Gingersnap Ice Cream Cones, add 1 tablespoon mild molasses and 1/4 teaspoon each ground cinnamon, ginger, and nutmeg to the batter. Increase the sugar to 1/2 cup (100 g).

For Honey-Cornmeal Ice Cream Cones, substitute 1 large egg and 1 egg white for the 1/4 cup (60 ml) egg whites. Melt 2 teaspoons of strongly flavored honey with the butter, and substitute 1/2 cup (70 g) of flour and 1/4 cup (35 g) of stone-ground cornmeal for the 2/3 cup (90 g) flour.

For Rosemary Ice Cream Cones, add 2 teaspoons finely chopped fresh rosemary to the Honey-Cornmeal Ice Cream Cone batter.
Homemade Cone 2

New Favorite Blueberry Muffins

Blueberry Doughnut MuffinsA new favorite! I make a lot of blueberry muffins, because I love them, and this recipe is incredibly delicious, I would even say perfect. It has a delicate crumb (unlike ATK with the sour cream) and a beautiful appearance, even at high altitude–which is a little hard to do! I made two dozen of these the other morning, and all of them were gone within ten minutes. So, there’s seven of us, and I was a slow enough eater that I only got one (read: I was actually breathing while I ate), and my ten-year old confessed to eating 7! Incredible. Anyway, they are great, and delicious, and perhaps the best blueberry muffin I have made. I am using the rest of a flat of blueberries for this tomorrow. This recipe comes from Flo Braker’s Baking for Every Occasion. Many thanks to her for a perfect recipe! 

New Favorite Blueberry Muffins

  • 2 c. all purpose flour (can substitute with 1/2 whole wheat, too!)
  • 1/2 c. granulated sugar
  • 2 t. baking powder
  • 1/2 t. baking soda
  • 1/2 t. salt
  • 3/4 c. well shaken cold buttermilk (or sour your milk with 1 T. lemon juice)
  • 6 T. (3/4 stick) unsalted butter, melted
  • 2 large eggs
  • 2 t. finely grated lemon zest or orange zest
  • 1 t. pure vanilla extract
  • 11/2 c. blueberries

For Topping

  • 1/2 c. granulated sugar
  • 1 1/2 t. ground cinnamon or a 1 t. of ground cinnamon and 1/2 t. of ground cardamom
  • 6 T. butter, melted

Center rack in the oven and preheat oven to 375°F (190°C). Lightly coat a 12-cup muffin pan with nonstick spray, then flour the cups, tapping out the excess flour. Or butter and flour the cups or line with fluted paper or foil liners.

In a large bowl, whisk together the flour, sugar, baking powder, baking soda, and salt. In a medium bowl, stir together the buttermilk, butter, eggs, lemon zest, and vanilla until combined.

Add the buttermilk mixture to the flour mixture and stir gently with a rubber spatula just until moistened. Do not beat until smooth, or the muffins will have a coarse texture.

Using the spatula, fold in the blueberries just enough to incorporated them into the batter. Fill the muffin cups three-fourths full. Bake the muffins until they are golden, spring back when gently pressed in the centre, and are starting to pull away from the muffin cups, 18 to 23 minutes. Cool in pan until they can be handled, about 10 to 15 minutes.

TO MAKE THE DOUGHNUT TOPPING

In a small bowl, stir together the sugar and cinnamon. While the muffins are still warm, gently remove them from the pan one at a time. Dip the tops in melted butter, roll in the cinnamon sugar to coat, and then place on a wire rack. Serve warm or at room temperature. Store at room temperature under a cake dome for up to 2 days, or freeze for up to 10 days in a sturdy covered container. Thaw at room temperature 1 to 1 1/2 hours.

Fresh Apricot Smoothie

Fresh Apricot SmoothieA lovely friend of ours gave us a huge box full of fresh apricots. They are in abundance this year in Utah! So, I did many things with them this week: canning with my mother and aunts, slicing and freezing them, and additionally, we have been enjoying them every morning in our morning smoothie. After many trials, his version is our favorite. Our cute six-year-old asked to be in a picture with it, because he loves smoothies, and apricots.  

Fresh Apricot Smoothie

10-12 fresh apricots, pitted and cut in half
1 tray of ice cubes (about 2 c.?)
1 c. plain or vanilla yogurt (you may want to sweeten the plain with 1/4 c. sugar or honey)
3 T. orange juice concentrate
1-1 1/2 c. water
1 t. vanilla
a dash of cinnamon (optional, but a great suggestion from our Aunt!)

Blend together and enjoy! Makes about 6 cups.