Probably some of you have been acquainted with no-knead artisan bread, for which several recipes have been popping up for lately. The idea is that for very little work, you can make an incredible, Seven-Stars-Bakery-like loaf. And it’s true. But, there are many recipes out there with different tactics. This recipe lowers the water ratio from most of the other recipes, making the loaf much rounder, and adds vinegar, giving it a slight tang. It also adds beer to enhance the yeast flavor of the dough. It’s excellent and beautiful as it is, so I’m posting the original, but it’s also not a very large round, so I’m going to experiment with it a little to see if I can change ratios that will work better for what my family will eat in one sitting. I also either want the whole bottle of beer to be used in one loaf, or to eliminate the need for it (since no one here drinks it!). Anyway, I’ll comment on how the experimenting goes!
Note: You need to have a dutch oven in order to get a truly crusty bread. A run-of the mill one will do (the type you’ve seen at campfires) as will Le Creuset’s or other cast-iron pots. Apparently, Target has a great Le Creuset knock-off line for a fraction of the cost. And, they come in great colors.
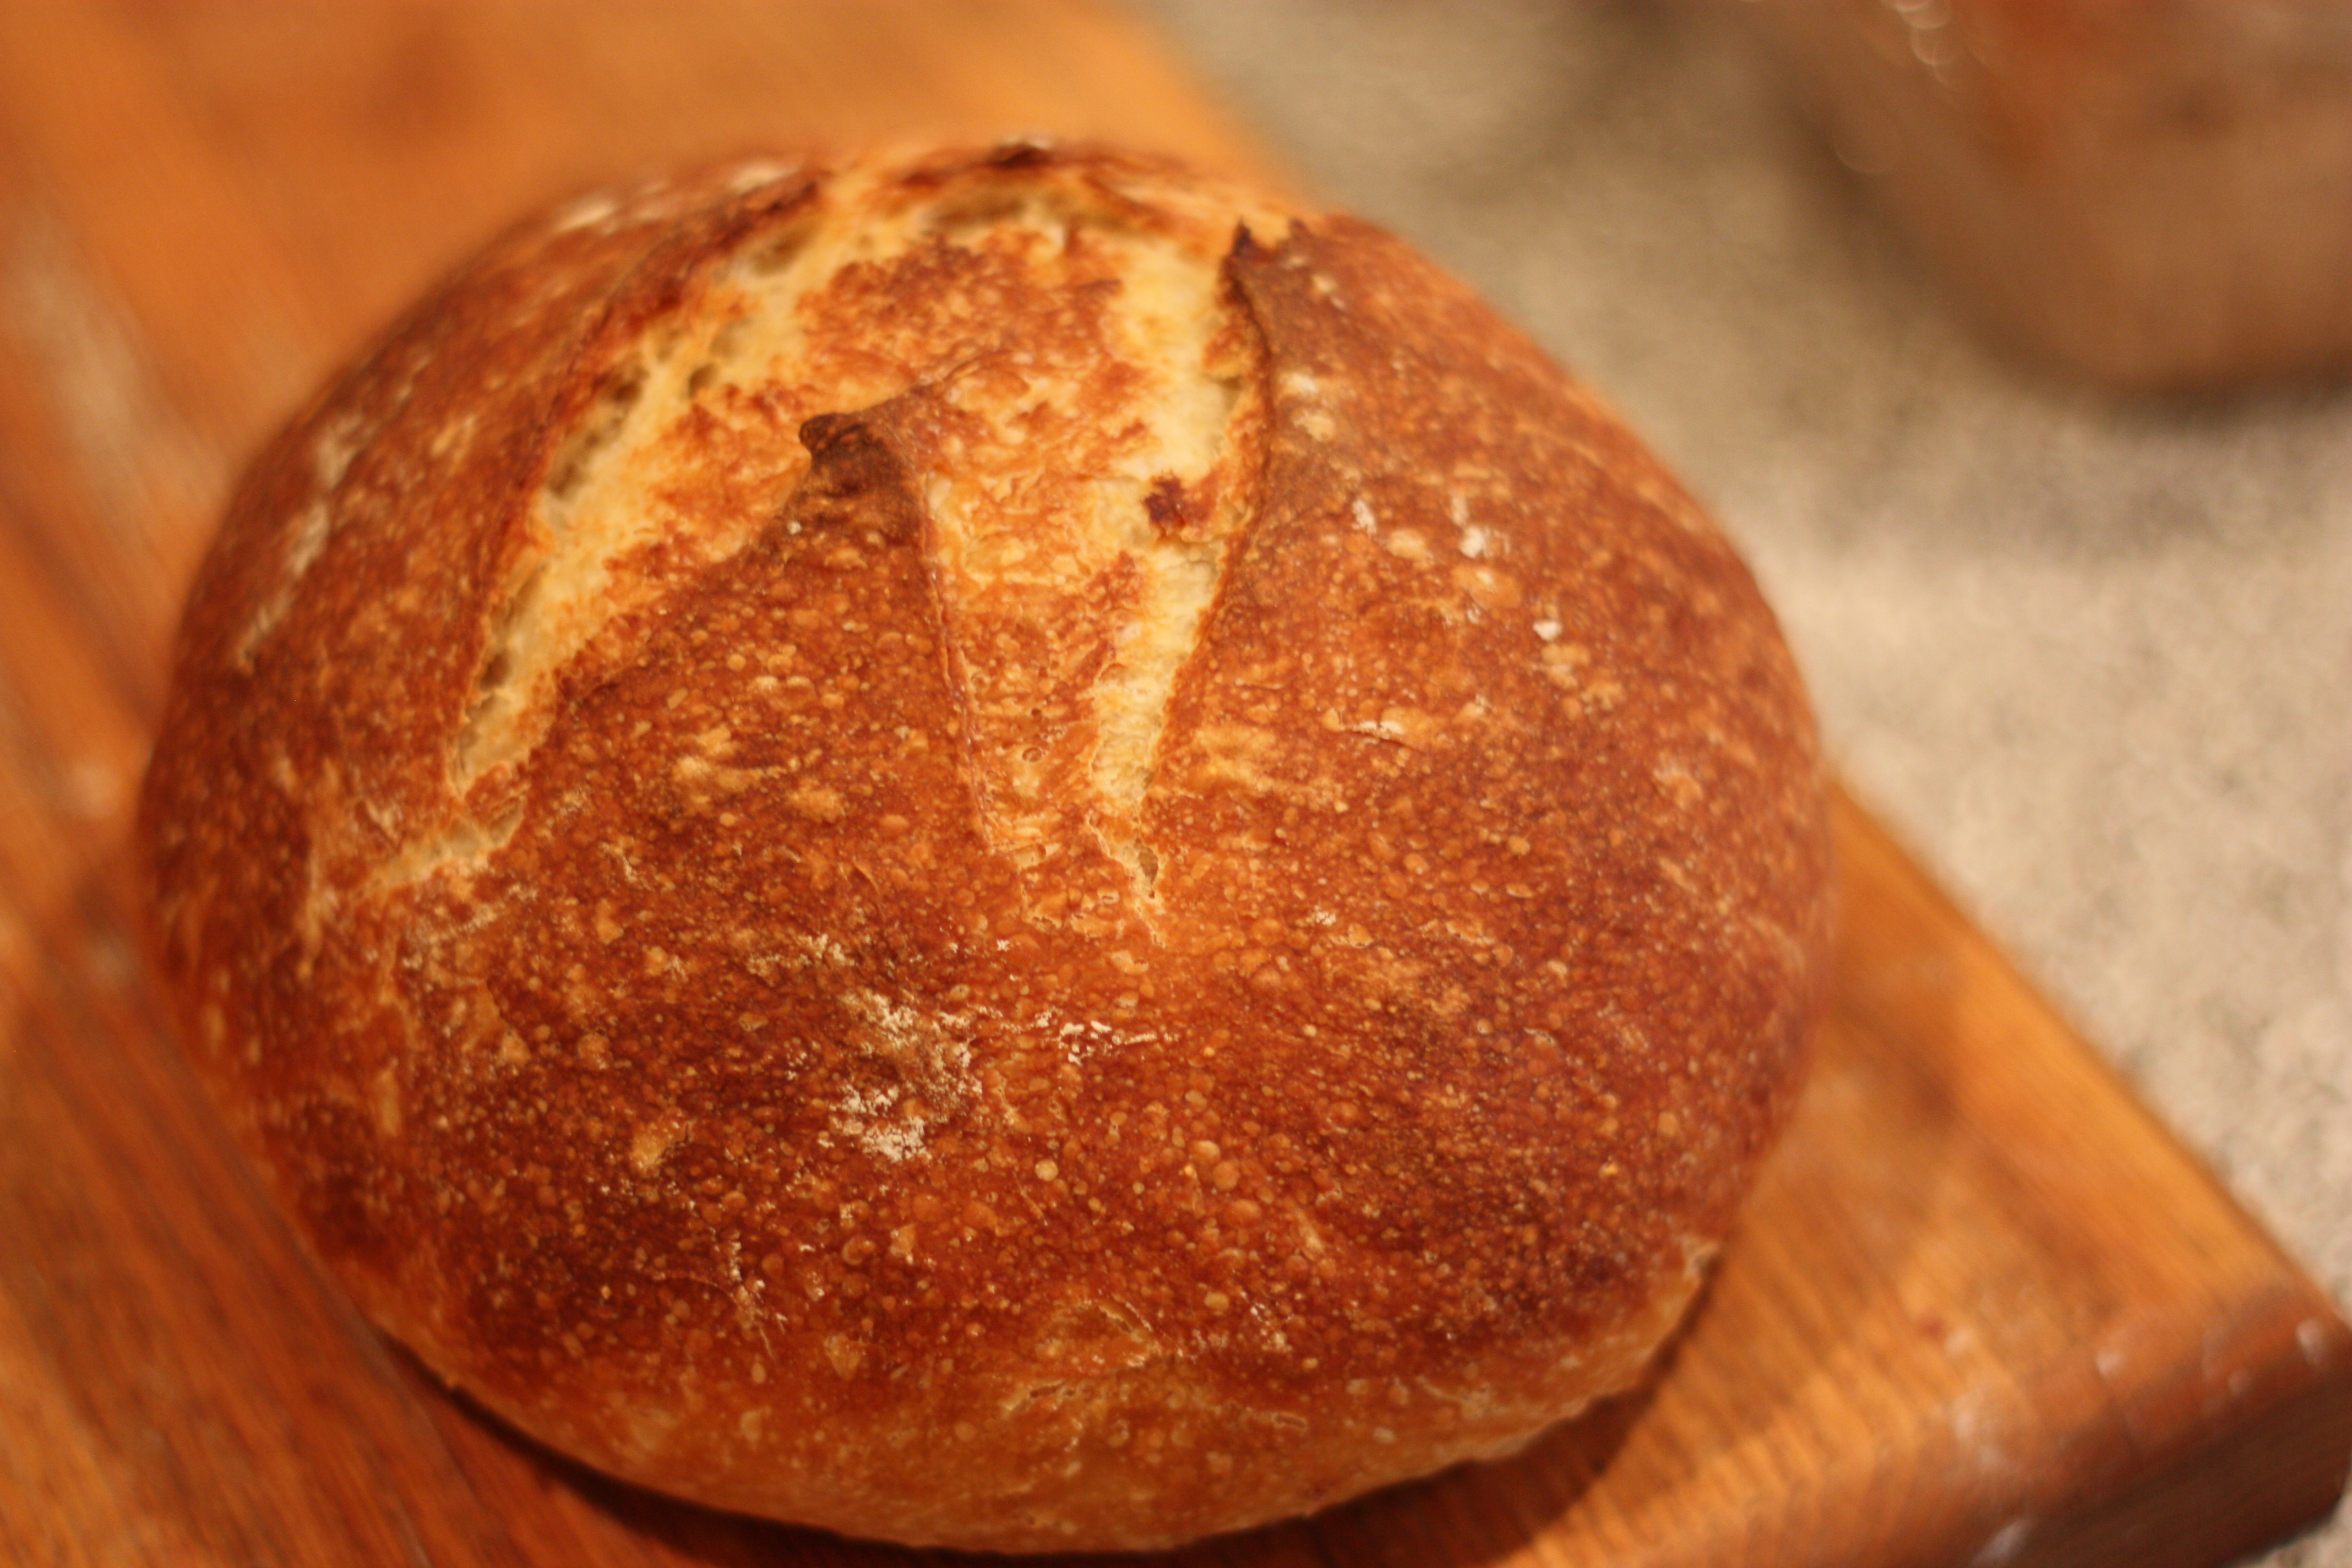
Practically No-Knead Crusty Bread
3 c. all-purpose flour (you can substitute 1 c. whole wheat flour for 1 c. all-purpose)
1/4 t. instant yeast (I always use 1/2 t. to get a better dome)
1 t. salt (I prefer 1 1/2 t.)
3/4 c. water, at room temperature
1/2 c. mild-flavored beer (non-alcoholic beer works well, too)
1 T. white vinegar
Whisk the flour, yeast, and salt together. Add the liquid ingredients and stir to combine (this dough is very dry, but make sure to combine the flour crumbs, using your hands if necessary, so there are no lumps in the dough). Cover with plastic wrap and let sit overnight 8-16 hours.
Place a piece of parchment paper in a 10-12″ skillet and spray with Pam. Turn the dough onto a floured surface and knead for 10-15 times until its smooth and round. Pull the dough into a tight ball by bringing all edges into the middle and pinching them together (this will be the bottom of the loaf). Place the loaf onto the parchment paper, and lightly cover with plastic wrap. Let rise for 2 hours, or until the dough has doubled in size.
Thirty minutes before baking, place a dutch oven on the bottom rack of your oven, with the lid on (make sure the lid has no plastic parts, or they will melt). Preheat the oven to 500 degrees (if possible :)). When loaf has finished rising, dust it with flour, make an “x” on the top with a very sharp knife, remove the lid to the dutch oven, and using the parchment paper as handles, lower the loaf into the dutch oven, keeping the parchment paper under the loaf. Cover with the lid, and then lower the temperature to 425 degrees. Bake for 30 minutes with the lid on. Then, remove lid, and continue to bake for 20 minutes longer. You can then sit and marvel that you made, so simply, a gorgeous loaf of crusty bread.
Recipe from America’s Test Kitchen 2009 Annual