The Best Crescent Roll!

Crescent RollI’ve worked with the Best Recipe’s Crescent Roll recipe several times, and besides from not having a plastic bag large enough to fit around my baking sheets (is this a normal kitchen item?), I just haven’t been that thrilled with the results. So, I tried Martha’s recipe from her New Classics Living Cookbook, and it is a winner! I love it. And, since everyone was counting out how many everyone else got at the dinner table (and coveting the remainders), I think others shared the sentiment. Definitely my new favorite Sunday (or Thanksgiving and Holiday) roll, and my kids love shaping them together, too.
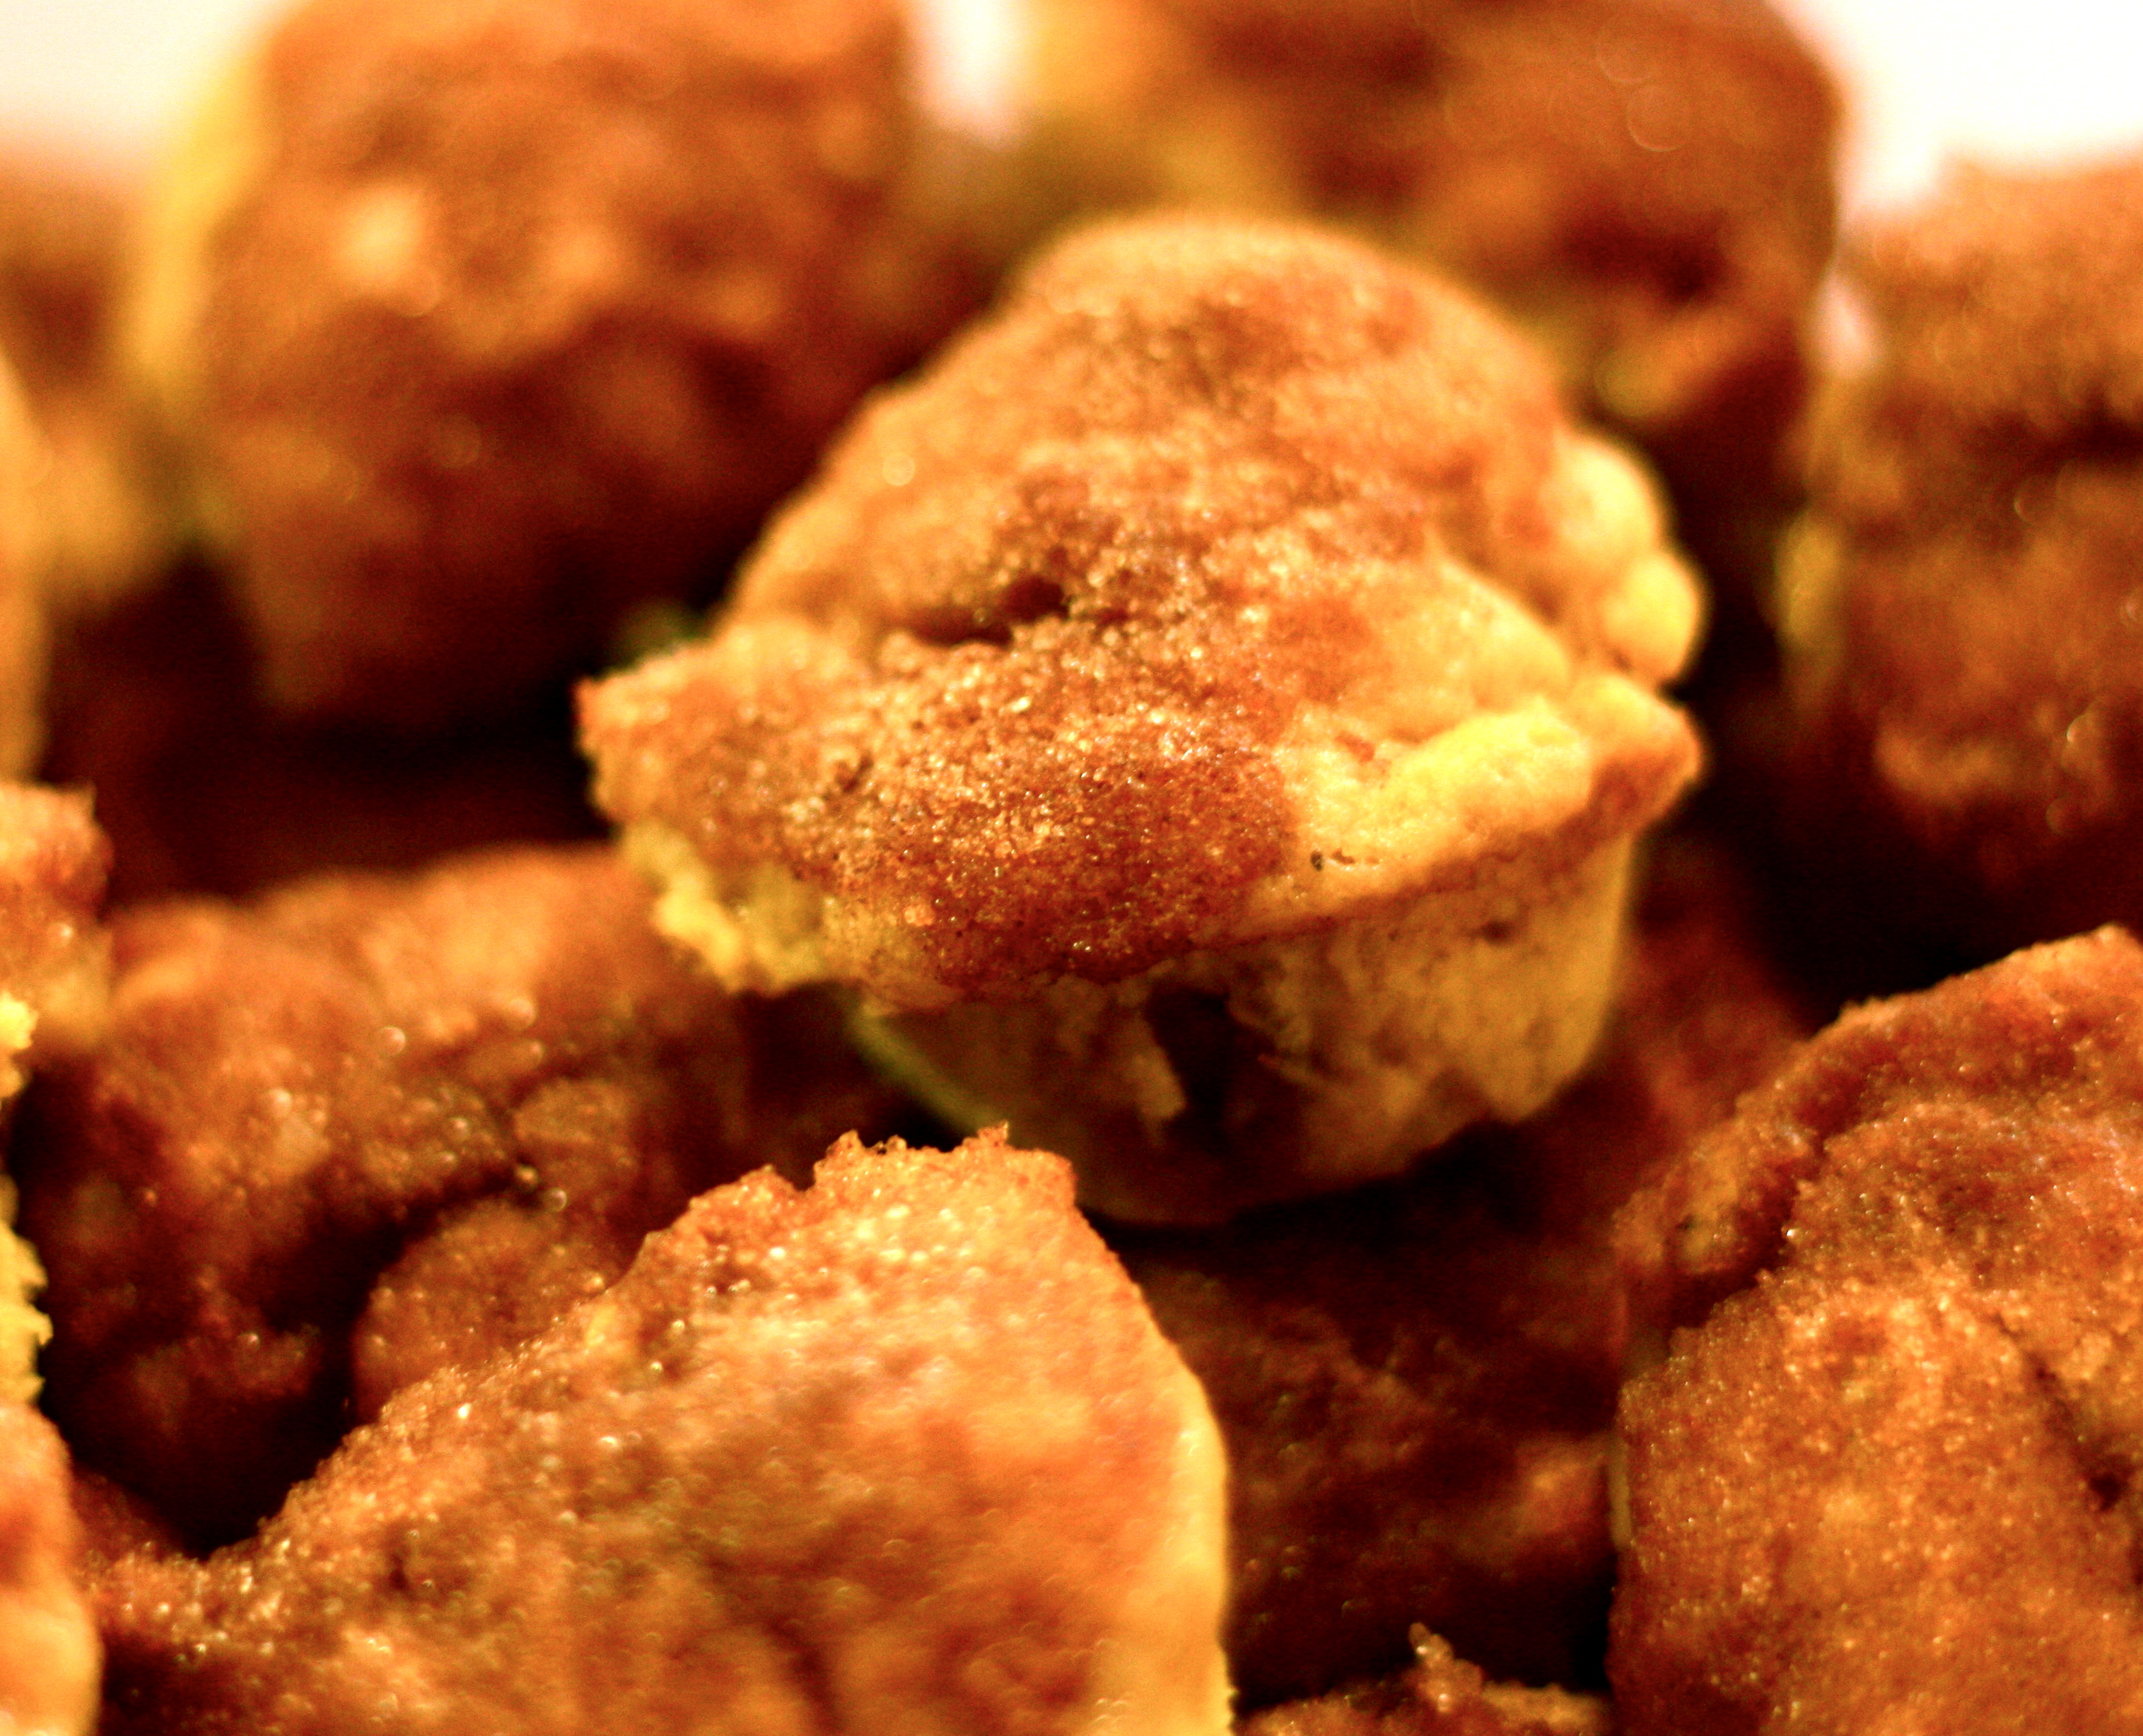
Crescent Rolls

  • 3/4 c.(1 1/2 sticks) unsalted butter, softened, plus more for bowl and plastic wrap, plus 2 T. melted
  • 1 1/4 c. whole milk
  • 1/4 c. vegetable shortening
  • 1/4 c. plus 1 T. sugar
  • 2 1/2 t. salt
  • 2 1/4 t. active dry yeast
  • 1/4 c. water (105 degrees to 110 degrees)
  • 2 large eggs, lightly beaten
  • 5 1/2 c. all-purpose flour, plus more for work surface
  1.  Butter a large bowl; set aside. Put milk, shortening, sugar, softened butter, and salt in a medium saucepan. Cook over medium heat, stirring constantly, until sugar has dissolved. Let cool completely.
  2. Put yeast and water in the bowl of an electric mixer fitted with the dough hook. Let stand until foamy, about 5 minutes. Mix in milk mixture on medium speed until combined; mix in eggs. Reduce speed to low, and gradually mix in flour. Raise speed to medium-high; mix until a soft dough forms, about 12 minutes.
  3. Turn out dough onto a lightly floured work surface. Knead until smooth, about 5 minutes, then transfer to buttered bowl. Cover with a clean kitchen towel; let rise until doubled in bulk, about 1 hour.
  4. Line two baking sheets with parchment paper. Roll dough into a 13-by-20-inch rectangle. Trim edges to be straight. Cut dough in half lengthwise; cut both strips into 12 triangles (about 3 inches wide each base). Gently stretch each to 2 to inches long. Starting at widest end, gently roll up. Space 1 inch apart on prepared baking sheets, pointed ends down. Cover loosely with buttered plastic wrap; let rise until doubled in bulk, about 1 hour.
  5. Preheat oven to 350 degrees. Brush rolls with the melted butter. Bake until golden, about 20 minutes. Let cool on a wire rack 5 minutes. Serve warm. Makes 24.

Crescent Roll 1

Blueberry Bran Muffins

This recipe, from Lucinda Scala Quinn’s Mad Hungrycookbook, is terrific. She makes a note that she used to bake these for a shop she worked in; the

I loved the appearance and great domed top on these

recipe was old with a hand-scribbled “the best blueberry muffins” on the side. With that kind-of endorsement, I had to try them! And they are wonderful. I think they might be the best I have made overall–they have a little bit of a strong baking soda taste, but for the texture, I think this might be necessary since the batter is quite runny. I’ve tried substituting half the all-purpose flour with whole wheat, and the muffins were still delicious, but tasted much more like a bran muffin than a blueberry one. Anyway, definitely a keeper muffin!

Blueberry Bran Muffins

  • 2 c. all-purpose flour
  • 1 T. baking soda
  • 1/2 t. coarse salt
  • 2 large eggs
  • 4 T. pure maple syrup
  • 1/2 c. sugar
  • 1/2 c. safflower (or other vegetable oil)
  • 1 1/2 c. milk
  • 1 c. fresh or frozen blueberries (toss briefly in flour before incorporating to even out distribution)
  • 1/2 c. wheat bran or wheat germ
  1. Preheat the oven to 400 degrees. Grease a standard 12-cup muffin tin or line with paper liners.
  2. In a large bowl, whisk together the flour, baking soda, and salt. Separately beat together the eggs, maple syrup, sugar, oil, and milk. Stir the egg mixture into the flour mixture. Stir in the berries and bran. Fill the muffin cups three-quarters full.
  3. Bake for 25 minutes, or until golden brown. Cool for 5 minutes in the pan before removing.

Oatmeal Sandwich Bread

I’ve been making this loaf for our daily bread lately, and the kids and I are all big fans (I actually prefer a multigrain loaf, but since I’m not the only one

I dust the top with flour before baking (instead of brushing with butter) because I like how it looks.

in the house . . .). This recipe is from The Best Recipe (i.e. the best cookbook, ever), and it’s the oatmeal variation on the American Sandwich loaf. I make it almost weekly, and its biggest danger is that it can really grow if you get distracted (or start talking to a friend), and then it turns into a puffed monster. But really, that’s not so bad. All in all, a family favorite. I’ve tripled the original amounts because our family of six goes through about 3 loaves a week, which is what I make. I loved that Lucy came home last week and said, “Mom, I love Mondays because I come home to the most delicious smell.” Her comment was definitely more satisfying than my bread.

Oatmeal Sandwich Bread
Makes 3 loaves

2 1/4 c. rolled oats [I’ve also used steel cut oats; the final texture was chewier, and it threw the water ratio, but worked]
2 1/4 c. water, warm
3 c. milk, warm
6 T. unsalted butter, melted
1/2 c. + 1 T. honey
7 1/2 c. flour, plus more for workspace
2 T. instant or rapid-rise yeast
2 T. salt

Bring the water to a boil in a saucepan. Add the oats to soften slightly, about 90 seconds (longer for steel cut–I cooked them for about 15). Remove from heat, and set aside to cool while assembling the other ingredients.

In a small bowl, combine the milk, honey, yeast, and butter. Then, in the bowl of a stand mixer, mix 4 cups flour, cooled oatmeal mixture, and salt together using the dough hook. [Test the temperature: if it’s too hot, you may want to wait until you add the yeast, so you don’t kill it. If you’re unsure, test it. It shouldn’t be above 115 degrees F). Turn the mixer to low and slowly pour in the milk mixture. Mix until dough comes together, about 1 minute, scraping down the bowl as needed, then add the rest of the flour, 1/2 c. at a time, until the the dough clears the sides of the bowl, but still sticks to the bottom.

Increase the speed to medium-low and knead until the dough is smooth and elastic, about 7 minutes. If after 4 minutes, more flour is needed, add remaining 1 T. at a time, and then wait for 30 seconds before adding more, checking that the dough starts clearing the sides of the bowl.

Once dough is smooth and elastic, remove and knead by hand for about 30 seconds to form a smooth round ball. Place dough in a lightly oiled bowl and wrap with plastic wrap. Let rise in a warm place until doubled in size, 1 to 1 1/2 hours.

Once dough has doubled in size, turn out onto a lightly floured workspace and press into a 7-inch square. Starting with the edge closest to you, roll it into a tight cylinder, tucking the ends in but maintaining the cylinder shape. Pinch the seam closed (I also tuck the two sides into the middle, to create a nice dome on the top, then turn it over) and place seam side down in a 9-inch loaf pan. Cover loosely with plastic wrap and allow to rise in a warm place until doubled in size, about 45-60 minutes.

Half an hour before baking, place an oven rack in the middle position and heat oven to 350 degrees. Brush top of dough with 1 tsp. melted butter. Fill another loaf pan halfway with water and place on rack in oven. Place dough filled loaf pan next to water filled pan and bake for 40-50 minutes, until bread is golden and an instant-read thermometer measures at 200 degrees. [I usually skip the water; it makes a fantastic crisp crust, but since I freeze two of the three loaves and stick them all in bread bags, I kill the purpose of the water. If you want an awesome loaf out of the oven, though, you’ll want to do it.]

Let bread cool in pan for 30 minutes before removing to a wire rack to cool completely. If freezing the extra loaves, make sure they cool at room temperature for 4 hours before wrapping them and placing them in the freezer.

Pineapple Upside-down Pancakes

These pancakes are quite excellent. Published in March 2012 Bon Appetit (from a restaurant in New York called Moderne Barn), I knew they were something we would love, but I wasn’t expecting the divine smell that lingered in our home the entire day. It was almost better than the pancakes themselves. So, a must try, but with cooking the pineapple, these pancakes took upwards of 30-45 minutes to complete–not really a fast breakfast, but great for a special one. The last time I made them, my husband was out of town, so I can’t wait to make them again 🙂

Moderne Barn’s Pineapple Upside-down Pancakes

1 T. unsalted butter
1 cinnamon stick, broken in half
1 large pineapple, peeled, cut into eight 1/2″ rounds, cored
3/4 c. dark rum (I don’t have rum on hand, so I used a little rum extract with about 1/2 c. water, but apple juice may be better)
1/4 c. (packed) dark brown sugar

1 c. all-purpose flour
3 T. sugar
1 t. baking soda
3/4 t. kosher salt
1 c. buttermilk
1 large egg
2 T. unsalted butter, melted
1/2 t. vanilla extract
Nonstick vegetable oil spray

Melt butter with cinnamon stick in a large heavy skillet over medium heat. Cook until butter begins to brown, about 2 minutes. Add pineapple slices; cook until light golden brown, 4–5 minutes per side. Remove skillet from heat; add rum and brown sugar. Cook over medium-high heat until juices are thick and syrupy. Transfer pineapple to a plate; let cool. Reserve syrup.

Preheat oven to 325°. Set a wire rack on a rimmed baking sheet. Whisk first 4 ingredients in a large bowl. Add buttermilk and next 3 ingredients; whisk until smooth.

Heat a griddle or large heavy skillet over medium heat. Lightly coat with nonstick spray. Working in batches, pour batter by 1/4-cupfuls onto griddle. Cook each pan- cake until golden brown and bubbles form on top, about 2 minutes. Top each pancake with a pineapple ring. Flip; cook until pancake is golden brown, about 2 minutes. Place pancakes on prepared rack and bake in oven until cooked through, about 5 minutes.
Rewarm reserved pineapple syrup. Divide pancakes among plates; drizzle with pineapple syrup.


No-Knead Pizza Dough

Plain cheese--but what a crust!

Plain cheese–but what a crust!

This is the pizza dough I’ve been looking for, for a long, long time. It is simple, and delicious, and I even felt brave enough to slide the dough onto the

pizza stone, from an upside down baking sheet, and let it broil away (but the first time, I cooked it on sheets, and that worked well, too). I loved the crust, and it held up well. I made it for Peter’s 4th birthday last week, and looked around after the party, only to see there weren’t any leftovers. So, I made it again last Friday. Awesome. I’m loving this dough. As Bon Appetit promised, it is chewy, bubbly, crisp on the outside and chewy on the inside. And, it couldn’t be easier to make. It comes from the March 2012 Bon Appetit magazine. Just one word: go on the sparse side with the toppings. If you’re more interested in thick toppings, try to deep-dish pizza crust instead. It works wonders for that.

No-Knead Pizza Dough

  • 7 1/2 cups all-purpose flour (1000 grams) plus more for shaping dough (can substitute up to 2 1/2 c. with whole wheat flour)
  • 4 teaspoons fine sea salt
  • 1/2 teaspoon active dry yeast

1. Whisk flour, salt, and yeast in a medium bowl. While stirring with a wooden spoon, gradually add 3 cups water; stir until well incorporated. Mix dough

Topped with chorizo, peppers, and goat cheese

gently with your hands to bring it together and form into a rough ball. Transfer to a large clean bowl. Cover with plastic wrap and let dough rise at room temperature (about 72°F) in a draft- free area until surface is covered with tiny bubbles and dough has more than doubled in size, about 18 hours (time will vary depending on the temperature in the room).

2. Transfer dough to a floured work surface. Gently shape into a rough rectangle. Divide into 6 equal portions. Working with 1 portion at a time, gather 4 corners to center to create 4 folds. Turn seam side down and mold gently into a ball. Dust dough with flour; set aside on work surface or a floured baking sheet. Repeat with remaining portions.

3. Let dough rest, covered with plastic wrap or a damp kitchen towel, until soft and pliable, about 1 hour. DO AHEAD: Can be made 3 days ahead. Wrap each dough ball separately in plastic wrap and chill. Unwrap and let rest at room temperature on a lightly floured work surface, covered with plastic wrap, for 2-3 hours before shaping.

To make the pizzas:
During the last hour of dough’s resting, prepare oven: If using a pizza stone, arrange a rack in upper third of oven and place stone on rack; preheat oven to its hottest setting, 500°F-550°F, for 1 hour. If using a baking sheet, arrange a rack in middle of oven and preheat to its hottest setting, 500°F-550°F. (You do not need to preheat the baking sheet.)

Working with 1 dough ball at a time, dust dough generously with flour and place on a floured work surface. Gently shape dough into a 10″-12″ disk.

If using a pizza stone:
When ready to bake, increase oven heat to broil. Sprinkle a pizza peel or rimless (or inverted rimmed) baking sheet lightly with flour. Place dough disk on prepared peel and top with desired toppings.

Using small, quick back-and-forth movements, slide pizza from peel onto hot pizza stone. Broil pizza, rotating halfway, until bottom of crust is crisp and top is blistered, 5-7 minutes.

Using peel, transfer to a work surface to slice. Repeat, allowing pizza stone to reheat under broiler for 5 minutes between pizzas.

If using a baking sheet:
Arrange dough disk on baking sheet; top with desired toppings. Bake pizza until bottom of crust is crisp and top is blistered, about 10 minutes. Transfer to a work surface to slice. Repeat with remaining pizzas.

Suzan’s Aebelskivers

This recipe is another morning staple at our home.  A few years ago, Aunt Suzan gave us an aebelskiver pan with her Danish grandfather’s recipe. her family makes

These are stuffed with banana, but you can't tell! You can tell where I've pricked them with the skewer when I flipped them, though.

this recipe at Christmas, but after my kids tasted them the first time, they decided we should have them regularly. My Lucy prefers the aebelskivers (which is a spherical Danish pancake) stuffed with a few chocolate chips, and Henry and I like them best with a slice of banana in the middle. I’ve tried placing jam and jelly in the middle, which is great, but a little messier. I know these pans are available online and Williams-Sonoma has them (usually, I think). There’s also many variations–you can be creative–but another one I’ve loved included placing a sage leaf in the pan first (so it was baked onto the surface of the pancake), and then stuffing them with goat cheese. Beautiful.

Aunt Suzan’s Grandpa Ruel’s Aebelskivers

3 eggs
3 c. buttermilk
6 T. melted butter (for taste) or oil (for convenience–and a little crisper, I believe)
3 c. level flour (or 2 c. all-purpose +1 c. whole wheat)
1 t. salt
2 T. sugar
1 1/2 t. baking soda (I usually cut this down by 1/4 t.)
1 t. baking powder (and I cut this one down by 1/4 t. too)
1 t. vanilla

Preheat the aebelskiver pan on medium-high heat.

In a medium bowl, combine the flour, sugar, salt, powder, and soda well with a whisk. In another bowl, whisk the eggs, milk, oil, and vanilla. Make a well in the dry ingredients, and add the wet ones, whisking until just combined. (Grandpa Ruel separated the egg whites, beat them until frothy, and folded them in after mixing the wet and the dry ingredients together. I always omit this step, because of the morning rush, but it’s worth it for the lightness in texture, if you have time!)

Spray the aebelskiver pan with a cooking spray or wipe with oil. When the pan is hot, place about 2 T. batter into each hole. When the pancake has started to firm up on the sides, insert a filling, if desired (chocolate chips, banana slice, jam). Push the filling into the center of the pancake with a skewer tip. Once the pancake releases air bubbles to the surface, about 2 minutes, flip the pancake using the tip of a skewer or a knitting needle or chopstick, so it can cook on the other side for another 2 minutes. Decrease the pan heat, if necessary, to prevent scorching. Continue to bake the rest of the batter. Serve with powdered sugar, syrup, jam, or Nutella, etc.

Makes about 40 aebelskivers.

I didn't fill the whole pan because this was the end of the batter. You can get a good sense for what the pan is--a cast-iron skillet with spherical grooves for the pancake.

Cornmeal Waffles

I’ve been using a waffle recipe from Cook’s Country for the last few months, but last week, I pulled out this one from Martha’s Living Cookbook, and the family loved it. In fact, even my pretty-undiscerning-8-year-old thought they were the best he’d ever had. And I thought they were great, too. They are crisp and light, a little buttery, but not too much. I didn’t make the apricot-cherry compote, but I did heat some frozen peaches and blackberries, which were terrific, too. I also didn’t do creme fraiche; instead, I whipped some cream and added maple syrup to sweeten it. Anyway, here’s a great new waffle to try. This recipe made about 8 waffles in my waffle maker.

Cornmeal Waffles

  • 8 ounces creme fraiche
  • 1/4 cup confectioners’ sugar
  • 1 1/4 cups all-purpose flour
  • 3/4 cup coarse yellow cornmeal
  • 3 tablespoons plus 1 teaspoon granulated sugar
  • 4 teaspoons baking powder
  • 1 teaspoon salt
  • 2 large eggs
  • 1 1/2 cups low-fat buttermilk
  • 1/2 teaspoon pure vanilla extract
  • 1/3 cup vegetable oil
  • 5 tablespoons unsalted butter, melted
  • Apricot-Cherry Compote
  1. Whisk together creme fraiche and confectioners’ sugar in a small bowl. Refrigerate until ready to use (up to overnight).
  2. Whisk together flour, cornmeal, granulated sugar, baking powder, and salt in a large bowl. Whisk eggs, buttermilk, and vanilla in a small bowl. Add egg mixture to flour mixture; stir until combined. Add oil and butter; whisk until smooth.
  3. Heat a waffle iron (preferably Belgian-style). Ladle 1/2 cup batter into each mold. Cook according to manufacturer’s instructions until golden brown. Place waffles in a 200-degree oven to keep warm while you make the rest. Serve topped with compote and sweetened creme fraiche.

Pumpkin Doughnut Muffins

Pumpkin Doughnut 2Another great autumnal recipe for those of us who can’t get enough pumpkin. This recipe comes from November 2010 Everyday Food. I prefer making it in mini muffin tins, because they are pretty rich, and so good.

Pumpkin Doughnut Muffins

10 T. (1 1/4 sticks) unsalted butter, room temperature, plus more for pan
3 c. all-purpose flour (spooned and leveled), plus more for pan
2 1/2 t. baking powder
1/4 t. baking soda
1 t. coarse salt
1/2 t. ground nutmeg
1/4 t. ground allspice
1/3 c. buttermilk
1 1/4 c. pure pumpkin puree (from a 15-ounce can)
3/4 c. light brown sugar
2 large eggs

For the sugar coating
3/4 c. granulated sugar
2 1/2 t. ground cinnamon
1/4 c. (1/2 stick) unsalted butter, melted

Preheat oven to 350 degrees. Butter and flour 12 standard muffin cups. Make batter: In a medium bowl, whisk together flour, baking powder, baking soda, salt, nutmeg, and allspice. In a small bowl, whisk together buttermilk and pumpkin puree. In a large bowl, using an electric mixer, beat butter and brown sugar until light and fluffy. Beat in eggs, one at a time, scraping down bowl as needed. With mixer on low, add flour mixture in three additions, alternating with two additions pumpkin mixture, and beat to combine.

Spoon 1/3 cup batter into each muffin cup and bake until a toothpick inserted in center of a muffin comes out clean, 30 minutes. Meanwhile, in a medium bowl, combine granulated sugar and cinnamon. Let muffins cool 10 minutes in pan on a wire rack. Working with one at a time, remove muffins from pan, brush all over with butter, then toss to coat in sugar mixture. Let muffins cool completely on a wire rack.

Witches’ Fingers Breadsticks

I’ve made these breadsticks for Halloween the last couple years, and I think they are really fun. I just use my breadstick recipe (you can use any pizza

I loved how these two curved when they baked!

dough recipe you like; after the first rise, shape the dough into a rectangle and cut it into strips)  and then put either a blanched whole almond or an almond sliver on the tip for the fingernail before the second rise. I then paint the fingernail with red food dye once they are out of the oven. This year, I also tinted the butter a little green. I don’t know if I’ll repeat that idea again, but here they are . . .

Poppy Seed Buttermilk Buns

I made these rolls for Henry’s baptism, and because I cooked so many at the same time, they got a little dark, but they had the best crumb I’ve yet seen in my

I hope this picture gives an idea of the great texture this roll has

homemade rolls. I’m guessing the cream in the dough might be the ticket–I’ve never seen that before–but these are really nice, beautiful, and easy rolls. The recipe is also from the Gourmet Grilling Issue (which of course I’ve done the baking, but not the grilling, from:). Makes 20.

Poppy Seed Buttermilk Buns

1 t. active dry yeast
2 T. warm water
3/4 c. well-shaken buttermilk (buttermilk powder also works fine)
1/2 c. heavy cream
2 T. sugar
2 1/2 c. all-purpose flour
1 t. salt
1 large egg, lightly beaten with a pinch of salt
1 t. poppy seeds

1. Stir together yeast and water in a small bowl and let stand until foamy, about 5 minutes. (If mixture doesn’t foam, start over with new yeast.)

2. Mix buttermilk, cream, yeast mixture, sugar, flour, and salt with mixer at low speed until flour is incorporated. Increase speed to medium and beat 5 minutes (dough will be sticky.)

3. Transfer dough to a lightly oiled large bowl and turn to coat. Cover with a kitchen towel (not terry cloth) and let rise in a draft-free place at warm room temperature until doubled, about 2 hours.

4. Generously butter a 9-by-2-inch round cake pan.

5. Punch down dough (it will be soft), transfer to a floured surface, and halve. With floured fingertips, gently pull each into a 10-inch-long rope.

6. Cut each rope into ten equal portions. Dust with flour and form into balls by tucking sides under and pinching to secure, then arrange balls, seam side down, in cake pan.

7. Loosely cover buns with oiled plastic wrap and let rise in a draft-free place at warm room temperature until they have risen about 1/2-inch above pan, about 1 1/2 hours.

8. Preheat oven to 375 degrees with rack in middle.

9. Gently brush buns with some of egg and sprinkle with poppy seeds. Bake until tops are golden brown and underside sounds hollow when lifted up and tapped, about 20-25 minutes.

10. Carefully run a knife around buns to loosen, then cool in pan 5 minutes. Turn out of pan in 1 piece and let cool, right side up, on a wire rack. Rolls are best eaten immediately, but can be wrapped in plastic and frozen for up to a week.