Easy Energy Bar

Date Granola Bar
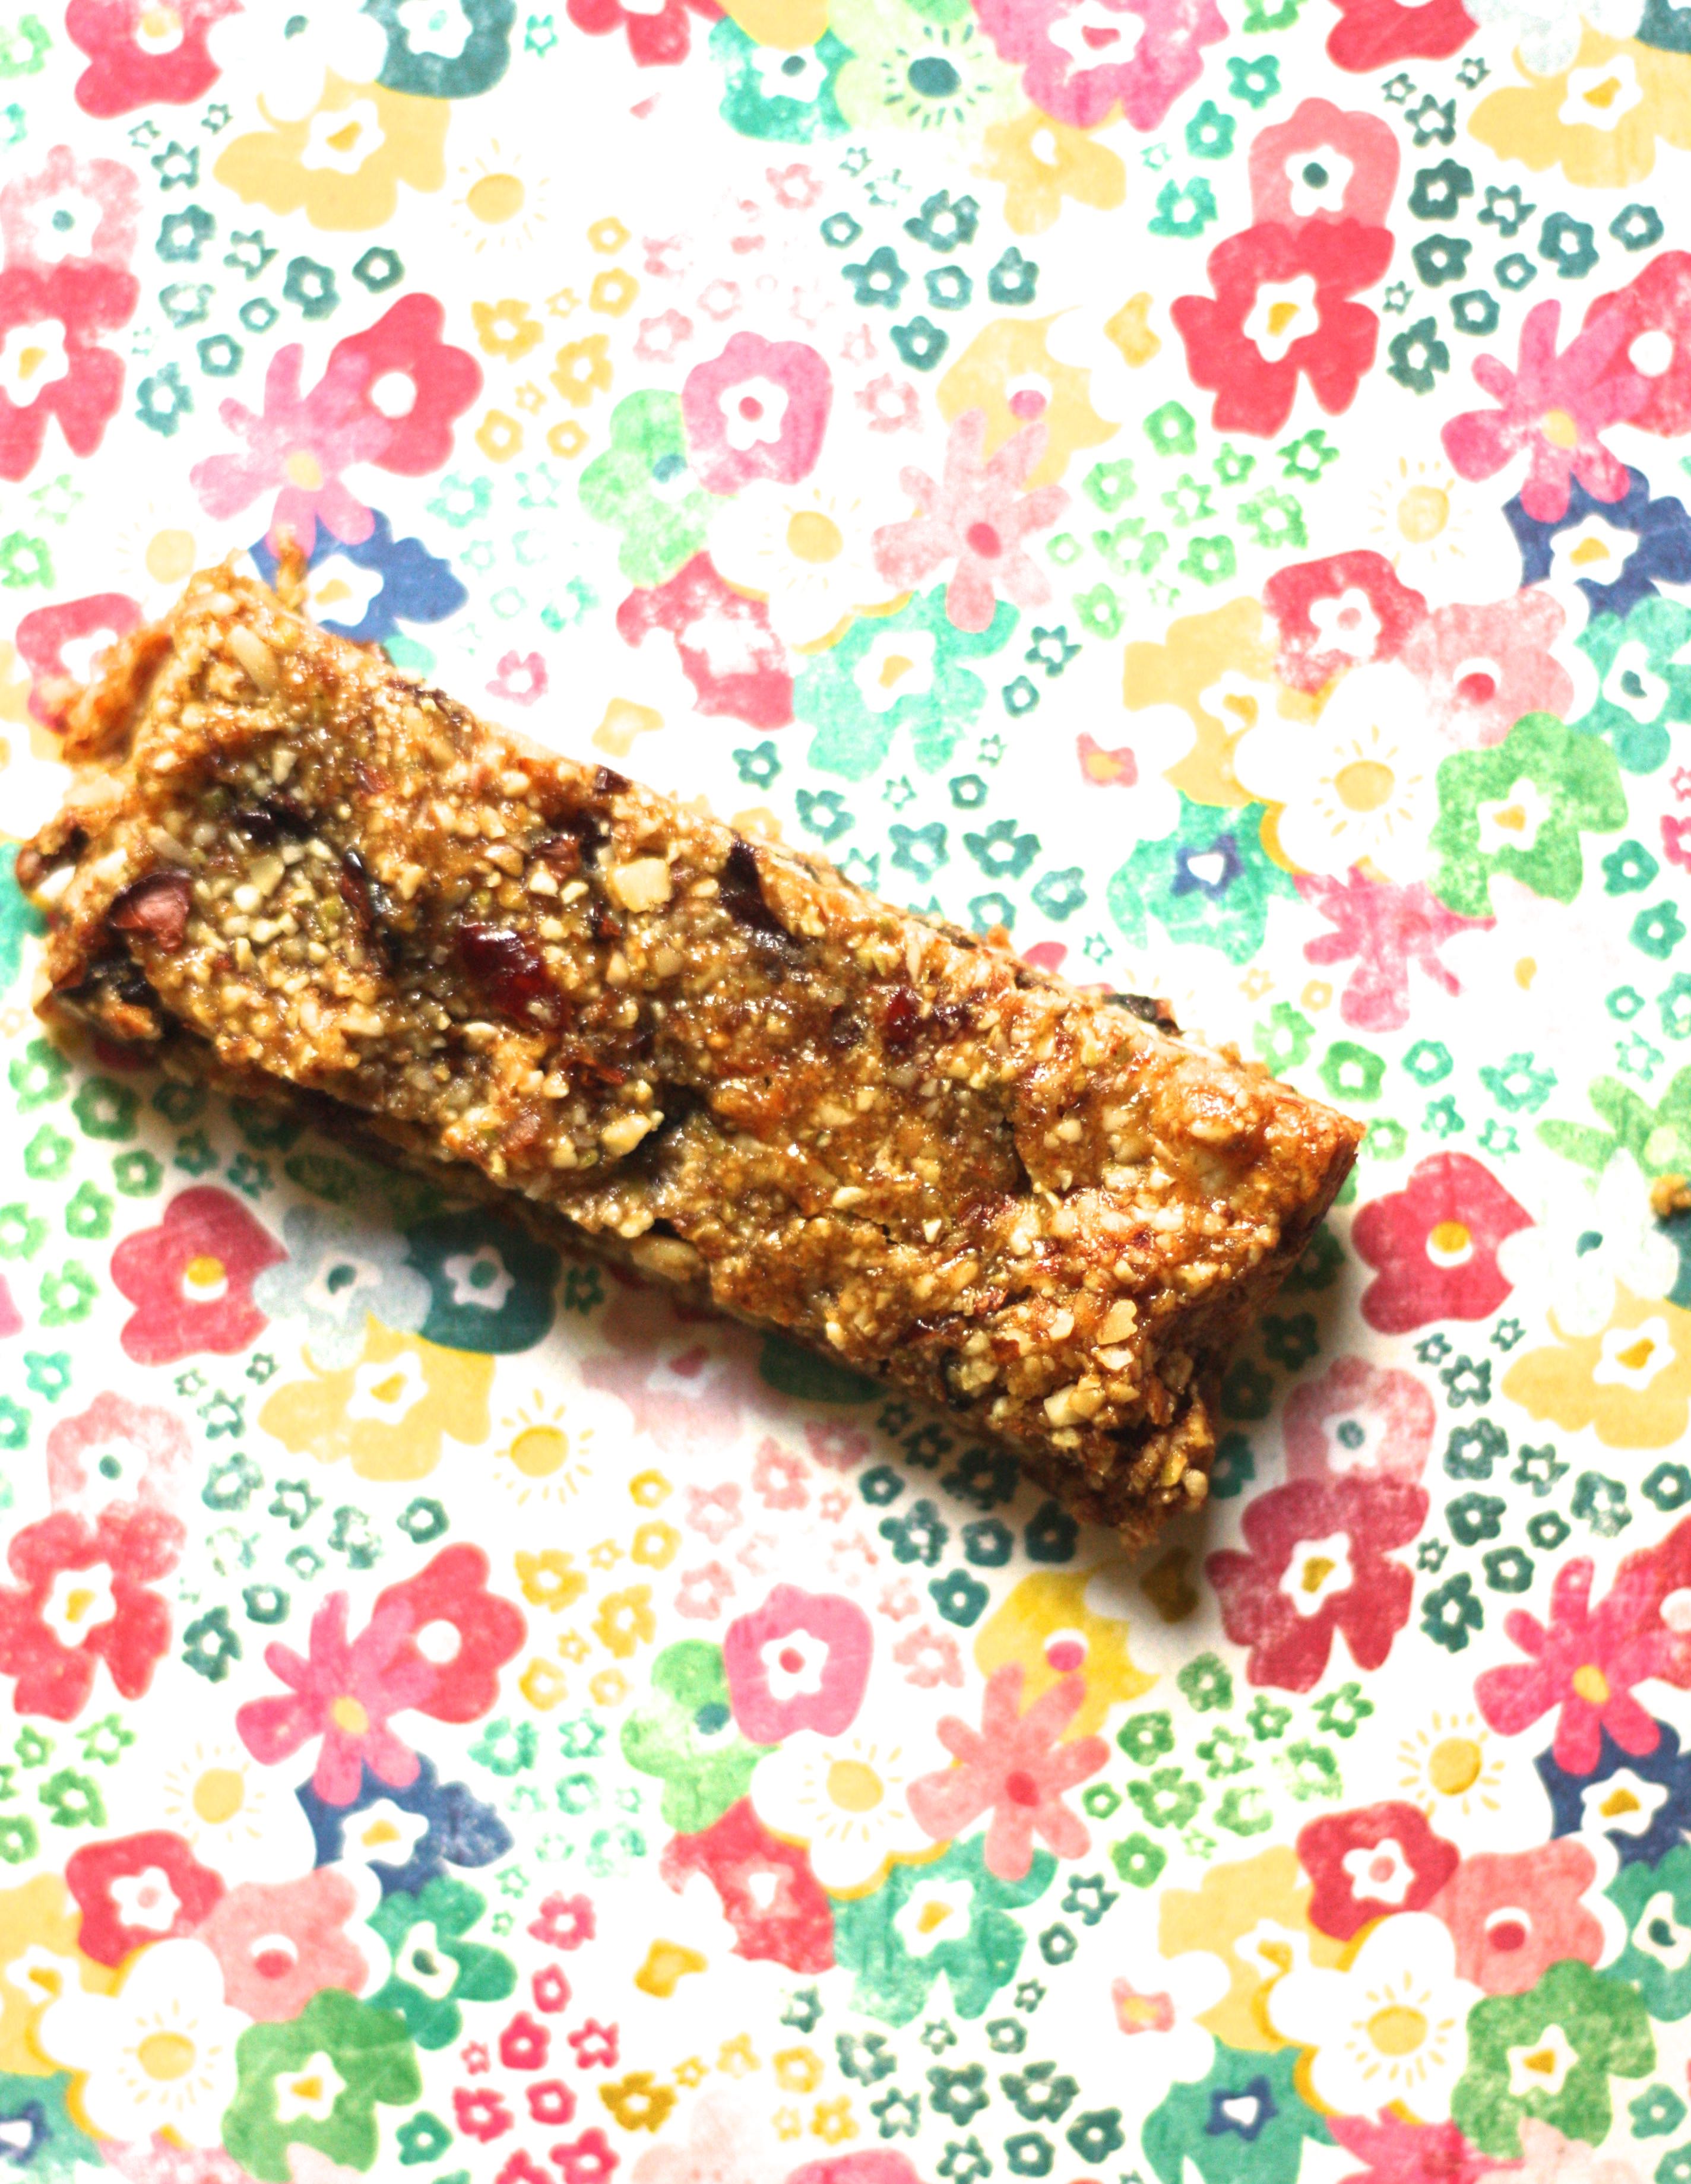
I’m loving all the energy bars I’m trying. Well, honestly, there are a lot of awful ones, but this one is simple and delicious, though admittedly not as kid-friendly (which just means my kids don’t devour them all in one afternoon. Maybe this is a good thing). I’ve found that these keep for a week, and are great for little snacks or even little meals, if needed. I’m trying to make something healthy and yummy like this every Monday, so that I have a supply when we’re on the run. So here’s something to consider for this week! I’ve changed this recipe from a recipe that’s on the blog citronlimette.

Seed & Nut Energy Bars

  • 1 c. walnuts
  • 1 c. almonds
  • 1 c. pumpkin seeds or sunflower seeds
  • 6 dates
  • ½ t. sea salt
  • 1 t. vanilla
  • 2 T. unsweetened finely shredded coconut (like Bob’s Red Mill) or coconut flour
  • ½ c. agave
  • ½ c. cocoa nibs (don’t substitute chocolate chips. Just leave out if you don’t have)
  • 1 c. currants or chopped cherries
Preheat oven to 350F. Line an 8″ x 8″ pan with aluminum foil or parchment paper.
Pulse walnuts, almonds and pumpkin seeds in a food processor until finely chopped. Add the dates and pulse the mixture few times, leaving some texture.Transfer the mixture to a mixing bowl; add the other ingredients, and mix until combined. Spread mixture into prepared pan and bake for 20 minutes.

Cut into squares and serve. Bars will keep in an airtight container, in the fridge, for a week.

A perfect recipe for breadmaking newbies

Lahey Bread 1
I’ve been trying just about every no-knead and sourdough start recipe I can find for the last year, and I know this is one of the most famous, but it’s also really, really good. The appearance isn’t quite as impressive as some of the others (I usually don’t get good wings on the loaf, and it doesn’t sit up high), but the crumb is fantastic. It usually has a good amount of holes and a great chew to it–and never seems dry. It’s also, amazingly, just as fresh the second day as it is the first, especially when using a start. I love this recipe and would encourage anyone, especially new-comers to bread baking, to try this. There’s really no reason not to! Interesting to note: the recipe I’ve found online has a different ratio of water than the one from Jim Lahey’s book. I’m sticking to the one in his book here, but I do occasionally have to add more water to work in the arid climate I live in.

Jim Lahey’s No-Knead Crusty Bread (with option for a start)

  • 3 cups  flour
  • 1 1/3 cups water ( or up to 1 1/2 c.)
  • 1/4 teaspoon yeast OR 1/2 c. sourdough start
  • 1 1/4 teaspoons salt
  • Nonstick spray

* special equipment – a 6-8 quart pot with lid, such as an enameled cast iron dutch oven (I have both a cloche and an old dutch oven without legs and they both work great, but do lend to different characteristics in the appearance.)

  1.  Mix all of the dry ingredients in a medium bowl.  Add water and incorporate by hand or with a wooden spoon or spatula for 30 seconds to 1 minute.  Lightly coat the inside of another medium bowl with nonstick spray and place the dough in the bowl (I actually mix mine in a large food-grade bucket, then I just cover it with the lid).  Cover the bowl with plastic wrap and let rest for 12 hours at room temperature ( 65-72 ℉).
  2. Remove the dough from the bowl and fold once or twice.  Let the dough rest 15 minutes in the bowl or on the work surface.  Next, shape the dough into a ball.  Generously coat a cotton towel (not terry cloth) with flour, wheat bran or cornmeal; place the dough seam side down on the towel and dust with flour.  [Instead, I always shape it and then place it on a piece of parchment paper, which I have set in a small (8″) skillet. I then spray a piece of plastic wrap with nonstick spray and cover the loaf.] Cover the dough with a cotton towel and let rise 1-2 hours, until more than doubled in size.
  3. Place the dutch oven onto a middle or lower rack in the oven, and heat the oven to 450-500℉.  Once the dough has more than doubled in volume, remove the pot from the oven and place the dough inside, seam side up.  Cover with the lid and bake 30 minutes. Remove the lid and bake another 15-30 minutes until the loaf is nicely browned. The bread slices the best if it sits an hour or so before serving it.Lahey Bread 2

Chocolate Pecan Grahams


Chocolate GrahamsOn Mondays, I’ve been trying to bake something that I can use all week as a healthy-ish and filling after school snack, pairing it with cut fruit or vegetables or the like. So, I baked these this last Monday, I even baked a double batch, hoping I would have enough to last through the week. Well, we had enough to last through early-morning munchies on Tuesday. So, the bad news was I had to bake a new after school snack on Tuesday (which actually isn’t bad news to me! I have two new cookbooks I’m trying to bake through: Bouchon Bakery–which will take me a few years–and Payany’s Better Made at Home. So delightful!), and the good news was that we have another winner for after school snacks! I’ve adapted this recipe from one on King Arthur Flour (I’ve reduced the sugar and added pecans. The full sugar amount is delicious, but tastes more like a flat brownie than a cracker. Not that there’s anything wrong with that! Just wanting a little less sugar before dinner).

Note: these grahams are quite crumbly out of the oven, but firm up within an hour of cooling. Also, I scored them before they went into the oven, and then again right out of the oven. And thanks to Bouchon, I now want a bicycle for scoring. I think that’s what he calls it. Anyway. Big dreams. Another note: my kids had no idea these grahams had pecans in them (Lucie just reading over my shoulder commented on this!). Now, that’s success.

Chocolate Pecan Grahams

1/2 c. all-purpose flour
3/4 c.  whole wheat flour
1/2 t. salt
1/2 c. Dutch-process cocoa
1/2 c. confectioners’ sugar
1 t. baking powder
1/2 c. pecans, finely chopped or pulsed in a food processor till finely chopped
1/2 c. (1 stick, 4 ounces) unsalted butter
3-4 T.  honey (I like more, plus I needed it for moisture)
2 T. cold milk
2 T. granulated sugar, for sprinkling

Preheat your oven to 325°F. Cut out two sheets of parchment as large as your cookie sheets.

In a medium-sized bowl, whisk together the flours, salt, cocoa, sugar, and baking powder. With a pastry blender, two knives, or your fingertips, cut the butter into the flour mixture until evenly crumbly. In a separate bowl, combine the honey and milk, stirring until the honey dissolves. Add the liquid to the dry ingredients and toss lightly with a fork until the dough comes together. Add additional milk, if necessary.

[Alternately, place the dry ingredients in a food processor, pulse 5 times, add the pecans, pulse 2-3 times. Then, add the butter, and pulse until mixture looks like sand, then add the wet ingredients and pulse until the mixture comes together, adding more milk or honey if needed. ]

Turn the dough out onto a well-floured surface and fold it over gently 10 to 12 times, until smooth. Divide the dough in half. Work with half the dough at a time, keeping the remaining dough covered.

Transfer one piece of dough to a piece of parchment. Roll it into a rectangle a bit larger than 10 x 14 inches; the dough will be about 1/16-inch thick. Trim the edges and prick the dough evenly with a dough docker or fork. Sprinkle with a tablespoon of sugar. Repeat with the remaining dough and parchment. Place the rolled-out dough pieces, on their parchment, onto baking sheets.

Bake the crackers for 15 minutes, or until you begin to smell chocolate. Remove them from the oven, and immediately cut them into rectangles with a pizza wheel or knife. Transfer them to a rack to cool. Store the cooled crackers tightly wrapped. Yield: thirty-two 3 1/2 x 2 1/2-inch crackers.

A Perfect Spring Meal

I’m a little late on the au courant cookbook scene, having just checked out Ottolenghi and Tamini’s Jerusalem a couple of weeks ago, but I’m so pleased with the first dish I made out of it that I’ve been exploring more recipes ever since. The night I made burgers, we also had homemade bread and butter, as well as a big bowl of fruit, and I thought 1) I wish this meal would magically appear on my table again tomorrow night  and 2) the sunshine, this meal, and my family have made this night perfect. So far, these burgers are still my favorite dish from the book, but there’s still more I’m trying . . .

Turkey & Zucchini Burgers

  • 1 lb. ground turkey
  • 1 large zucchini, coarsely grated (scant 2 cups)
  • 3 green onions, thinly sliced
  • 1 large egg
  • 2 T. chopped mint
  • 2 T. chopped cilantro
  • 2 cloves garlic, crushed
  • 1 t. ground cumin
  • 1 t. salt
  • ½ t. fresh ground pepper
  • ½ t. cayenne pepper
  • 6½ T. sunflower oil, for searing
Yogurt Sauce
  • scant ½ c. sour cream
  • scant ⅔ c. Greek yogurt
  • 1 t. grated lemon zest
  • 1 T. freshly squeezed lemon juice
  • 1 small clove garlic, crushed
  • 1½ t. olive oil
  • 1 T. sumac (I omitted, because I have to search harder to find this here)
  • ½ t. salt
  • ¼ t. ground pepper

    Set oven to 425F. Line a baking sheet with aluminum foil.

    Make the yogurt sauce by combining all the ingredients in a bowl and mixing well, and then place in the refrigerator until ready to serve.

    Place all the burger ingredients, except the oil, in a large bowl. Mix well, using your hands, making sure to get all the ingredients well incorporated, but don’t over-work the meat; fold gently and quickly.

    Make the meat patties: a 1/3 cup measurement will make 9 burgers. (You can make your burgers as large or small as you like, but will need to adjust the cooking time.) Note that the mixture will be quite wet.

    Heat a cast iron skillet over medium heat, adding half of the oil once it is heated up. Once the oil is sizzling, brown the patties on both sides, for about 2 minutes per side, working in batches, and adding more oil as needed.

    Set the browned burgers on the prepared baking sheet and bake for about 7 to 10 minutes, or until an instant thermometer registers 165 degrees F. Serve with yogurt sauce on top. Enjoy this delightful meal!

Hot Cross Buns

Hot Cross Bun

I know it’s past Easter, but I’m sure I’ll forget which recipe I liked so much if I wait until next year to think about these great rolls we made this year. Plus, I need to share this with a few friends! This bake was inspired by an early morning lament of my good friend that Easter just wasn’t right without Hot Cross Buns. I wholeheartedly agreed, having never had one before, but seeing them many times in some of my favorite Italian bakeries in Rhode Island.  Besides, I love the idea of metaphor and meaning in our food, especially around holy times of the year. Well, at least metaphors that my husband and I can enjoy. This is a great recipe from King Arthur Flour, although I did change things just a little. Can’t wait to bring them out of the oven again next year!

Hot Cross Buns

  • 1/4 c. apple juice
  • 1/2 c. golden raisins
  • 1/4 c. dried currants
  • 1/4 c. candied orange peel (or another 1/4 c. currants or other dried fruit)
  • 1 1/4 c. milk, room temperature
  • 3 large eggs, 1 separated
  • 6 T. butter, room temperature
  • 2 t. instant yeast
  • 1/4 c. light brown sugar, firmly packed
  • 1 t. ground cinnamon
  • 1/4 t. ground cloves or allspice
  • 1/4 t. ground nutmeg
  • 1 3/4 t. salt
  • 1 T. baking powder
  • 4 1/2 c.  Unbleached All-Purpose Flour

topping

  • 1 large egg white, reserved from above
  • 1 T. milk

icing [Instead, I used Cream Cheese frosting. Perfect!]

  • 1 c. + 2 T. confectioners’ sugar
  • 1/2 t. vanilla extract
  • pinch of salt
  • 4 t. milk, or enough to make a thick, pipeable icing

Lightly grease a 10″ square pan or 9″ x 13″ pan.

Mix the apple juice with the dried fruit and raisins, cover with plastic wrap, and microwave briefly, just till the fruit and liquid are very warm, and the plastic starts to “shrink wrap” itself over the top of the bowl. Set aside to cool to room temperature. Note: If you worry about using plastic wrap in your microwave, simply cover the bowl with a glass lid.

When the fruit is cool, mix together all of the dough ingredients except the fruit, and knead, using an electric mixer or bread machine, till the dough is soft and elastic. Mix in the fruit and any liquid not absorbed.

Let the dough rise for 1 hour, covered. It should become puffy, though may not double in bulk.

Divide the dough into billiard ball-sized pieces, about 3 3/4 ounces each. A heaped muffin scoop (about 1/3 cup) makes about the right portion. You’ll make 12 to 14 buns. Use your greased hands to round them into balls. Arrange them in the prepared pan.

Cover the pan, and let the buns rise for 1 hour, or until they’ve puffed up and are touching one another. While the dough is rising, preheat the oven to 375°F.

Whisk together the reserved egg white and milk, and brush it over the buns.

Bake the buns for 20 minutes, until they’re golden brown. Remove from the oven, and transfer to a rack to cool.

Mix together the icing ingredients, and when the buns are completely cool, pipe it in a cross shape atop each bun.


Best Granola Bars I’ve Ever Had/Made

Puffed Rice Bars

Well, I’m sure almost anyone who has googled “energy bar recipe” like I did has seen this bar, since it comes from the first hit, but it’s time for me to publish how much I like them! After making them the first time, I went to the store the next morning to buy all the ingredients to make them again, in case my kids finished them off after school. They are so good, I’m a little embarrassed I’ve ever purchased a granola bar. And though I’m sure I’ll buy granola bars again, I will always wish I had taken time to make these instead. Soooo good. So Good. This recipe comes from beardandbonnet.com, but I’ve altered it a bit for our taste.

Sweet Pine Nut and Puffed Rice Bars

  • 1 c. pecans, chopped
  • 1 c. oats
  • ⅓ c. pine nuts
  • ¼ c. flax seeds
  • ⅔ c. light brown sugar
  • ½ c. honey
  • 4 T. unsalted butter
  • ½ t. salt
  • 2 t. vanilla extract
  • 4 c. puffed brown rice cereal (also could mix in puffed Kamut or Millet)
  • 1/4 c. water
  1. Preheat the oven to 350°F and line a baking sheet with parchment paper. Spread the pecans, oats, pine nuts, and flax seeds on the sheet and bake about 8 minutes or until fragrant. Transfer to a large mixing bowl.
  2. In a saucepan, bring the sugar, honey, butter, water, and salt to a boil over medium heat, making sure that the sugar dissolves before the mixture boils. Simmer until a light brown caramel forms, about 5 minutes. Remove from heat and stir in the vanilla.
  3. Pour the caramel over the nut and oat mixture. Stir in the brown rice cereal until evenly coated.
  4. Line an 11×17 inch baking pan with parchment paper, extend the paper over the sides of the pan to use as a handle later. Pour the cereal mixture into the baking dish and spread out into an even layer. Cover the pan with a second piece of parchment and press down to compress the bars. Let the mixture stand for about 2 hours until firm.
  5. Discard the top piece of parchment and use the “handles” from the second piece of parchment to gently remove the cereal square from the pan then cut into bars and serve.

Easy Butternut Squash Pasta

Butternut Squash pasta
Sometimes peeling a butternut squash and roasting it before using it just seems like too much, so I liked this recipe. I had never grated a butternut squash, but it was super easy and I really liked this meal. I’ll definitely make it many times in the future! This recipe comes from Bon Appetit.

Easy Butternut Squash Pasta

  • 2 T. olive oil
  • 2 T. unsalted butter
  • 5 c. shredded butternut squash (from about 1/2 peeled medium squash; shredded with the coarse grating attachment on a food processor or on a box grater)
  • 1/4 c. thinly sliced fresh sage
  • 1 lb. short curled pasta
  • Kosher salt
  • 1/2 c. finely grated Parmesan

Heat oil and butter in a large heavy pot over medium heat. Add squash and sage and cook, stirring occasionally, until squash begins to brown, about 2 minutes.

Meanwhile, cook pasta in a large pot of boiling salted water, stirring occasionally, until al dente. Drain pasta, reserving 2 cups pasta cooking liquid.

Add pasta and 1/2 c. pasta cooking liquid to squash and stir to coat. Cook over medium heat, stirring, adding more cooking liquid as needed, until sauce coats pasta. Stir in 1/2 c. Parmesan. Divide pasta among bowls; top with more Parmesan.

GIngerbread Castle

gingerbread castle with henry
When my oldest son had to make a castle for school, he had the brilliant idea of making it out of gingerbread. So, we now have proof that he did get some of my genes! Luckily, someone had pioneered this adventure before, and I found a lovely blogger who really mapped out the whole project for us. And, I found an amazing gingerbread recipe. It reminds me of a gingery graham cracker, and it is chewy and almost tastes like honey. So good.

This whole castle, after taken to school and graded, went down in a matter of minutes by a crowd of six-graders and siblings. It was delightful to watch, and incredibly messy to clean up! This recipe comes from alipyper.blogspot, who also gives a template for the castle, if you have need! But we will make this again soon, just for snacking.

Gingerbread House Recipe
Makes one large gingerbread house or one sheet of gingerbread for snacking!

3/4 c. unsalted butter, room temperature
1 c. sugar
1 egg, slightly beaten
1/4 c. dark molasses
2 c. flour
1/2 t. salt
1 T. ground ginger
1 t. ground cinnamon

Preheat oven to 350º F.

Cream butter and sugar. Add slightly beaten egg and dark molasses. Mix well. Add dry ingredients and mix well. Cookie dough should pull away from the edges of the bowl, but should not be too dry (If you are rolling out the dough for cut out gingerbread cookies, add a bit more flour so that the dough is stiffer). Turn out dough onto an ungreased 18″ x 13″ x 1″ cookie sheet [I parchment for precaution] and flatten dough, completely covering the bottom of the pan. Smooth it, then lay out gingerbread house pieces and score the pattern with a sharp paring knife.

Bake for 12 – 14 minutes, rotating pan halfway through baking. Gingerbread is done when the top is golden brown. As soon as you remove the cookie sheet from the oven score the pattern pieces again. Allow cookie sheet to cool 15 minutes. Carefully remove the excess gingerbread pieces, then using a metal spatula carefully remove the gingerbread house pieces to a cooling rack and cool completely.

Provencal Fougasse

Fougasse 2
So, I’m actually not quite sure how to pronounce this word, despite my eight years of French, but this easy-to-make bread was so fun! By adding a little garlic and herbs at the beginning, it transformed the bread, and then it baked up simply, and was such a great accompaniment to soup. In fact, it was kind-of like making breadsticks, but much simpler. So, I hope my friend Debby, who I got to share this with, and many others enjoy this recipe! This recipe comes from Williams-Sonoma Essentials of Baking.

Provencal Fougasse

3 cloves garlic, chopped
1T. chopped fresh rosemary
1 T. chopped fresh oregano (I used 1 t. dried, since I didn’t have any fresh)
1 T. chopped fresh thyme (Ditto the oregano here)
1/4 c. extra-virgin olive oil
1 package (2 1/2 t.) active dry yeast 
1 3/4 c. warm water (105-115 degrees)
4 1/2 c. all-purpose flour
1 T. salt
Semolina flour for dusting
 
In a small saucepan over medium heat, combine the garlic, rosemary, oregano, thyme, and olive oil. Bring to a simmer and cook just until the garlic is tender, about 1 minute. Remove from the heat and let cool to room temperature.
 
 In the 5-qt bowl of a stand mixer, dissolve the yeast in the warm water and let stand until foamy, about 5 minutes. Add the oil mixture, flour, and salt. Place the bowl on the mixer, attach the dough hook, and knead on low speed until the dough is smooth and elastic, 5-7 minutes.Remove the dough from the bowl.
 
Form the dough into a ball, transfer it to a lightly oiled bowl, and cover the bowl with plastic wrap. Let the dough rise in a warm, draft-free spot until it doubles in bulk, 1 1/2-2 hours. 
 
Punch down the dough and turn it onto a clean work surface. Cut the dough in half with a sharp knife or a bench scraper. Shape each piece into a loose ball, cover with a dry kitchen towel, and let rest for 5 minutes.
 
Liberally dust 2 half-sheet pans or rimless baking sheets with semolina flour (or line the sheet with parchment paper). On a lightly floured work surface, roll out each portion of the dough into a rectangle with about the same dimensions as the prepared pan. Transfer each rectangle to the prepared pan, spreading it out with your hands if it shrinks when you pick up. Facing the narrow end of a rectangle, and eyeing the vertical center of it, use a sharp knife or a pizza wheel to cut 3 slits at an angle down the left side of the center, and 3 slits down the right side of the center. Gently pull on the dough to open the slits up slightly so that they widen into ovals. 
 
Cover the dough loosely with a dry kitchen towel and let the breads rise again until they double in size, 20-30 minutes.
 
Position a rack in the lower third of the oven, and preheat to 425 degrees. Bake the breads until they are lightly browned and sound hollow when tapped on the bottom, 15-20 minutes. Transfer to wire racks and let cool completely in the pans. Store tightly wrapped in aluminum foil at room temperature for up to 1 day or freeze for up to 2 weeks. Reheat at 375 degrees for 10 minutes.
Yield: 2 large flatbreads
Fougasse from WS