I needed one. Out with green, in with blue.
Category: Uncategorized

2011 in review
The WordPress.com stats helper monkeys prepared a 2011 annual report for this blog.

Here’s an excerpt:
The concert hall at the Syndey Opera House holds 2,700 people. This blog was viewed about 16,000 times in 2011. If it were a concert at Sydney Opera House, it would take about 6 sold-out performances for that many people to see it.
Click here to see the complete report.
Share this:

Raspberry (Blackberry) Plum Pie
I picked up a copy of a summer special Gourmet magazine called Grilling, and this was the first recipe I tried, and I love it. I’m

So good!
particularly taken with the crust, which has a great, light flavor and beautifully crisp texture. The filling is a bit on the runny side, but not in a way that ruins the dish (just certainly not grocery-store gelatin-like). We made these with our neighbor’s plums and grandma’s blackberries, and it was lovely. Just one note: I thought the crust was a bit on the skimpy side; next time I think I will 1 1/2 times it, so it has prettier edges when rolled out.
Raspberry (Blackberry) Plum Pie
2 c. all-purpose flour
1 1/2 T. sugar, divided
1 t. salt
1 stick cold, unsalted butter, cut into 1/2 inch pieces
1/4 c. cold vegetable shortening, cut into pieces (I actually used lard)
1 T. distilled white vinegar
4-5 T. cold water
1 T. whole milk
For Filling
6 T. all-purpose flour
1 1/4 c. sugar
3/4 t. grated nutmeg
2 1/2 lb. plums, pitted and cut into 1/2-inch-wide slices
6 oz. raspberries (1 1/4 cups) (I used frozen blackberries)
2 T. unsalted butter, ct into 1/4-inch pieces
1. Whisk together flour, 1 rounded T. sugar, and salt in a bowl (or pulse in a food processor). Blend in butter and shortening with your fingertips or a pastry blender (or pulse in processor) until most of mixture resembles coarse meal with some roughly pea-size butter lumps. Drizzle vinegar and 4 T. water evenly over mixture and gently stir with a fork (or pulse) until incorporated.
2. Squeeze a handful of dough: If it doesn’t hold together, add water, 1/2 T. at a time, stirring (or pulsing) until incorporated. (Don’t overwork or pastry will be tough.)
3. Gather dough together (it will be soft) and press into a ball. Divide in half and shape into 2 (5-inch) disks. Chill, each disk wrapped in plastic wrap, until firm, at least 3 hours (preferably 12); chilling dough well makes it easier to roll out.
4. Preheat oven to 425 with foil lined baking sheet in middle.
5. Whisk together flour, sugar, nutmeg, and 1/4 t. salt in a large bowl, then toss well with plums in a large bowl. Add raspberries and toss gently.
6. Roll out 1 piece of dough (keep remaining disk chilled) on a lightly floured surface with a lightly floured rolling pin into a 13-inch round. Fit into a 9-inch pie plate and chill.
7. Roll out the remaining piece of dough on a lightly floured surface into an 11-inch round.
8. Spoon fruit filling into pie shell and scatter butter over it. Cover with pastry round and trim edges, leaving a 1/2-inch overhang. Press edges together to seal, then fold overhang under and crimp decoratively. Lightly brush top of pie with milk and sprinkle all over with 1 T. sugar. Cut 5 (1″ long) vents in top crust.
9. Bake pie on hot baking sheet 20 minutes. Reduce oven temperature to 375 degrees and continue baking until crust is golden and filling is bubbling, 40-50 minutes more. Cool to warm or room temperature, 2-3 hours.
Share this:

Smoky Beef (or Pork) Tacos
Another great recipe from Everyday Foods. I use a Boston Butt Pork roast instead of the beef, usually, and I cook it in a crock pot, and let it go all day. We love this recipe, and all the accompaniments, too.
Smoky Beef (or Pork) Tacos
- 2 to 3 tablespoons chopped canned chipotle chiles in adobo
- 1/2 cup ketchup
- 8 garlic cloves, chopped
- 2 teaspoons dried oregano
- Coarse salt and ground pepper
- 1 boneless beef chuck roast (about 3 pounds), excess fat trimmed
- 16 corn tortillas (6-inch), lightly toasted

Martha's Image, not mine

- Preheat oven to 350 degrees. In a heavy pot with a tight-fitting lid, stir together chiles, ketchup, 1 cup water, garlic, oregano, 2 teaspoons salt, and 1/4 teaspoon pepper.
- Cut beef into 4 equal pieces. Add to pot, and turn to coat. Cover, and bring to a boil; transfer pot to oven. Bake, covered, until beef is fork-tender, about 2 1/2 hours.
- Transfer beef to a bowl. With a large spoon, skim off and discard fat from cooking liquid. Shred beef with two forks; moisten with cooking liquid as needed. Season with salt and pepper. Serve beef with tortillas and desired toppings.
Note: To soften the tortillas and give them a quick char, toast them directly over a low gas flame using tongs (or use a dry skillet on medium heat).
Accompaniments:
Avocado-Onion Relish
- 2 diced avocados
- 1 finely chopped medium red onion
- 1 tablespoon fresh lime juice
- Salt and pepper
- Combine avocados, red onion, and lime juice. Season with salt and pepper.
Corn and Tomato Salsa
- 1 10-ounce box thawed frozen corn
- 1 cup quartered grape tomatoes
- 2 teaspoons vegetable oil
- 2 teaspoons red-wine vinegar
- Salt and pepper
- Combine corn, grape tomatoes, vegetable oil, and red-wine vinegar. Season with salt and pepper.
Cilantro-Lime Crema


The relish, salsa, and crema. Also Martha's pic.
- 16 ounces reduced-fat sour cream
- 1/4 cup fresh lime juice
- 1/2 cup chopped cilantro
- Salt and pepper
- Stir together sour cream, lime juice, and cilantro. Season with salt and pepper.
Share this:

Thai Sticky Rice with Peanut Dipping Sauce
I noticed a strange looking pot at my friend’s house the other day, and when I asked her about it, she told me it was this marvelous thing she picked up at the Asian

This is the steam pot and bamboo basket from the Asian Market
Market on 300 S. and 291 E. in Provo, and it’s purpose was to make sticky rice. Well, I love sticky rice, so the pot was purchased within a week, and while I was in this terrific market, I asked the owner if she could tell me how to make peanut sauce. I am so glad I did! She pointed out all the ingredients, and then was about to write a recipe for me, when I noticed she had a small, self-published recipe book for $6. I bought it, and then I made this rice 3 times the first week, not only because the sticky rice is so fun to eat, but also because her peanut sauce in unbelievable. I would highly suggest finding a market to buy this pot and sticky rice in, and give it a go. It will bring happiness. I’m printing this recipe from Kanakum Lawson’s recipe book, with her permission.
Thai Sticky Rice (a terrific dish for kids!)
1. In lukewarm water, soak stick rice for 2 1/2-3 hours.
2. Fill half of the steamer pot with water. Drain the rice and put it in the bamboo basket, cover the rice with any lid that will fit (or aluminum foil). set the bamboo basket over the steamer pot (don’t let the water touch the bamboo basket).
3. Bring to boil and let it steam for 10 minutes.
4. Stir, so the rice at the bottom moves to the top.
5. Steam for 10 more minutes and stir again.
6. Steam for 10 more minutes. The color of the rice will turn clear when it’s done. Taste to see if it’s soft enough. If it’s still not soft enough, steam just 5 minutes more and check again, until it’s done.
Tips: You can re-steam the rice it it’s too hard later on (because of dry weather). To clean the basket, just leave the rice to dry and then wipe out with your hand.
AMAZING Peanut Sauce

Sticky Rice and Peanut Sauce
2 T. tamarind liquid
4-5 T. peanut butter (Lawson suggests natural chunky, but I’ve used unnatural creamy, and it works great, too)
2 T. red curry paste
6 T. sugar
4 T. fish sauce
1 1/2 c. coconut milk
1. In a saucepan, add coconut milk and heat it up at medium heat.
2. As it’s heating, stir in the curry paste and break the paste into small pices. Mix well.
3. When you see red oil simmering to the top, add the peanut butter, sugar, fish sauce and tamarind liquid. Stir.
4. Taste. You should be ale to taste all three flavors, salty, sweet, and sour. If it becomes too thick, add a few teaspoons of water to thin the paste (if too spicy, reduce curry; too salty, reduce fish oil or add sugar. I think it’s divine how she’s balanced the flavors!)
Share this:

I just added a rating system
So I know that my blog is supposed to have only super-terrific, amazing recipes that hopefully will be loved by all, but I have to admit that I still have my all-time favorites, and others are just great everyday recipes. For this reason, and because I’m interested in knowing what others think, I’ve added a rating system to the posts. You have to click on the individual recipe to rate it, but I hope you do!
Share this:
Chocolate-Cherry Fudge Bars
I come back to this recipe every February: chocolate, cherries, pink. Nice. And a real winner if you’re a fan of marachino cherries and fudginess, which I

Quite festive, n'est-ce pas?
certainly am on both accounts. I’ve tried substituting cocoa powder for the baking chocolate, and the baking chocolate comes out better. It’s also important not to overbake this recipe, or it will come out more cakey than fudgy. I pulled it from a collection of Kraft recipes years ago. I’m leaving out all the branding, but I’m sure if you use all Kraft products, the brownies will taste, umm, Krafty.
Chocolate-Cherry Fudge Bars
4 squares unsweetened baking chocolate
3/4 c. butter (1 1/2 sticks)
1 1/2 c. sugar
3 eggs
1 t. vanilla
1 c. flour
1 pkg. (small–4 serving size) chocolate instant pudding dry mix (1/2 c.)
3/4 c. maraschino cherries, divided
7 T. maraschino cherry juice, divided
2 oz. cream cheese, softened
1/2 c. powdered sugar
1. Preheat oven to 350. Line 13×9″ baking pan with foil, ends extending over the side of the pans. Spray foil with cooking spray. Set aside.
2. Heat chocolate and butter in small saucepan (or microwave in a bowl in 30 second increments) until butter is melted. Stir until chocolate has also melted. Add sugar and mix well. Blendin eggs and vanilla. Add flour and dry pudding mix. Combine. Stir in 1/2 c. of the chopped cherries and 5 T. (1/3 c.) of the cherry juice. Spread into the prepared pan.
3. Bake 30-35 minutes or until wooden toothpick inserted in center comes out with fudgy crumbs. (Do not overbake.) Place pan on a wire rack to cool.
4. Mix cream cheese, powdered sugar and remaining cherry juice until well blended. Drizzle over cooled dessert [I find this works best by dipping a fork into the glaze and quickly drizzling across the top of the brownies, moving from left to right; speed’s the key]. Top with remaining 1/4 c. cherries. Use foil handles to remove dessert from pan before cutting into bars. Store leftovers in a tightly covered container in the refrigerator.
Note: If using a glass baking dish, reduce the temperature by 25 degrees.
Share this:

Deep Dish Pizza Crust
I did the traditional pizza I posted earlier for many years, but since I’ve happened upon this recipe, I’m almost wholly converted. I find this recipe to be much simpler–less messy, less time-intensive, and more capable of handling a pile of toppings. I don’t fill the pans as full of olive oil as the recipe calls for most of the time, but it’s worth doing the first time, so you know how terrific the recipe can be, and then pare back according to the needs of your constituents (or conscience). I almost always use this crust for a barbeque chicken pizza, so I jotted that down at the bottom. This recipe is from the 2007 America’s Test Kitchen Annual.
Deep Dish Pizza Dough
1/2 c. olive oil
3/4 c. plus 2 T. skim milk, warmed to 110 degrees (or 1/3 c. dry milk powder plus 3/4 c. warm water)
2 t. sugar
2 1/3 c. unbleached all-purpose flour, plus extra for dusting
1 envelope (2 1/4 t.) instant yeast
1/2 t. salt
Adjust an oven rack to the lowest position and heat the oven to 200 degress. When the oven reaches 200 degrees, turn it off. Lightly grease a large bowl with cooking spray. Coat two 9″ cake pans with 3 T. oil each.
Mix the milk, sugar and the remaining 2 T. oil together in a liquid measuring cup (if using dry milk, just mix the water, sugar, and oil together). Mix the flour, yeast, and salt (and dry milk, if using) in a standing mixer fitted with a dough hook. Turn the machine to low and slowly add the milk mixture. After the dough comes together, increase the speed to medium-low and mix until the dough is shiny and smooth, about 5 minutes. Turn the dough onto a lightly floured work surface, gently shape it into a ball, and place it in the greased bowl. Cover the dough with plastic wrap and place it in the warm oven until doubled in size, about 30 minutes.
After the first rise, transfer the dough to a lightly floured work surface, divide the dough in half, and lightly roll each half into a ball. Working with 1 dough ball at a time, roll and shape the dough into 9 1/2″ round and press it into an oiled pan. Cover with plastic wrap and set in a warm spot (not in the oven) until puffy and slightly risen, about 20 minutes. Meanwhile, heat the oven to 400 degrees.
Remove the plastic wrap from the dough. Ladle 2/3 c. pizza sauce on each dough round leaving a 1/2″ border around the edges. Sprinkle each with 1 1/2 c. cheese and any other toppings your desire. Bake the pizzas until the cheese is melted and the crust is browning 16-20 minutes. Remove the pizzas from the oven and let them rest in the pans for 1 minutes .Using a spatuala, transfer the pizzas to a cutting board, cut each into 8 wedges, and serve.
Barbeque Chicken Pizza: I’ve based this variation off of Wayland Bakery, where they used to serve my favorite barbecue chicken pizza.
Sauce: 1 part pizza sauce to 1 part of your favorite bbq sauce (the Test Kitchen recently rated Masterpiece KC to be taster’s fave–I’ve actually never tried it, so I’ll add it to my list). An easy pizza sauce is to simmer one can of crushed tomatoes (I think 20 oz?) with 2 minced cloves of garlic and about 1 T. olive oil for twenty minutes.
Toppings: shredded chicken (can be microwaved and shredded, or use leftovers), a mixture of mozzarella and monterey jack cheeses (I just throw a couple handfuls of each on top of the pizza), and sauce
After the pizza comes out of the oven, add about 3 green onions, sliced thin, and a good 1/4 c. cilantro, minced (or larger leaves, which is pretty but tends to turn off the small children here, not that they would eat this pizza anyway).
If you have more time, you can caramelize onions and add them with the chicken, and leave off the green onions at the end. I like this way better, but don’t always get to caramelizing the onions.
Share this:
Light! Mashed Sweet Potatoes
So, perhaps like many Americans come January, I’m fishing through cookbooks and trying to lighten up this month. Sometimes it’s hard going when you like your food to taste good, but this recipe is excellent–the missing calories aren’t notably missing, and I would definitely make this one come any other month of the year. A great side dish. This recipe comes from the Best Light Recipe. Make sure to allow for enough cooking time–it’s on the long side, but welcome if you have other things to prepare while this dish is cooking.
Light Mashed Sweet Potatoes
2-3 medium sweet potatoes, peeled and cut lengthwise into fourths, then crosswise into 1/4″ slices
1 t. sugar
1/2 t. salt
3/4 c. water
1 T. butter, melted
6 T. half and half, warmed
In a medium saucepan, bring water to a boil over medium-high heat. Add sweet potatoes, salt and sugar, return to a boil, then reduce the heat to a simmer, and cover. Allow to steam for 35-40 minutes, until a sweet potato falls apart when pricked by a fork. Remove from heat. Using a potato masher [or a fork], mash the sweet potatoes until creamy, then add the melted butter and warmed half and half. Mix well, and season with salt and pepper, if desired.
This recipe serves 4. One serving has 220 calories, 6 grams fat, and 6 grams of fiber, if you’re interested.
Share this:
2010 in review
WordPress just emailed me this information, and I thought some of you might be interested in it as well. Funny what’s popular here! I really never would have guessed . . .
The stats helper monkeys at WordPress.com mulled over how this blog did in 2010, and here’s a high level summary of its overall blog health:

The Blog-Health-o-Meter™ reads Wow.
Crunchy numbers
A Boeing 747-400 passenger jet can hold 416 passengers. This blog was viewed about 9,500 times in 2010. That’s about 23 full 747s.
In 2010, there were 62 new posts, growing the total archive of this blog to 160 posts. There were 32 pictures uploaded, taking up a total of 68mb. That’s about 3 pictures per month.
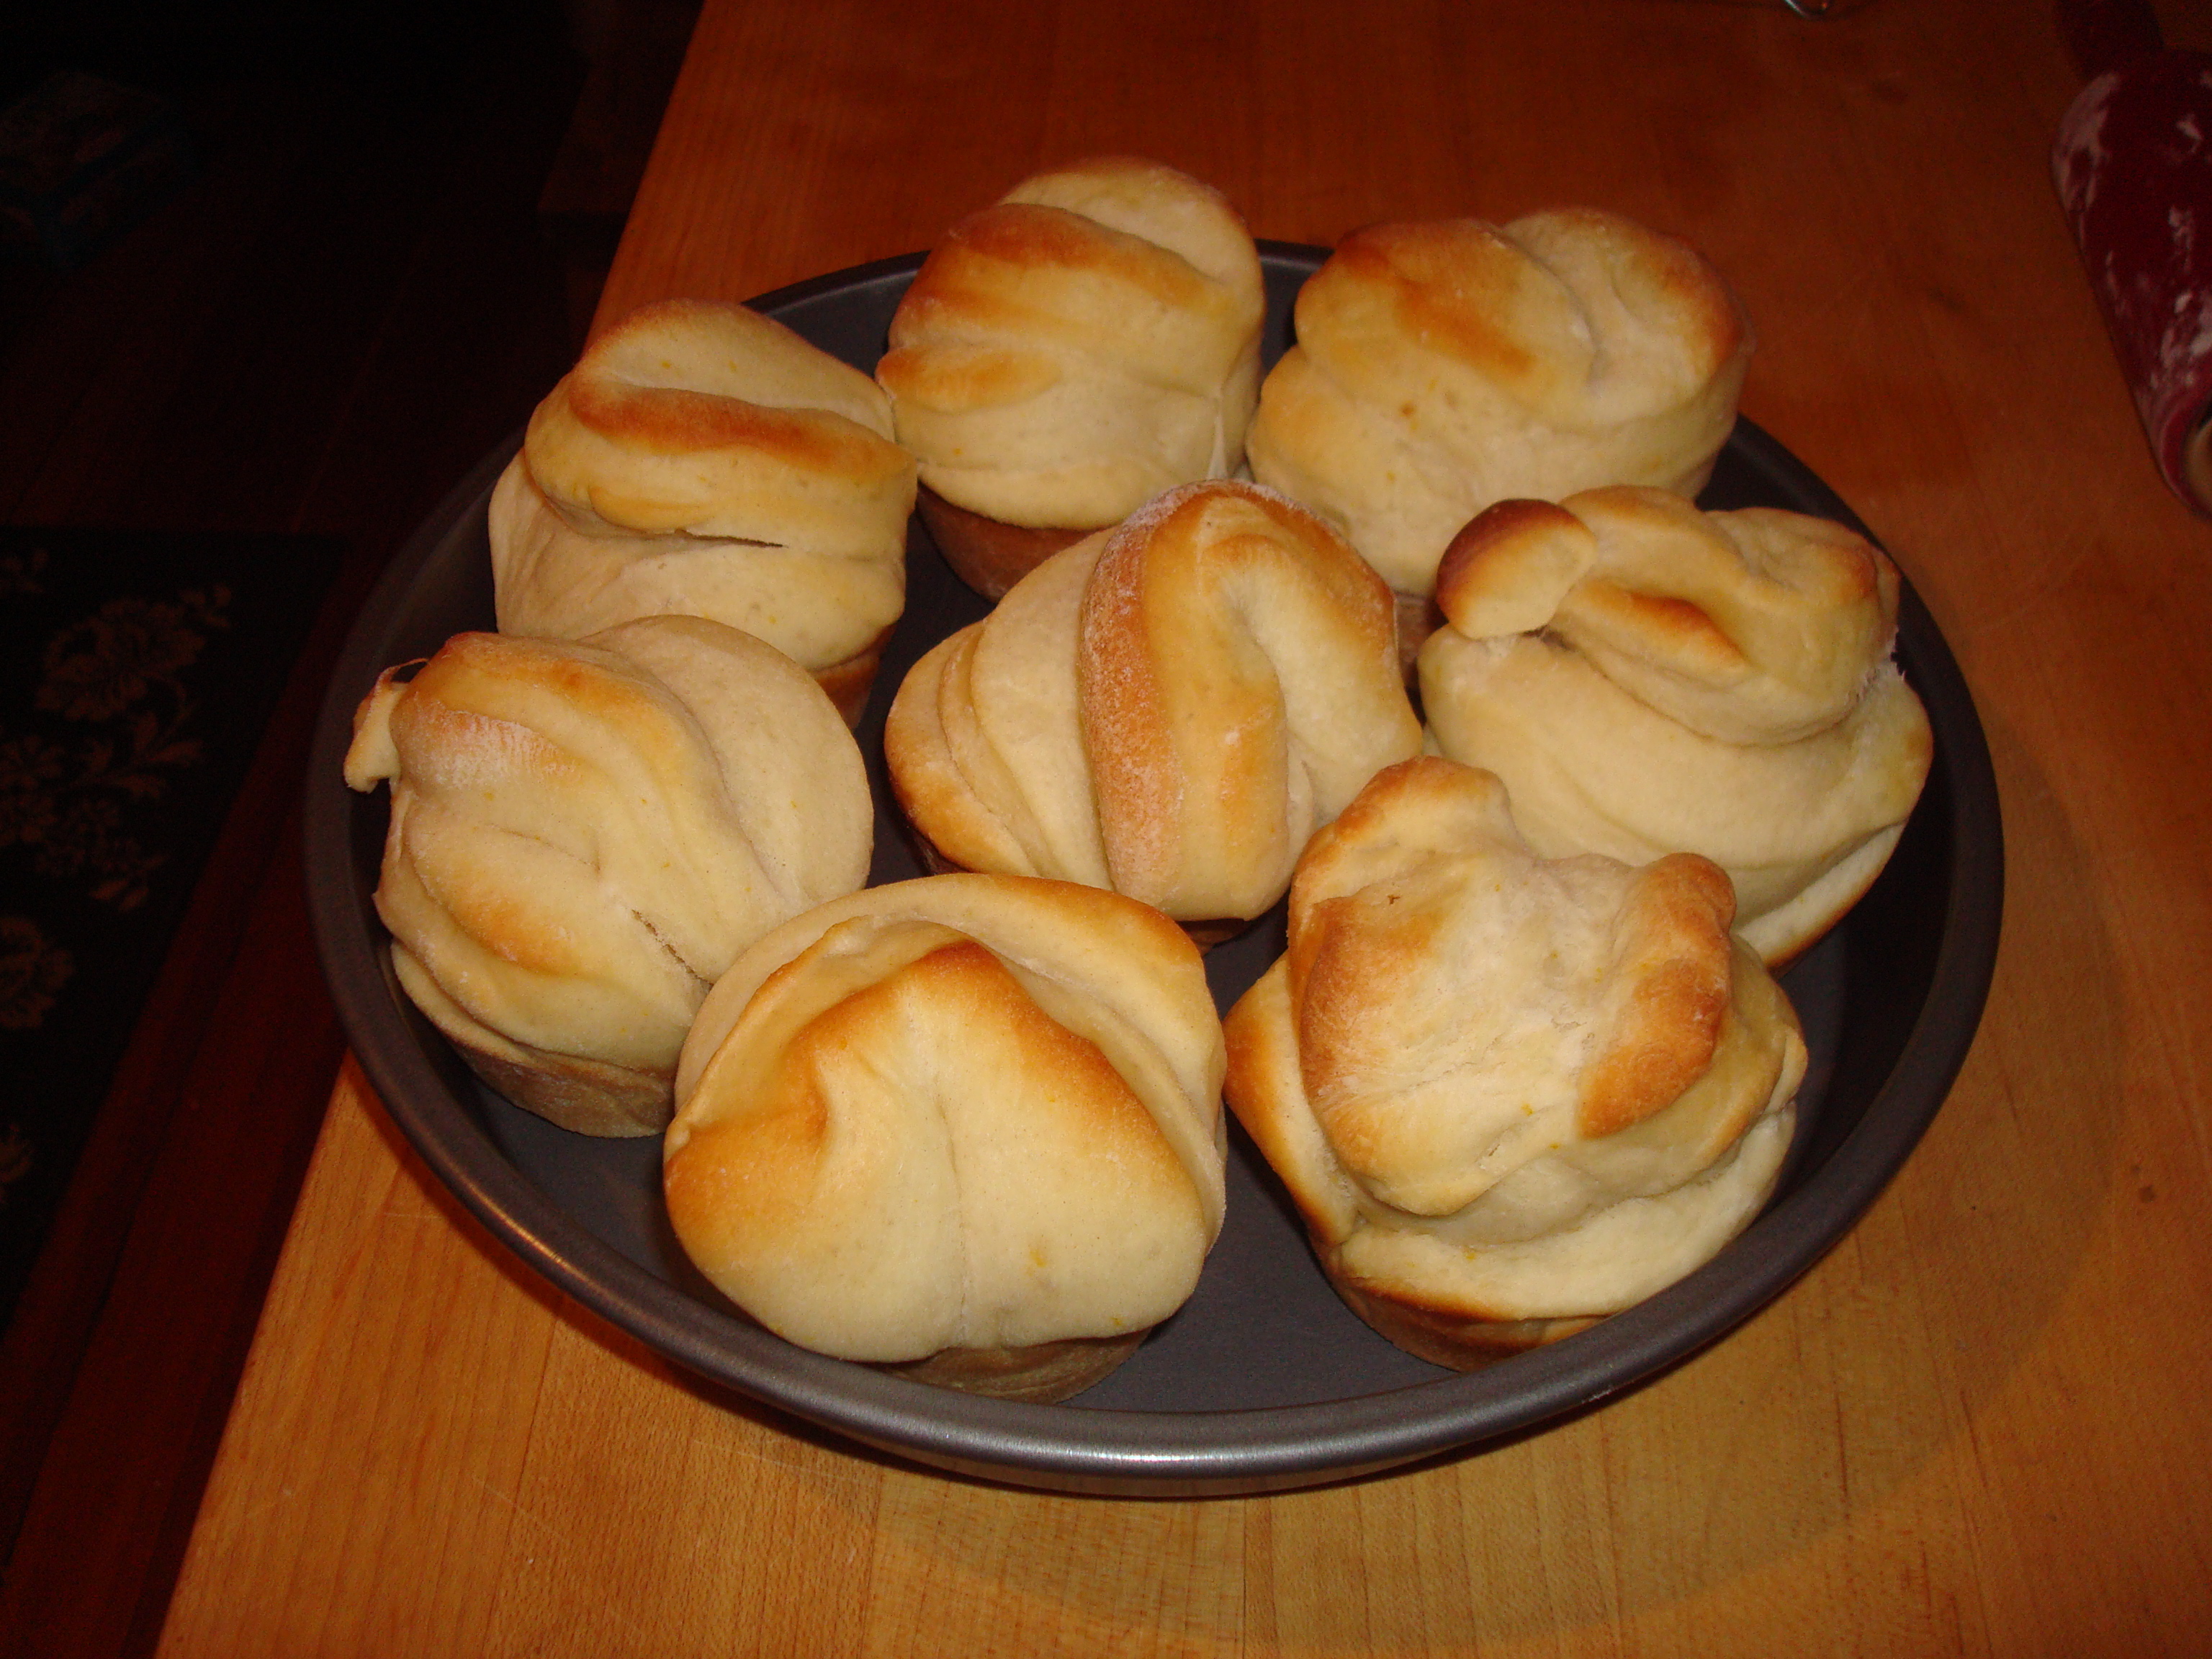
The busiest day of the year was November 24th with 98 views. The most popular post that day was Soft, Buttery Dinner Rolls .
Where did they come from?
The top referring sites in 2010 were kellyim10.blogspot.com, kellyim.blogspot.com, facebook.com, happykappys.blogspot.com, and kristenandjoshwilde.blogspot.com.
Some visitors came searching, mostly for cherry cheesecake brownies, cafe rio tres leches recipe, fluffy sugar cookies, homemade potato burger roll, and dinner rolls.
Attractions in 2010
These are the posts and pages that got the most views in 2010.
1
Soft, Buttery Dinner Rolls November 2009
2 comments
2
Tres Leches Cake June 2009
4 comments
3
Gooey Rice Krispie Treats July 2009
4
Stir Fried Zucchini and Baby Bok Choy July 2009
1 comment
5
Aunt Caryn’s Soft and Fluffy Sugar Cookies September 2009
4 comments

