Homemade Brown Sugar & Cinnamon Pastry Tarts

This recipe is a knock-off of Martha’s for a homemade Pop Tart. I love Pop Tarts, but they don’t taste

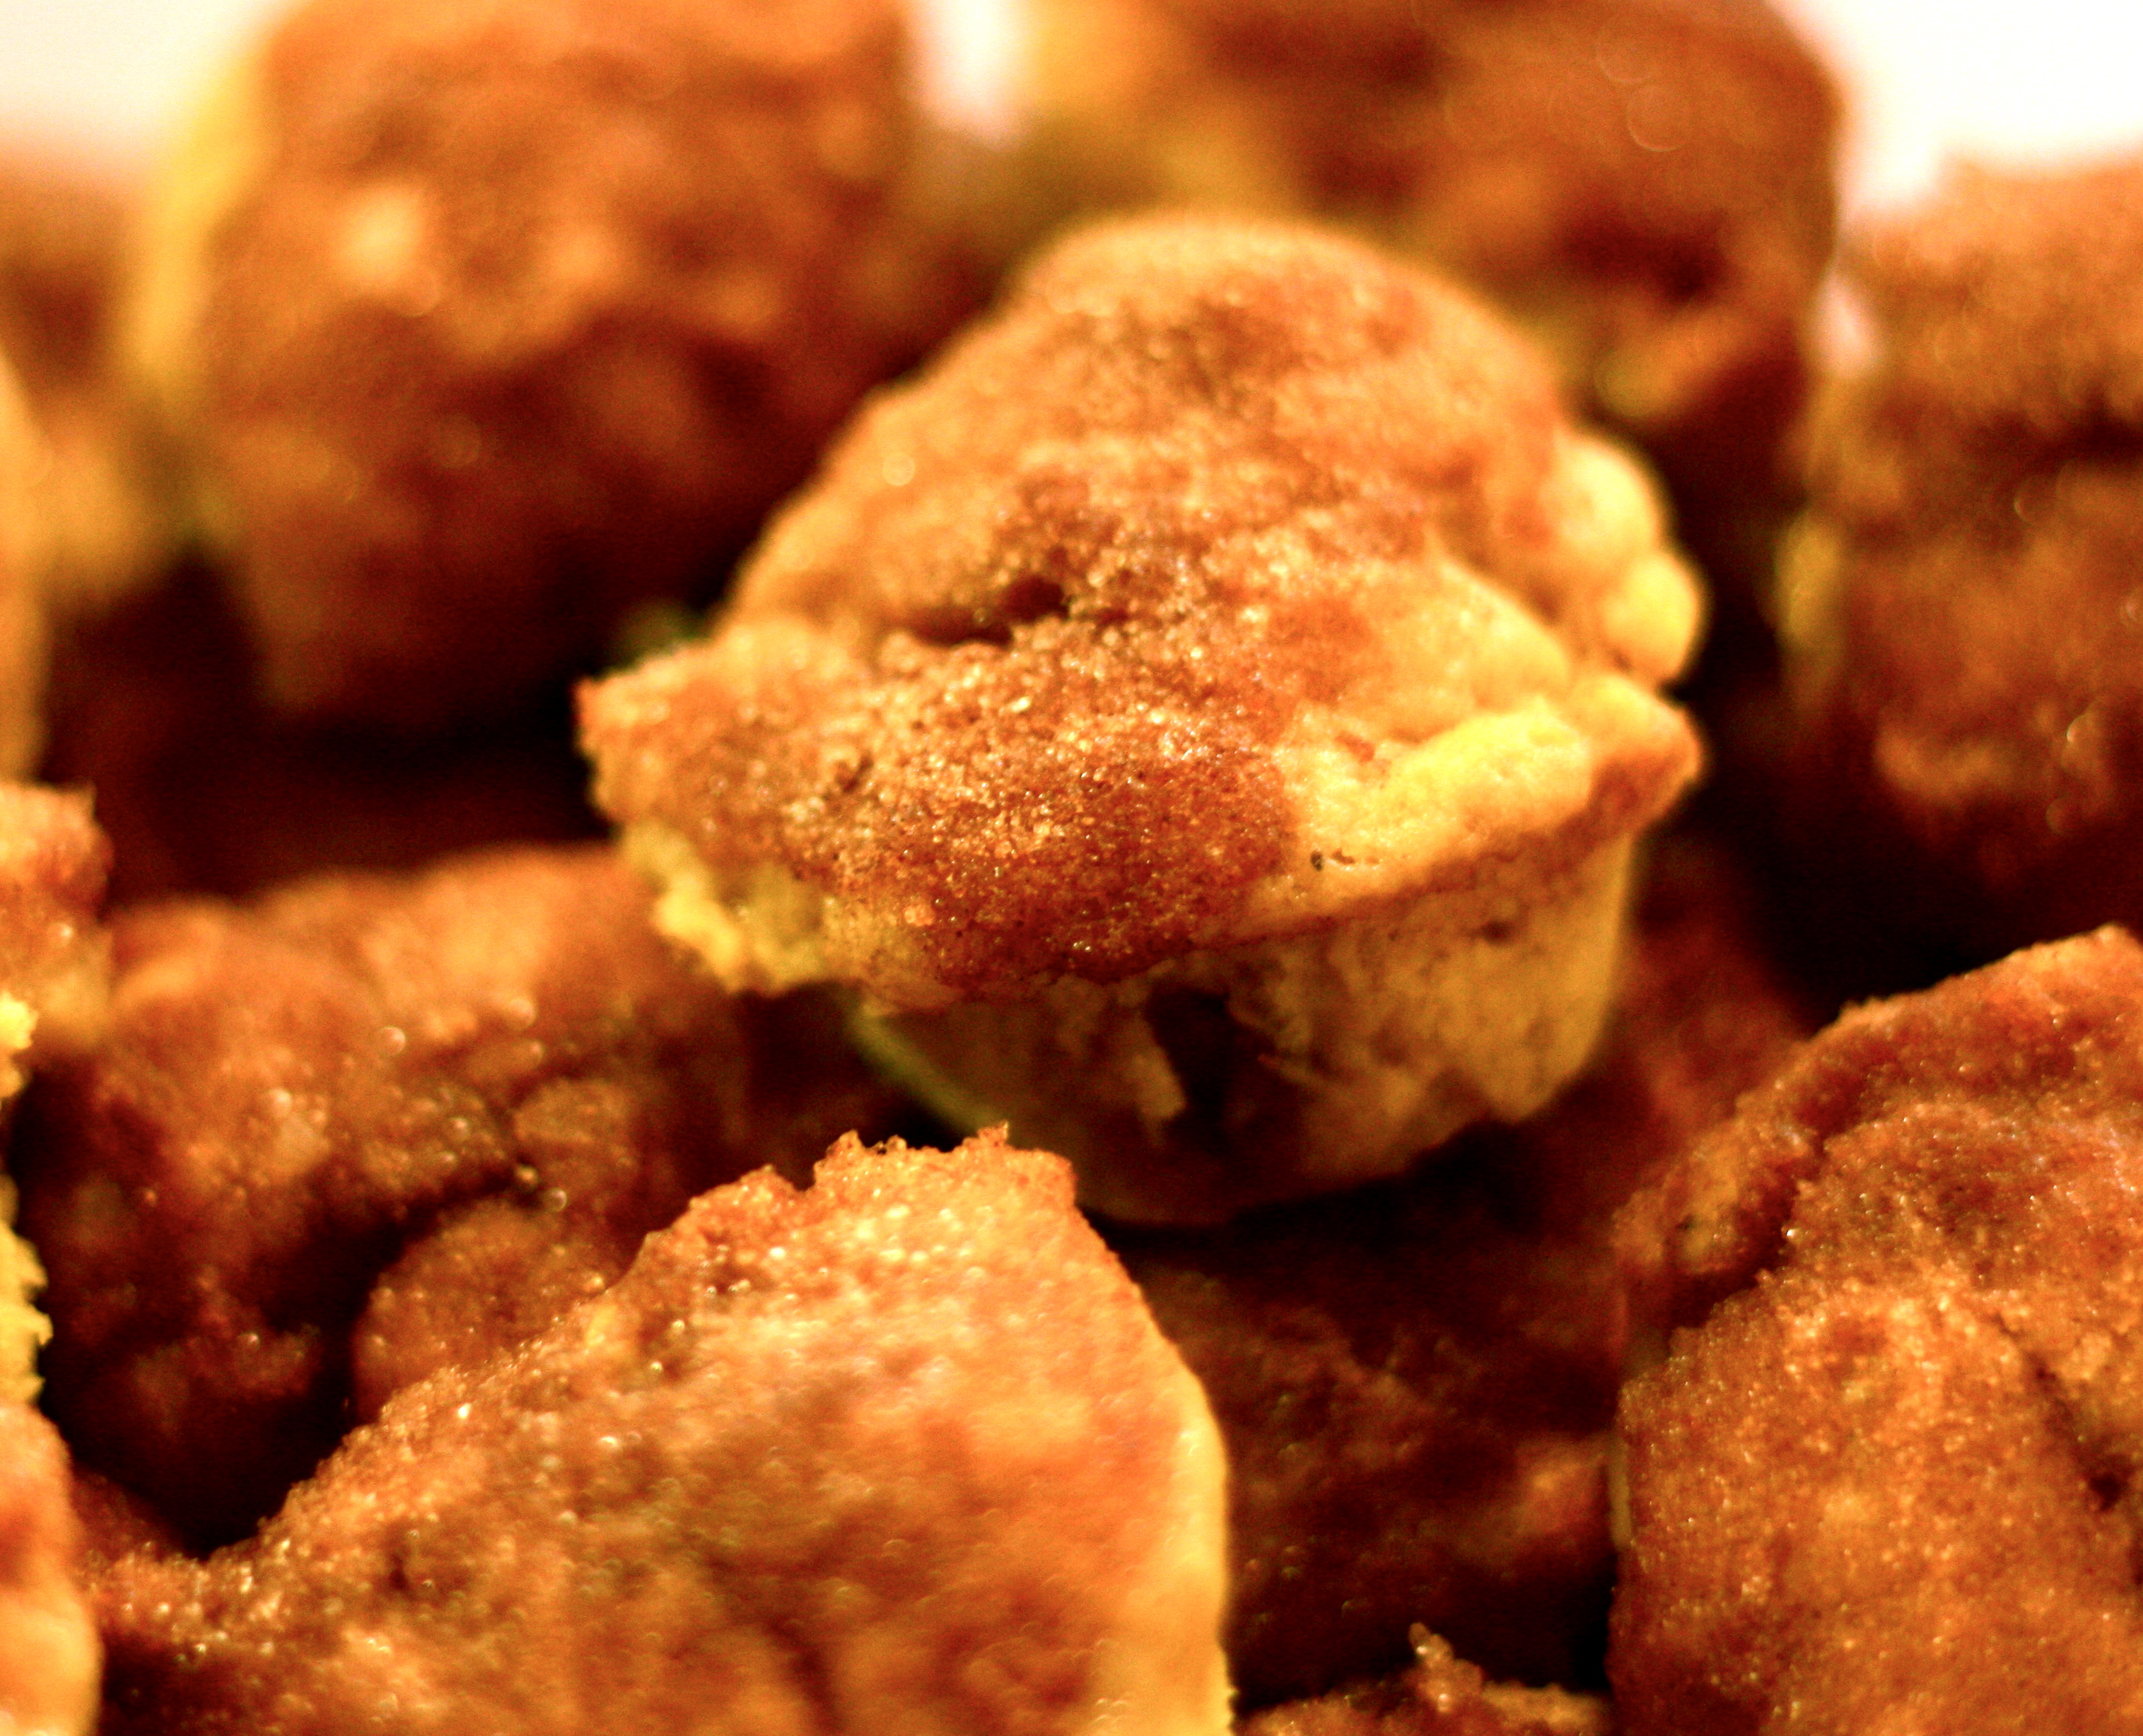
I haven't added the frosting yet, here . . . probably I will in the morning

that great to me anymore (preservatives? not sure), but I still want to eat one quite regularly. This recipe isn’t really a quick fix-it like the box version, but a really fun treat for a special occasion. I made them today with some friends, then we cut them into hearts for a Valentines breakfast. Martha’s recipe has a cinnamon-brown sugar filling, but we did jams as well, and they look great! Incidentally, make sure to note that you add 5 t. water to the filling, not 5 T., like I did today. Makes a big difference 🙂 This recipe comes from Everyday Food, September 2010.

Homemade Brown Sugar & Cinnamon Pastry Tarts (or Pastry Hearts)

3 cups all-purpose flour (spooned and leveled), plus more for working
1 teaspoon coarse salt
1 cup (2 sticks) unsalted butter, room temperature
1/4 cup granulated sugar
1 large egg, lightly beaten, plus 1 egg yolk, lightly beaten
1/4 cup whole milk
1/4 cup sliced almonds
1 1/2 cups confectioners’ sugar
1/4 cup light-brown sugar
1 tablespoon plus 1/4 teaspoon ground cinnamon

In a large bowl, whisk together flour and salt. In another large bowl, using an electric mixer, beat butter and granulated sugar on high, scraping down bowl as needed, until light and fluffy, about 4 minutes. Add whole egg and beat to combine. Beat in half the flour mixture, then milk and remaining flour mixture. Turn dough out onto a lightly floured work surface and gently knead to combine. Divide dough in half. Lightly flour a large piece of parchment paper and roll out 1 dough piece to a 9-by-12-inch rectangle. Repeat with remaining dough and another piece parchment. Refrigerate until firm, 30 minutes.

In a food processor, pulse almonds until coarsely chopped. Add 3/4 cup confectioners’ sugar, brown sugar, 1 tablespoon cinnamon, and 5 teaspoons water; pulse until combined. Remove 1 dough sheet from refrigerator and cut into twelve 2-by-4 1/2-inch rectangles. Spread half with 1 heaping teaspoon almond mixture each, leaving a 1/2-inch border. Brush edges with yolk; top with remaining dough pieces. With the tines of a fork, crimp edges firmly. Brush tops with yolk. Repeat with remaining dough.

Chill pastries on two rimmed baking sheets until firm, 30 minutes (or up to 1 day). Preheat oven to 350 degrees, with racks in upper and lower thirds. Bake until edges are golden, 20 minutes, rotating sheets halfway through. Let cool completely on sheets on wire racks.

In a bowl, whisk together 3/4 cup confectioners’ sugar, 1/4 teaspoon cinnamon, and 5 teaspoons water. With an offset spatula or table knife, spread glaze over pockets. Let set 5 minutes.

Homemade Graham Crackers

Every new year, it seems I renew my resolve in general to make more, and consume less, especially when it comes to boxed items at the grocery store. This year, I’m also trying to make my sugar intake meaningful rather than inevitable, so making most of what we eat is a big part of that. Anywhoo, this is a great recipe, whether you think of it as a healthy cookie or a sweet snack; I think the last batch lasted an hour before they disappeared. This recipe comes from America’s Test Kitchen’s 2009 Annual.

One more note: you can make these into cinnamon grahams by adding another 1/4 t. cinnamon to the recipe, and then sprinkling cinnamon (1 t.) and sugar (1/4 c.) on top of the crackers right before baking. Oh, and graham flour can be found at health food stores like Sunflower Market as a Bob’s Red Mill product. You can also use wheat flour, but it’s not exactly the same thing, so it will taste a bit different.

Homemade Graham Crackers

1¾ cup graham flour
½ cup unbleached all-purpose flour
½ cup sugar
1 teaspoon baking powder
½ teaspoon baking soda
½ teaspoon salt
¼ teaspoon ground cinnamon
½ cup (1 stick) unsalted butter, cut into ½-inch pieces and chilled
5 tablespoons cold water
2 tablespoons light molasses
1 teaspoon vanilla extract

Adjust oven racks to the upper-middle and lower-middle positions and heat oven to 375 degrees.

In a large bowl, mix flours, sugar, baking powder, baking soda, salt and cinnamon. With a pastry blender, cut in the butter until the mixture resembles coarse meal. Add 3 tablespoons of the water, the molasses and vanilla and stir until the dough comes together. If the dough seems dry, add the remaining 2 tablespoons water a little at a time. You may need to use your hands to get the dough to meld into a large ball. (Alternatively, process the dry ingredients in a food processor for 3 seconds, then add the butter and process for 15 seconds, until it resembles coarse meal. Add water, molasses, and vanilla and process till the dough comes together, 20 seconds more.)

Divide the dough into two pieces. Roll each piece out between two pieces of parchment paper to a rectangle that is 1/8 inch thick and measures about 16 inches by 8 inches. Remove the top sheet and trim the dough with a knife into a tidy 15 inch-by-7½ inch rectangle, then score it into 18 2½-inch squares. Prick each square several times with a fork. [I find it works better to score them before baking, but then to do it again after they bake. They actually break easily this way.]

Slide each piece of dough and parchment paper onto separate baking sheets. Bake until the crackers are golden brown, 10 to 15 minutes, switching and rotating the baking sheets halfway through baking. Let the crackers cool completely on the baking sheets, then break them apart along the scored lines and serve.

Store in an airtight container at room temperature for up to three days.

Makes 36 graham crackers.


White Christmas Dream Drops

christmas-dream-dropsI tried a bunch of new recipes this year for Christmas, and even though I’m not a huge fan of meringues, I really loved this recipe. It was unique, beautiful, and tastes great, so I’ll definitely repeat. I also was surprised at how much my kids loved them! This recipe comes from Sunset Magazine’s December 2011 issue.

White Christmas Dream Drops

  • 2 large egg whites, at room temperature
  • 1/8 teaspoon cream of tartar
  • 1/2 teaspoon vanilla extract
  • 1/8 teaspoon salt
  • 3/4 cup sugar
  • 1 cup white chocolate chips
  • 1/3 cup plus 1 1/2 tbsp. coarsely crushed peppermint candies
  1. 1. Preheat oven to 250°. Beat egg whites and cream of tartar in a deep bowl with a mixer, using whisk attachment if you have one, just until soft peaks form. Add vanilla and salt. With motor running and mixer on high speed, pour in 1 tbsp. sugar and beat 10 to 15 seconds, then repeat until all sugar has been added. Scrape inside of bowl and beat another 15 seconds. At this point, meringue should form straight peaks when beaters are lifted. Fold in chocolate chips and 1/3 cup candies with a flexible spatula.
  2. 2. Line 2 baking sheets with parchment paper, using a bit of meringue at corners as glue. Using a soup spoon, drop meringue in rounded 1-tbsp. portions slightly apart onto sheets, scraping off with another spoon. Sprinkle with remaining 1 1/2 tbsp. candies.
  3. 3. Bake until meringues feel dry and set when touched but are still pale, 30 to 35 minutes, switching pan positions halfway through. Turn off oven, open door, and let cookies stand about 10 minutes. Let cool on pans.
  4. Make ahead: Up to 2 days, stored airtight.

My Favorite Caramel (especially for Christmas)

My friend Amy put me on to a recipe book named Caramel by Peggy Cullen years ago, and I still think her caramel recipe is my favorite, despite all the others I’ve   tried. If you are as careful as the recipe tells you to be, the recipe turns out perfectly. This is definitely one of my favorite all-time recipes. The caramels are easy to cut (well, as easy as caramel can be), and the flavor is fantastic. I usually make the vanilla bean and honey variation, because it’s my favorite, and my friends who don’t care much for honey have still loved them (the honey flavor isn’t overbearing at all).  I allow these caramels to cool in my bread pans lined with Reynolds Release foil (a gem for caramels!) and then slice and wrap the next day. Beautiful! Please note, if making this recipe above sea level, adjust the temperature accordingly: 2 degrees lower for every 1000 feet above sea level you are cooking at. So, for Provo, decrease the temperature by 9 degrees in all instances when measuring the candy. Also, it’s a good idea to have everything prepped before starting (cans opened, ingredients measured), and you will probably be standing over the stove for about 45-60 minutes. Incidentally, I’ve passed these out at Christmas, plain, but I’ve also dipped them for Valentines or other holidays. Always terrific.

Classic Cream Caramels or Honey Vanilla Bean Caramels

2 c. sugar
1/2 c water
1 1/2  c. light corn syrup (or 1 c. corn syrup and 1/2 c. honey)
1/2 t. salt
1/2 c. unsalted butter, cut into pieces
2 c. heavy cream
1 c. sweetened condensed milk
1 T. pure vanilla (plus vanilla seeds scraped from a pod, if doing the variation)
(2 c. lightly toasted walnuts, chopped, optional, but good with the honey/vanilla bean variation)

Line a 9-inch square pan with aluminum foil so that the edges of the foil are overhanging; press the foil snugly into the corners of the pan (I’m telling you, get Reynold’ Release!). Lightly butter the foil (not necessary with the Release). Set the prepared pan on a cooling rack. Place a nonbreakable glass of water next to the stove for storing the pastry brush and wooden spatula when not in use.

In a 3-1/2 or 4-quart saucepan, gently stir the sugar, water, corn syrup, and salt together (and honey, if using). Wash down the sides of the pan with a wet pastry brush. Over medium-high heat, bring the syrup to a boil. Insert a candy thermometer and boil, undisturbed, until the temperature reaches 250 degrees, about seven minutes. Wash down the sides of the pan and add the butter. Once it melts, gradually stir in 1 cup of the heavy cream; bring to a boil. In about five minutes, when the level of liquid reduces somewhat, gradually stir in the remaining 1 cup cream. Continue to boil, stirring occasionally with a figure-8 motion, until the temperature reaches 250 degrees, about 7 minutes.

Remove the pan from the hat and stir in the condensed milk. Return the pan to the heat. Stirring constantly with a figure-8 motion, boil until the temperature reaches 244 degrees (or 245, if using honey), about 4 minutes. Immediately remove from the heat and continue to stir for 1 minute. Stir in the vanilla (and vanilla seeds, if using). Pour the caramel into the prepared pan without scraping the saucepan.

Let the caramel cool and sit undisturbed, for at least 8 hours or as long as overnight; do not cover. Turn the caramel out onto a piece of waxed or parchment paper and peel off the foil. Using a large sharp knife, cut the slab into quarters. Cut each quarter into four 1×4″ bars or 16- 1″ squares (or whatever). The caramel can be wrapped and stored at room temperature for 3 weeks.

Hot Fudge Pudding Cake

hot-fudge-pudding-cake

I admit that I made this recipe two nights in a row last week, and it was gone before I could take a picture. This recipe whips together in about 10-15 minutes, and then comes out of the oven quite heavenly–like a brownie, but up a notch. We served it with whipped cream and vanilla ice cream, and both went well with it. I love how rich and dark and gooey it is. Hmmm. Maybe I’ll make it again today. This comes from Cook’s Illustrated Fall 2010 Entertaining.

Hot Fudge Pudding Cake

1 c. sugar
1/2 c. Dutch-processed cocoa powder
1 c. unbleached all-purpose flour
2 t. baking powder
1/4 t. salt
1/2 c. milk
4 T. unsalted butter, melted
1 large egg yolk
2 t. vanilla extract
1/2 c. semisweet chocolate chips
1 c. boiling water

1. Adjust oven rack to middle position and heat to 350 degree. Spray 8-inch square glass or metal cake pan with nonstick cooking spray. Whisk 1/2 c. sugar with 1/2 c. cocoa in a small bowl.

2. Whisk flour, remaining 1/2 c. sugar, remaining 1/4 c. cocoa, baking powder, and salt in large bowl. Whisk milk, butter, egg yolk, and vanilla in a medium bowl until smooth. Stir milk mixture into flour mixture until just combined. Fold in chocolate chips (Batter will be stiff).

3. Using rubber spatula, scrape batter into prepared pan and spread into corners. Sprinkle reserved coca mixture evenly over top. Gently pour boiling water over cocoa. Do not stir.

4. Bake until top of cake looks cracked, sauce is bubbling, and toothpick inserted into cakey area comes out with moist crumbs attached,  about 25 minutes (do not overbake or the cake will be dry. Better underdone than over). Cool on rack for a least 10 minutes before serving. To serve, scoop portions of warm cake into individual serving bowls and top with vanilla ice cream or whipped cream. Enjoy!!

Pumpkin Doughnut Muffins

Pumpkin Doughnut 2Another great autumnal recipe for those of us who can’t get enough pumpkin. This recipe comes from November 2010 Everyday Food. I prefer making it in mini muffin tins, because they are pretty rich, and so good.

Pumpkin Doughnut Muffins

10 T. (1 1/4 sticks) unsalted butter, room temperature, plus more for pan
3 c. all-purpose flour (spooned and leveled), plus more for pan
2 1/2 t. baking powder
1/4 t. baking soda
1 t. coarse salt
1/2 t. ground nutmeg
1/4 t. ground allspice
1/3 c. buttermilk
1 1/4 c. pure pumpkin puree (from a 15-ounce can)
3/4 c. light brown sugar
2 large eggs

For the sugar coating
3/4 c. granulated sugar
2 1/2 t. ground cinnamon
1/4 c. (1/2 stick) unsalted butter, melted

Preheat oven to 350 degrees. Butter and flour 12 standard muffin cups. Make batter: In a medium bowl, whisk together flour, baking powder, baking soda, salt, nutmeg, and allspice. In a small bowl, whisk together buttermilk and pumpkin puree. In a large bowl, using an electric mixer, beat butter and brown sugar until light and fluffy. Beat in eggs, one at a time, scraping down bowl as needed. With mixer on low, add flour mixture in three additions, alternating with two additions pumpkin mixture, and beat to combine.

Spoon 1/3 cup batter into each muffin cup and bake until a toothpick inserted in center of a muffin comes out clean, 30 minutes. Meanwhile, in a medium bowl, combine granulated sugar and cinnamon. Let muffins cool 10 minutes in pan on a wire rack. Working with one at a time, remove muffins from pan, brush all over with butter, then toss to coat in sugar mixture. Let muffins cool completely on a wire rack.

Halloween Whoopie Pies

I started making this recipe in February this year, and it’s great. I went ahead last week and outfitted them like Martha does in October 2008’s

This picture turned out quite dramatic, I'd say . . .

Everyday Food (orange nonpareils in the middle), but it’s unnecessary. Just cute. I love the applesauce in the recipe. In fact, this last time, I cored and then blended up some ripe pears I had on hand instead, and it was also great. So, here’s another fun Halloween idea–it’s also great for bake sales!

Halloween Whoopie Pies

  • 1 1/2 cups all-purpose flour, (spooned and leveled)
  • 1/2 cup unsweetened cocoa powder (spooned and leveled)
  • 1 teaspoon baking soda
  • 1 teaspoon baking powder
  • 1 teaspoon salt
  • 1 cup (2 sticks) unsalted butter, room temperature
  • 1 cup packed light-brown sugar
  • 1 large egg
  • 1 cup unsweetened applesauce
  • 1/2 teaspoon pure vanilla extract
  • 1 cup confectioners’ sugar
  • Orange nonpareils or sanding sugar, for decoration
  1. Preheat oven to 375 degrees. In a medium bowl, whisk flour, cocoa, baking soda, baking powder, and salt; set aside.
  2. In a large bowl, using an electric mixer, beat 1/2 cup butter and brown sugar until light and fluffy. Add egg; beat until smooth. With mixer on low, alternately add flour mixture and applesauce, beginning and ending with flour mixture. Mix just until smooth (do not overmix).
  3. Drop dough by heaping tablespoons, 2 inches apart, onto two baking sheets. Bake until a toothpick inserted in the center of a cookie comes out clean, 10 to 14 minutes. With a thin metal spatula, immediately transfer cookies to a wire rack; let cool completely.
  4. Meanwhile, make filling: In a large bowl, using an electric mixer, beat vanilla and remaining 1/2 cup butter until light and fluffy. Gradually add confectioners sugar, beating until smooth.
  5. Spread bottom of half the cookies with 1 tablespoon filling each; sandwich with remaining cookies, pressing gently so filling oozes out slightly. Sprinkle exposed filling with nonpareils. Let rest 15 minutes to set.

Halloween Caramel Popcorn Balls with Pretzels and Candy Corn

I finally made this great recipe this year. It comes from October 2010’s Everyday Food. I followed the recipe with the exception that I added about 1

Super yummy!

cup of candy corns and I rolled them into balls (which was easier than cutting them). This caramel corn was great–it got a little soggy the day after, but there wasn’t much left to worry about anyway.

Caramel Popcorn Balls with Pretzels and Candy Corn

  • Nonstick cooking spray
  • 12 cups plain popped popcorn (from 1/2 cup kernels or 2 microwave packages)
  • 4 cups coarsely chopped small salted pretzels (7.5 ounces)
  • 1 cup candy corn
  • 2 cups sugar
  • Coarse salt
  • 2/3 cup heavy cream
  • 2 cups miniature marshmallows
  1. Coat a 9-by-13-inch baking dish with cooking spray. In a large bowl, toss together popcorn and pretzels and candy corn. In a medium saucepan, bring sugar, 1/2 teaspoon salt, and 1/2 cup water to a boil over medium-high. Boil, undisturbed, until mixture is amber in color, 8 to 12 minutes. Remove pan from heat and slowly pour in cream (mixture will sputter). Immediately add marshmallows; stir until melted.
  2. Pour caramel mixture over the popcorn and pretzels and quickly stir with a rubber spatula to coat. Transfer mixture to dish and use a piece of plastic wrap coated with cooking spray to press evenly into dish. Sprinkle with coarse salt if desired. Let cool completely before forming into balls or cutting into bars. Serve on Halloween!

Raspberry (Blackberry) Plum Pie

I picked up a copy of a summer special Gourmet magazine called Grilling, and this was the first recipe I tried, and I love it. I’m

So good!

particularly taken with the crust, which has a great, light flavor and beautifully crisp texture. The filling is a bit on the runny side, but not in a way that ruins the dish (just certainly not grocery-store gelatin-like). We made these with our neighbor’s plums and grandma’s blackberries, and it was lovely. Just one note: I thought the crust was a bit on the skimpy side; next time I think I will 1 1/2 times it, so it has prettier edges when rolled out.

Raspberry (Blackberry) Plum Pie

2 c. all-purpose flour
1 1/2 T. sugar, divided
1 t. salt
1 stick cold, unsalted butter, cut into 1/2 inch pieces
1/4 c. cold vegetable shortening, cut into pieces (I actually used lard)
1 T. distilled white vinegar
4-5 T. cold water
1 T. whole milk

For Filling
6 T. all-purpose flour
1 1/4 c. sugar
3/4 t. grated nutmeg
2 1/2 lb. plums, pitted and cut into 1/2-inch-wide slices
6 oz. raspberries (1 1/4 cups) (I used frozen blackberries)
2 T. unsalted butter, ct into 1/4-inch pieces

1. Whisk together flour, 1 rounded T. sugar, and salt in a bowl (or pulse in a food processor). Blend in butter and shortening with your fingertips or a pastry blender (or pulse in processor) until most of mixture resembles coarse meal with some roughly pea-size butter lumps. Drizzle vinegar and 4 T. water evenly over mixture and gently stir with a fork (or pulse) until incorporated.

2. Squeeze a handful of dough: If it doesn’t hold together, add water, 1/2 T. at a time, stirring (or pulsing) until incorporated. (Don’t overwork or pastry will be tough.)

3. Gather dough together (it will be soft) and press into a ball. Divide in half and shape into 2 (5-inch) disks. Chill, each disk wrapped in plastic wrap, until firm, at least 3 hours (preferably 12); chilling dough well makes it easier to roll out.

4. Preheat oven to 425 with foil lined baking sheet in middle.

5. Whisk together flour, sugar, nutmeg, and 1/4 t. salt in a large bowl, then toss well with plums in a large bowl. Add raspberries and toss gently.

6. Roll out 1 piece of dough (keep remaining disk chilled) on a lightly floured surface with a lightly floured rolling pin into a 13-inch round. Fit into a 9-inch pie plate and chill.

7. Roll out the remaining piece of dough on a lightly floured surface into an 11-inch round.

8. Spoon fruit filling into pie shell and scatter butter over it. Cover with pastry round and trim edges, leaving a 1/2-inch overhang. Press edges together to seal, then fold overhang under and crimp decoratively. Lightly brush top of pie with milk and sprinkle all over with 1 T. sugar. Cut 5 (1″ long) vents in top crust.

9. Bake pie on hot baking sheet 20 minutes. Reduce oven temperature to 375 degrees and continue baking until crust is golden and filling is bubbling, 40-50 minutes more. Cool to warm or room temperature, 2-3 hours.

Bakeless Cherry Cheesecake Tart

I’ve made this recipe two times in the last week, because it comes together so fast and is great. I’ve topped it with fresh blueberries and rapsberries, instead of the cherries. Terrific! This recipe comes from Everyday Food, June 2007. If you use a premade graham crust, it doesn’t taste quite as great, but comes together in about 10 minutes–awesome.

Bakeless Cherry Cheesecake Tart

9 graham crackers
2 T. plus 1/4 c. sugar
6 T. unsalted butter, melted
6 oz. cream cheese, room temperature
1/2 t. vanilla
[grated zest of one lime or lemon–my addition, but I liked it a lot]
3/4 c. heavy cream
1 lb. fresh sweet cherries, pitted and halved
1 T. seedless raspberry jam [I haven’t done this step–but I’m sure it makes it look great.]

1. Preheat oven to 350. Pulse graham crackers and 2 T. sugar until ground in a food processor (or with a rolling pin in a baggie). Transfer mixture to a 9″ tart pan with a removable bottom (or a pie tin). Firmly press mixture into bottom and up the sides of pan. Bake until browned and fragrant, 10-12 minutes. Let cool completely on a wire rack.

2. Meanwhile, in a large bowl, using an electric mixer on medium speed, beat cream cheese, vanilla, and remaining 1/4 c. sugar until light and fluffy [and zest, if using]. Gradually add cream, and beat until soft peaks form; spread mixture in cooled crust. Scatter cherries on top.

3. In a small saucepan, combine jam and 1 teaspoon water; heat over low until liquefied, about 2 minutes. Using a pastry brush, dab cherries with glaze. Refrigerate tart for at least 30 minutes or, covered, up to one day.