Chocolate-Coconut Pound Cake

Chocolate Coconut Bread
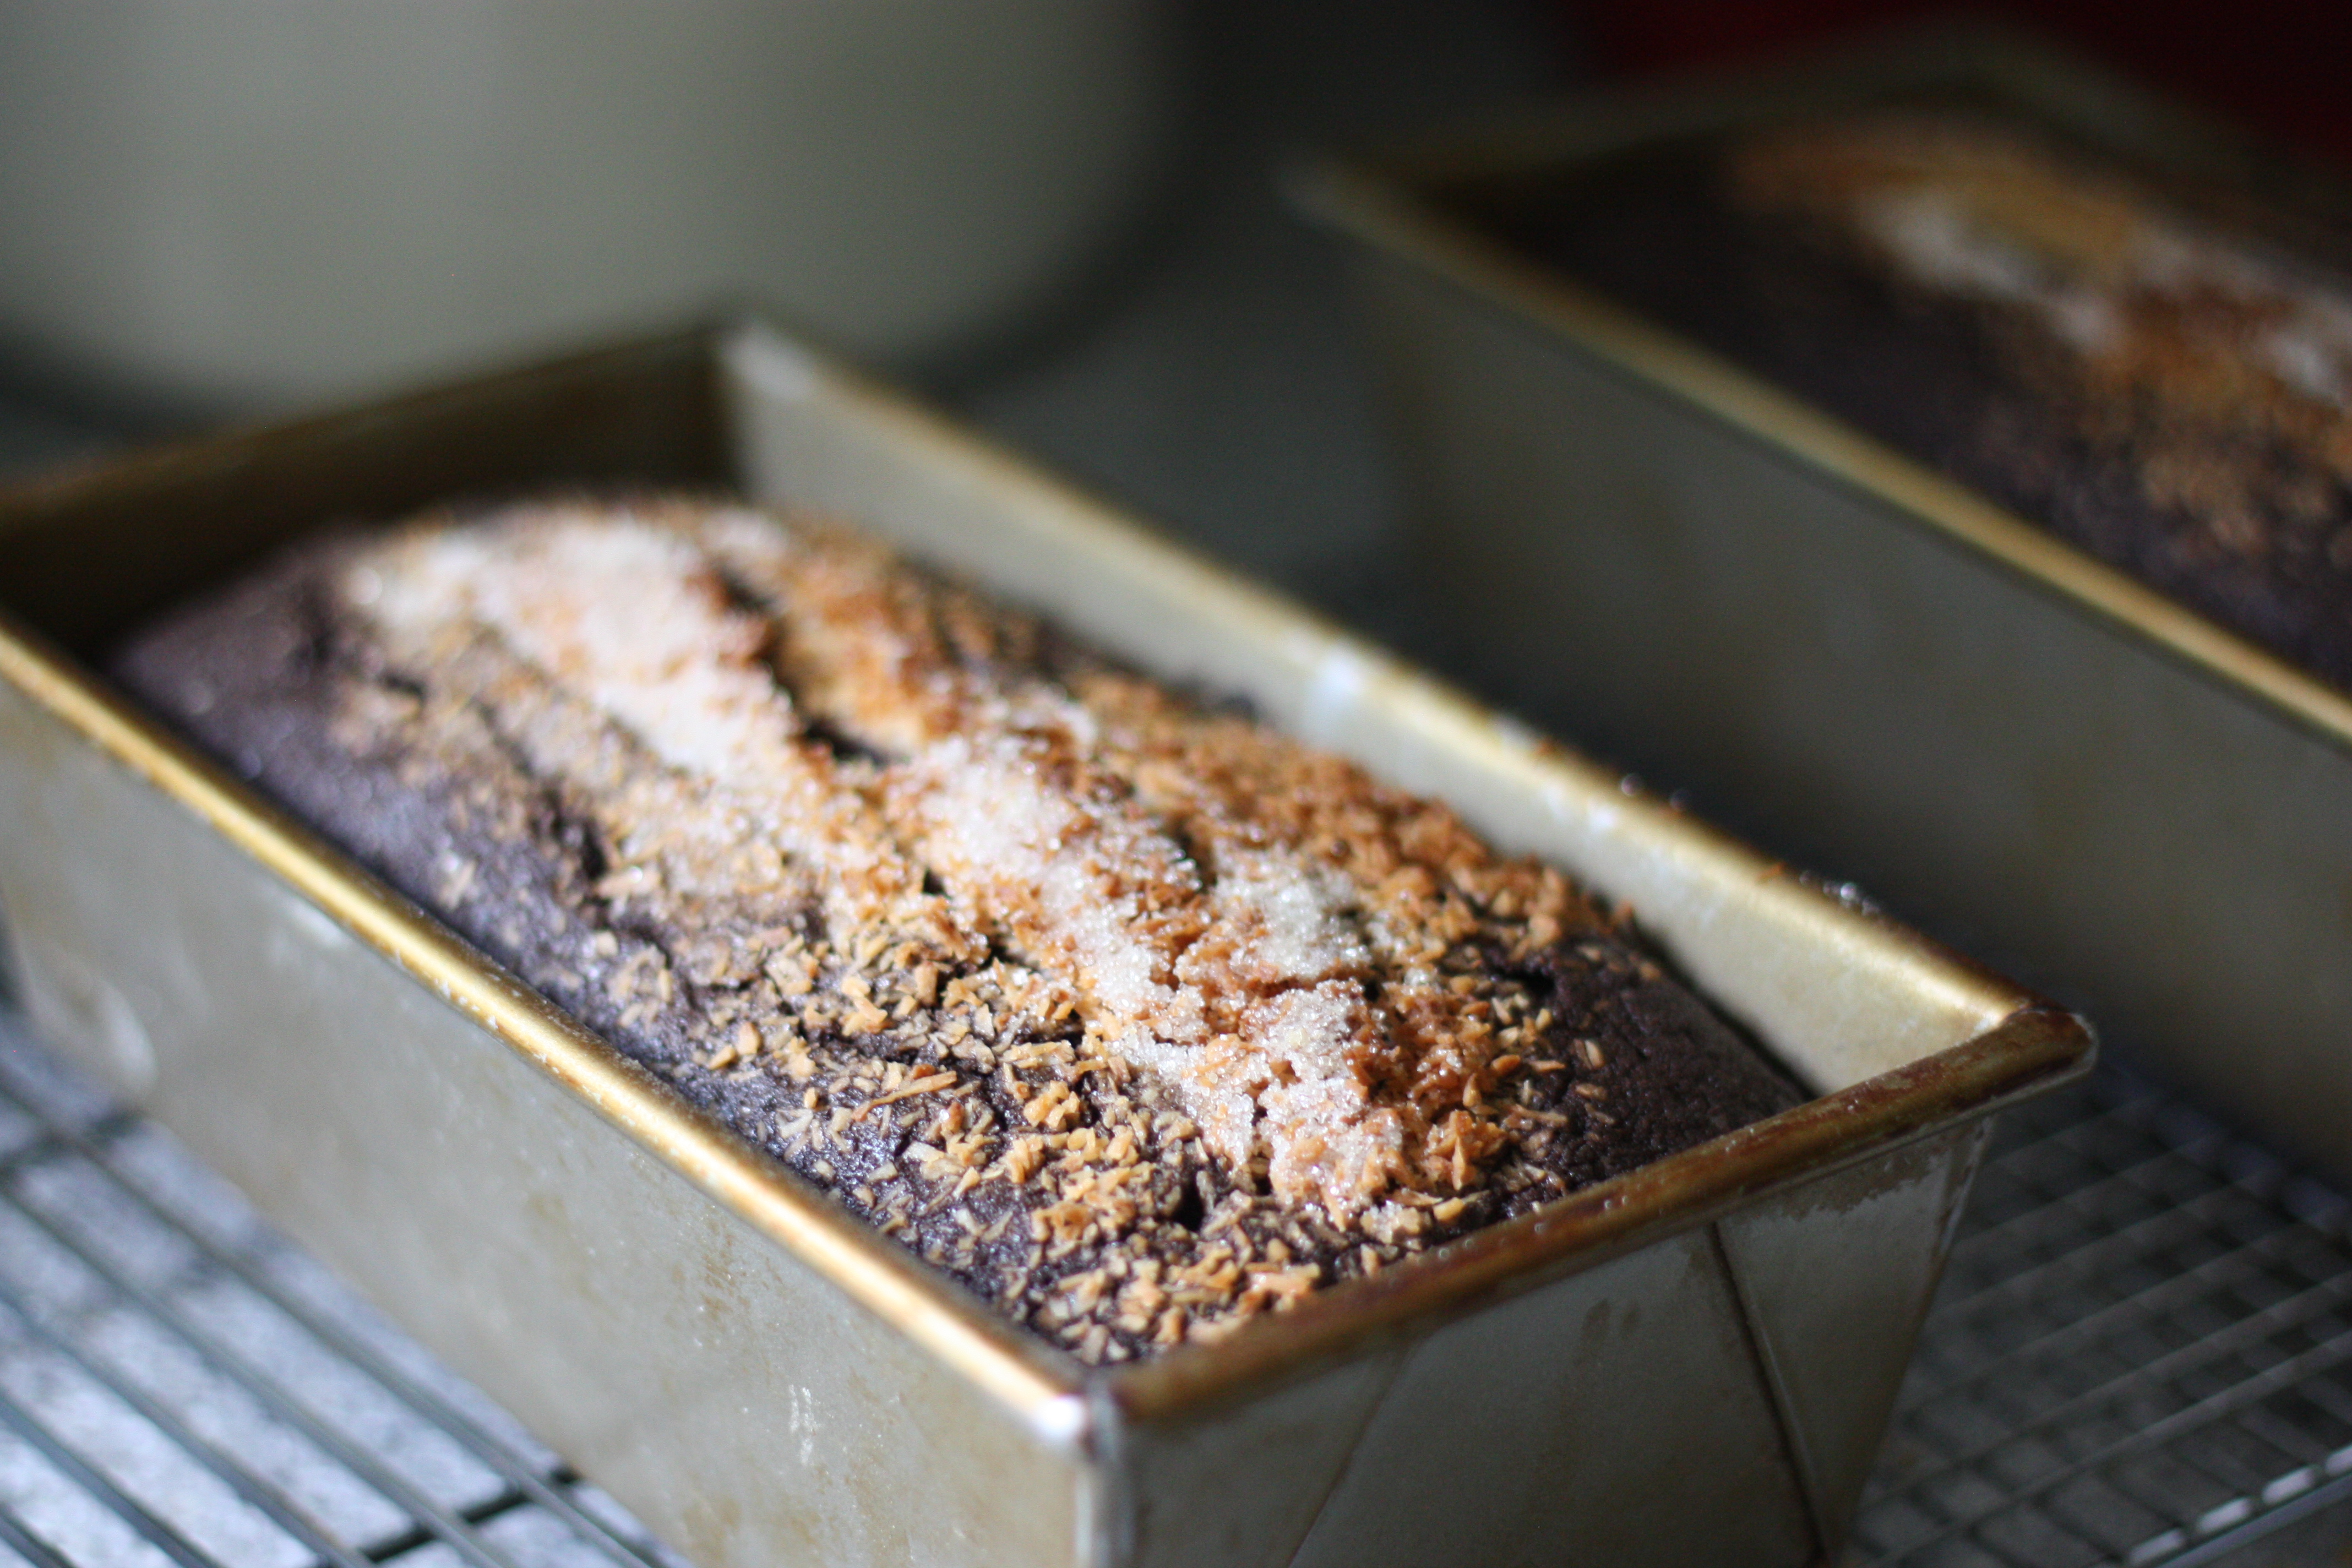
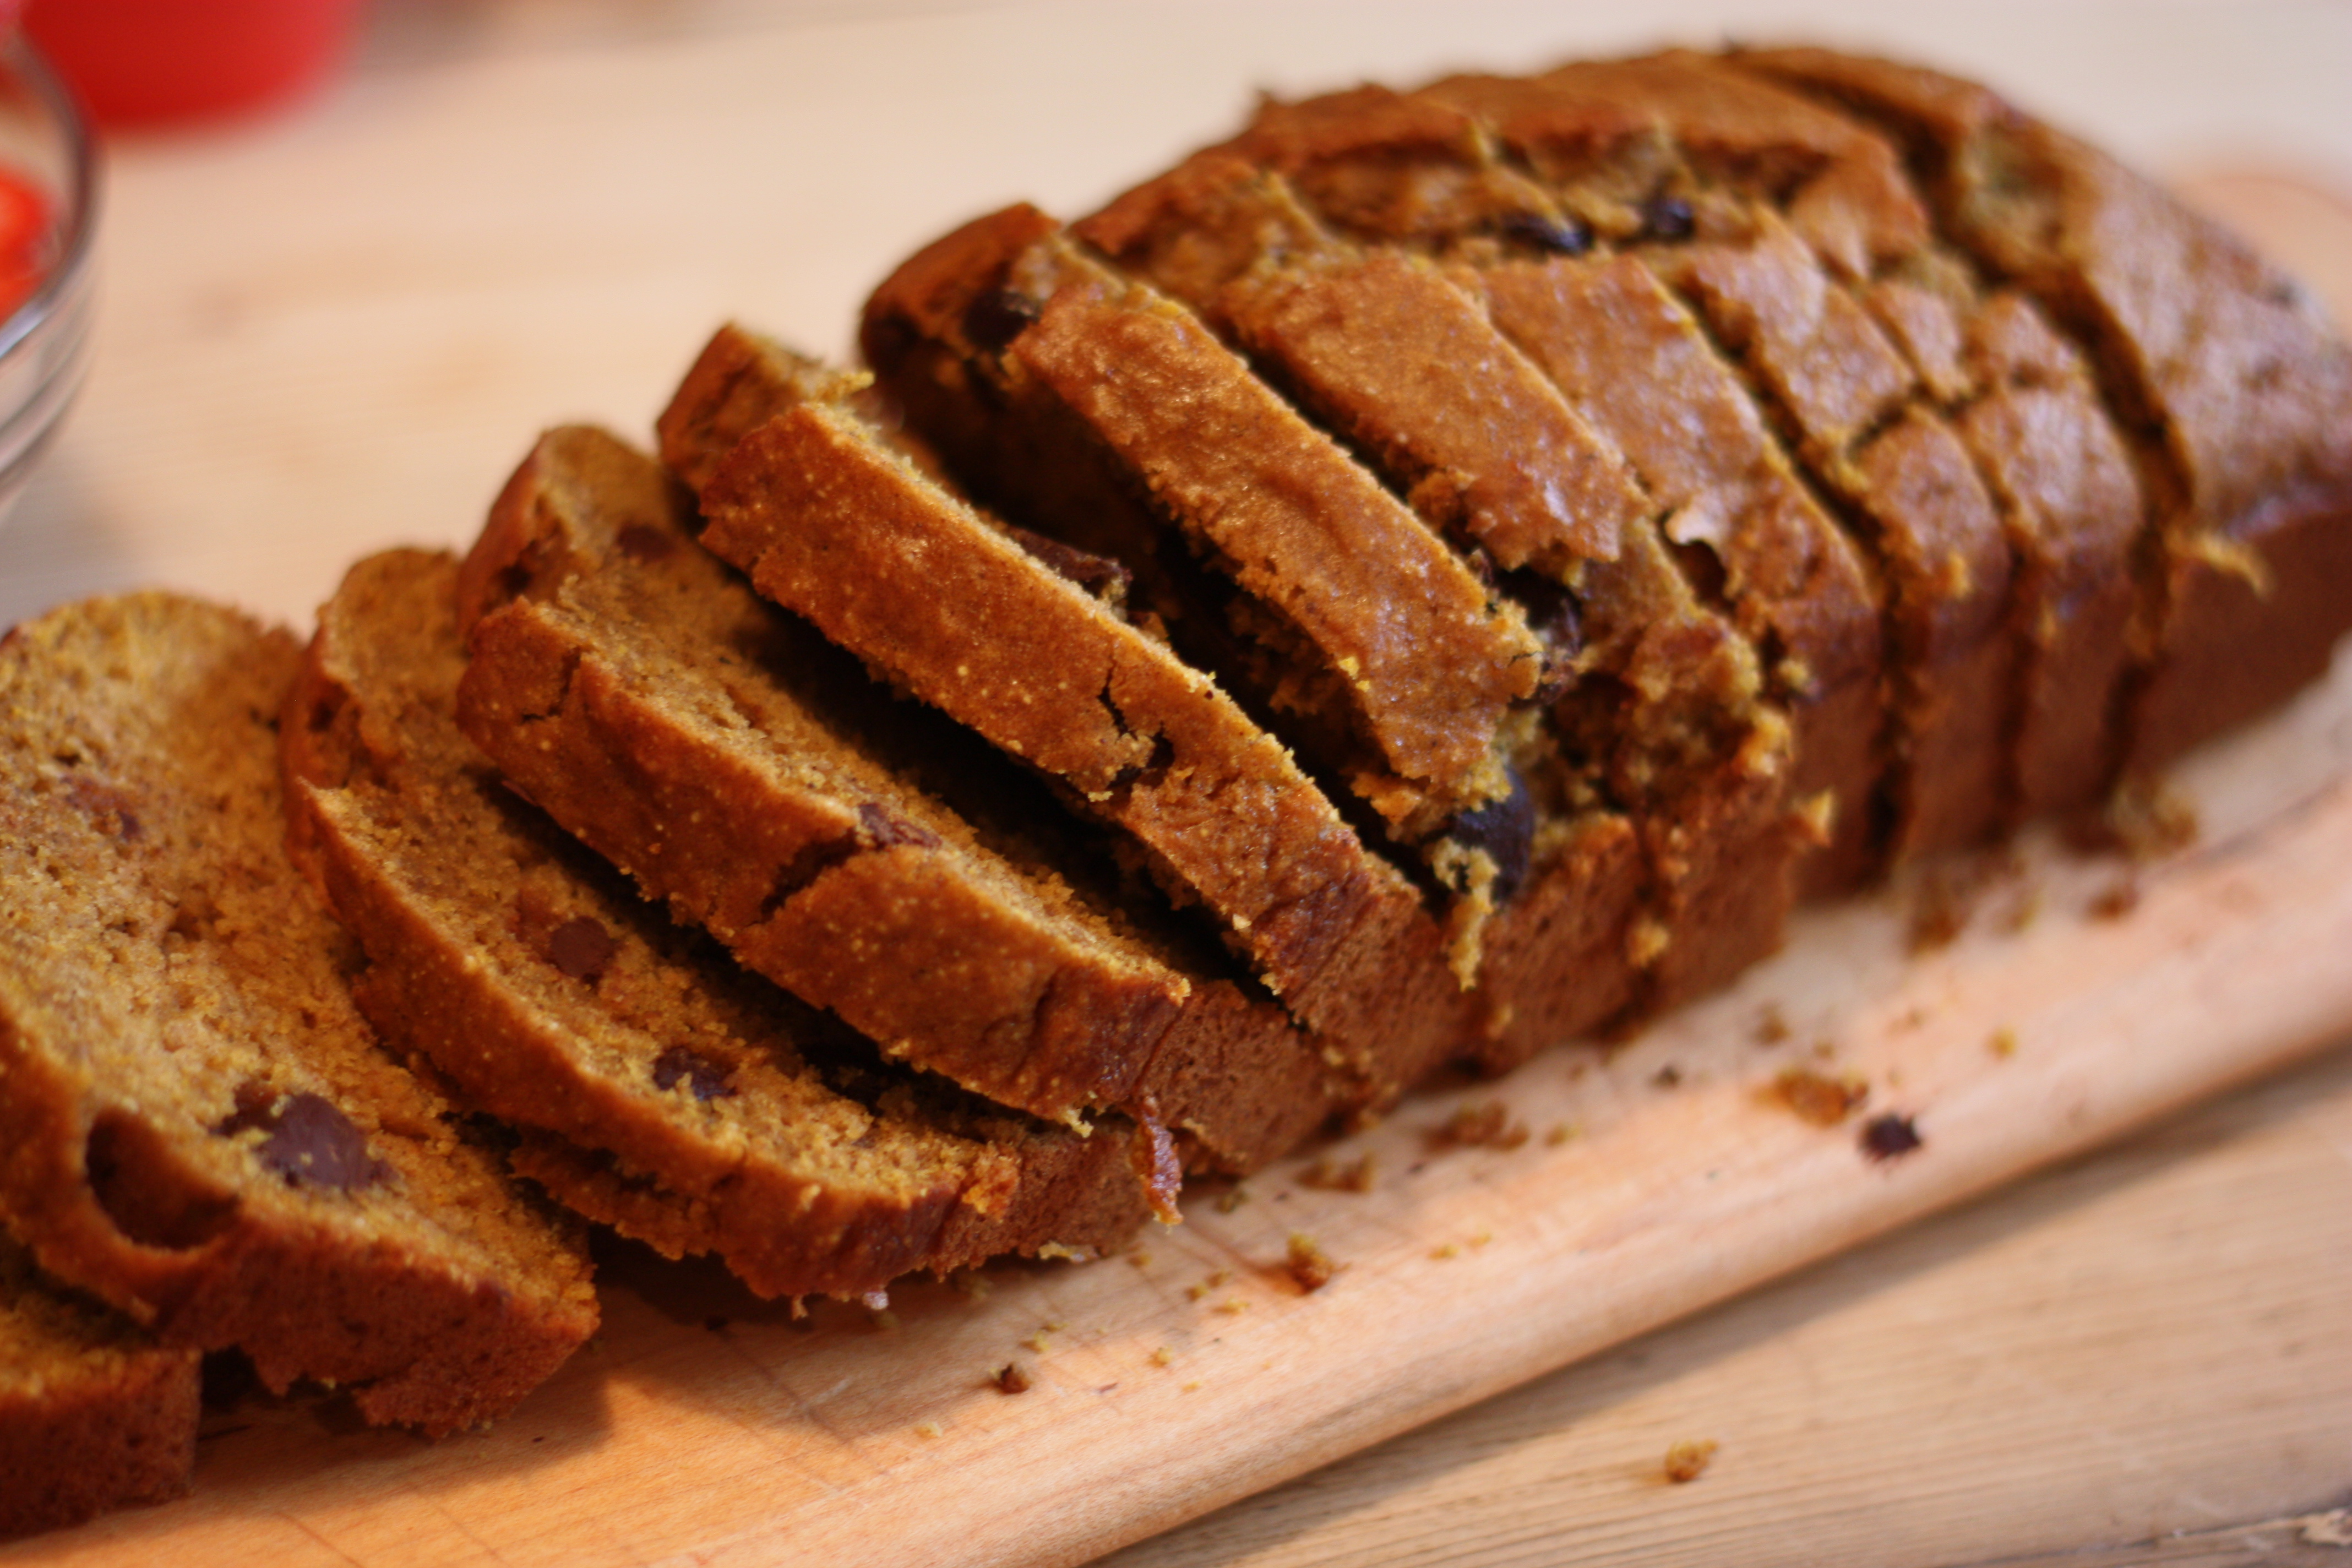
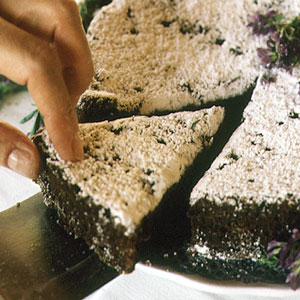
I had this recipe clipped, and I finally tried it two weeks ago. Though not nearly the hit that its companion of the afternoon was (French Lemon Yogurt Cake–I’ll be posting that recipe soon!), I love that it uses coconut oil and has quite a nice, tender crumb, and that the texture even becomes silky the next day. Definitely keeps well, and freezes well, too. You’ll also note by my photo that I didn’t take the time to put in parchment, and it was fine. (I’m also posting it by request. Hope you enjoy it, Mom!). Taken from Bon Appetit, March 2014.  

Chocolate-Coconut Pound Cake

  • 1/4 c. unsalted butter, plus more
  • 1 1/2 c. all-purpose flour [I used whole wheat]
  • 1/2 c. unsweetened cocoa powder
  • 1 t. kosher salt
  • 3/4 t. baking powder
  • 1/2 c. virgin coconut oil, room temperature
  • 1 1/2 c. plus 1 tablespoon sugar (I cut this down to just 1 c.)
  • 3 large eggs
  • 1 t. vanilla extract
  • 2/3 c. buttermilk
  • 1/4 c. unsweetened coconut flakes

Preheat oven to 325°F. Butter an 8×4″ loaf pan; line with parchment paper, leaving a generous overhang on long sides. Whisk flour, cocoa powder, salt, and baking powder in a medium bowl; set aside.

Using an electric mixer on medium-high speed, beat oil, 1/4 c. butter, and 1 1/2 c. sugar until pale and fluffy, 5–7 minutes. Add eggs one at a time, beating to blend between additions; beat until mixture is very light and doubled in volume, 5–8 minutes. Add vanilla.

Reduce mixer speed to low and add dry ingredients in 3 additions, alternating with buttermilk in 2 additions, beginning and ending with dry ingredients (do not overmix; it will cause cake to buckle and split). Scrape batter into prepared pan and run a spatula through the center, creating a canal. Sprinkle with coconut and remaining 1 tablespoon sugar.

Bake cake, tenting with foil if coconut browns too much before cake is done (it should be very dark and toasted), until a tester inserted into the center comes out clean, 70–80 minutes. Transfer pan to a wire rack; let cake cool in pan 20 minutes before turning out.

Basic Gooey Caramel (for filling candy)

Carrot Caramel GoodI checked out a beautiful book from the library called Hand-crafted Candy Bars. I don’t know that I will ever do a full-on candy bar, like the authors do so well, but I used the basic caramel for my Easter chocolate, and really loved how gooey and soft it is. So, I’m keeping this one. Also, the caramel had hardened so much after I put it over the ice and then let it rest 2 minutes, that next time, I don’t think I will let it rest, like the recipe advises. Even so, reheating it over the stove for a bit while mixing it worked fine, and I used it without letting it refrigerate.

Basic-Batch Caramel

3 c. ice
1 c. sugar
1/4 c. water
2 T. corn syrup
1/2 c. heavy cream
1/4 c. butter
1 T. vanilla extract
1/2 t. salt

  1. Put the ice in a large bowl and set aside.
  2. Combine the sugar and water in a medium saucepan. Stir the mixture until it resembles wet beach sand. Use a moist paper towel to wipe out any sugar that clings to the inside of the pan. (This keeps the crystals from getting into your syrup, which will make it gritty rather than smooth.) Over medium heat, bring the mixture to a boil without stirring. Add the corn syrup and cook for about 8 minutes, or until it first browns around the edges and then turns entirely the color of honey. When the mixture reaches about 310F on a candy thermometer, carefully place the pan in the bowl of ice for a few seconds (really, just a few! maybe 2 seconds is enough) to stop the caramel from cooking.
  3. Remove the caramel from the ice but let it cool for another 2 minutes, then add the cream, butter, vanilla, and salt, and stir with a wooden spoon. (Be careful! The still-hot syrup sizzles!) If some of the caramel has hardened on the bottom of the pan, return the pan to the stove and melt the bits into the mixture over low heat. Let the sauce cool a little more, then refrigerate for about 1 hour before using in candy-bar production.
  4. Store in a covered bowl or an airtight container in the refrigerator for 1 week or in the freezer for 2 months.

Homemade Black Licorice

black-licorice

I don’t know why recipes like this appeal to me so much, but I think it was less than twenty-four hours after seeing this recipe from Saveur that I was making it. It was so much fun. If you’ve made caramels before, this recipe isn’t nearly as hard, but if you have never made any candy before, know it might take a time or two to get it right. You’ll need a candy thermometer, but otherwise, no other special equipment. Try it! It’s fun! And really great to eat, too. 

Homemade Black Licorice

8 T. unsalted butter, plus more
1 c. sugar
½ c. dark corn syrup
½ c. sweetened condensed milk
¼ c. blackstrap molasses
⅛ t. kosher salt
¾ c. whole-wheat flour (mine was roughly ground, which accounts for the image)
1½ T. anise extract (available at Olive Nation or Day’s Market 🙂
1½ t. black food coloring

1. Line a glass 8″-square baking dish with parchment; grease. Bring butter, sugar, syrup, milk, molasses, and salt to a boil over high heat in a 2-qt. saucepan fitted with a candy thermometer until temperature reaches 265°. Remove from heat and stir in flour, extract, and coloring; pour into pan. Chill until firm, 30–45 minutes.

2. Invert onto a cutting board, peel of paper, and cut into ¼”-thick ropes; twist to shape. Place on baking sheets; chill 20–30 minutes until set.

Yields about 3 dozen.

Not-as-Sweet Pumpkin Bread


Pumpkin Bread less sugarLast time I made pumpkin bread, my mouth was ringing for a bit afterwards. It just had way too much sugar in it. So, since I’m trying to cut sugar in non-conspicuous ways (I’m not against it, but I just don’t think we need to use quite so much of it!), I changed this recipe a bit, hoping it would still be sweet enough that my kids would eat the whole loaf without question. Totally worked. They didn’t suspect a thing, the loaves were beautiful and delicious, and for me, better, because without so much sugar, the cinnamon and the pumpkin tastes were heightened. I wanted to make sure to write this variation down, before I forgot it. 

Not-as-Sweet Pumpkin Bread

2 1/2 c. all-purpose flour (the original calls for only all-purpose, which works great, of course, too)
1 c. whole wheat flour
2 t. ground cinnamon
1 t. nutmeg
1 t. salt
1 t. baking soda
4 eggs
1/2 c. white sugar (the original recipe calls for 1 1/2 c.)
1/2 c. brown sugar
2 c. pumpkin puree
1/2 c. applesauce
1/2 c. canola oil
1/2 c. pecans or walnuts (optional)
1 c. semi-sweet chocolate chips

Preheat the oven to 350 degrees and grease two loaf pans (Pam works fine here).

In a large bowl, combine the dry ingredients: flours, cinnamon, nutmeg, salt and soda. In another bowl (or in a standing mixer), beat eggs and sugars for one minute, then add the oil, combine, and then the pumpkin. Stir the dry ingredients into the pumpkin mixture until combined, then add nuts and chocolate chips, if using.

Spoon the batter evenly into the two pans, and then bake for 60-70 minutes or until a toothpick comes out clean. Remove to a rack, and let the loaf cool for another 20 minutes or so before slicing.

Yields 2 loaves.

Peppermint Patty Cookies

Peppermint PattySo, I honestly don’t know why I hadn’t thought of this cookie before (I have made homemade oreos, a very similar recipe to this, many times), but this recipe is great, and I love it, and the cookbook, Farm Chicks in the Kitchen, has to go back tonight, so here’s a new favorite cookie! Right in time for holiday baking 🙂

Peppermint Patties

14 T unsalted butter, softened
1/4 c. granulated sugar
1/4 c. packed light-brown sugar
1 large egg yolk
1 t. vanilla extract
1 c. all-purpose flour, plus 2 tbs
1/4 c. Dutch-processed cocoa powder
1/4 t. salt
1 c. confectioner’s sugar
1  1/2 t. peppermint extract
1 t. milk or light cream
2 c. milk chocolate chips(or bittersweet bar, such as Scharffen-Berger)

Prepare the dough:
Cream 10 T. butter in large bowl with an electric mixer on medium speed. Add granulated and brown sugars and beat until fluffy.  Beat in egg yolk and vanilla. Add flour, cocoa powder, and salt with the mixer on low speed, beating until combined.  The mixture may seem dry at first, but it will come together after a few minutes. Roll the dough into a 10 x 2 inch log, wrap in plastic and refrigerate for 1 hour.

Bake the cookies:
Preheat 375 degrees.  Cut dough into 1/4 inch slices.  Place 1 inch apart on sheet (they will not spread).  Beat until just firm to the touch, 7-8 minutes. Transfer to wire rack to cool.

Fill the cookies:
Cream the remaining butter, confectioner’s sugar, peppermint extract, and milk in a small bowl with mixer until blended. Sandwich the cooled cookies with filling. Place the chocolate chips in a small microwave-safe bowl and microwave in 30-second intervals, stirring in between, until melted. Dip the cookies in the chocolate and then chill until chocolate is hardened. Serve.

Chocolate Zucchini Cake

626-52_choco_zucchini_cake_300This cake has become a favorite this season, after Henry, my son, grew his first zucchini (in our neighbor’s garden, I should add. Our patch did not do so well). He wanted to eat the zucchini, but frankly hates the vegetable, so I made this for him instead. He loved the cake, but suggested we just call it “Chocolate Cake,” because calling it “Zucchini Chocolate Cake” freaks him out. This recipe comes from May 2004 Saveur. It’s not a difficult recipe, even though the first step is a bit unusual (but makes for a great cake), just make sure to allow for quite a long baking time. 

Chocolate Zucchini Cake

2 medium zucchini, trimmed and
grated on large holes of box grater
9 T. butter, at room temperature
2 3/4 c. flour
1/4 c. unsweetened cocoa
1 1/4 t. baking soda
1 t. salt
1 1/2 c. sugar
1/2 c. corn oil
2 eggs
1 t. vanilla extract
1/2 c. buttermilk
1/4 c. confectioners’ sugar

1. Working in batches, put a small mound of zucchini in center of large square of double-layer cheesecloth. Gather corners together and squeeze out as much water as possible. Transfer zucchini to a bowl and set aside.

2. Preheat oven to 325º. Butter a deep 9″ cake pan with 1 tbsp. of the butter. Sift flour, cocoa, baking soda, and salt together into a mixing bowl and set aside. Beat together remaining 8 tbsp. butter and sugar in a large bowl with an electric mixer on medium speed until fluffy, 3-4 minutes.

3. Add oil, beating well. Beat in one egg at a time, add vanilla, reduce speed to low, and beat in flour mixture and buttermilk in 3 alternate batches. Stir in reserved zucchini.

4. Pour batter into prepared pan and bake until toothpick inserted in center comes out clean, about 1 hour and 20 minutes. Remove from oven and set aside to let cool. Invert onto a plate and dust with sugar.

Brazilian Passionfruit Mousse

Passionfruit MousseI’ve had this dessert at several get-togethers with some Brazilian friends, and I think it is one of the most glorious desserts ever. And then I learned it was one of the simplest desserts ever. Love it! So, I am passing these divine instructions on, and the best part of this dessert is you really need no time to prepare it. Note: I have also used whipped cream instead of table cream, and it work great too, and it is a little easier to find. I don’t suppose you would have to, but I blended the passionfruit and sweetened condensed milk together, then I whipped the cream up (1 cup of it), and then I folded the two together. Just as great!

Brazilian Passionfruit Mousse

1 can sweetened condensed milk
1 can Table Cream (this product is commonly used in the U.S., but it looks like sweetened condensed milk a little, and is readily available in grocery stores with good Latin American food selections)
1/2 package of frozen Passionfruit puree (Again, not found in typical U.S. grocery stores, but easily found in Latin American markets in the frozen food section. In Utah, try Rancho Market)

Combine all three ingredients in a blender and mix on low speed until blended (20-30 seconds). Pour into a bowl and place in the fridge to thicken, or enjoy immediately!

Retro Peanut Butter Fingers

These have the French Buttercream. Delicious!

These have the French Buttercream. Delicious!

This is the recipe from elementary school cafeterias in the ’80s (and perhaps before and since!). Luckily, my aunt gave this to me, and I am so glad, because as a kid, I always had school lunch on the days these were served. So, if you have the same lovely memories, you’ll love this one. Incidentally, it’s great for a crowd, since it takes just a little effort, but makes somewhere between 36-48 bars, depending on how small you cut them. Perfect for picnics and after-school gatherings!

Retro Peanut Butter Fingers

1 c. butter
1 c. brown sugar (the original recipe calls for 1 1/2 c., but I don’t think they need to be that sweet)
3/4 c. sugar (again, I’ve cut down from the original 1 c.)
2 large eggs
1 1/2 t. vanilla
1 1/2 t. soda
1/2 t. salt
3 c. flour
3 c. rolled oats
18 oz. creamy peanut butter
Chocolate Frosting (of your choice; I’ve used a simple ganache, chocolate French Buttercream and chocolate American Buttercream. I usually pick the type of frosting according   to where and how I will serve them, and how sturdy I want the frosting to be)

1.Preheat your oven to 325 degrees. Line a 18 x 26 x 1″ pan with parchment paper.

2. In a medium bowl, whisk the flour, oats, salt and soda together. Set aside.

3. In the bowl of a standing mixer, cream the butter and sugars together for 3-4 minutes, until fluffy, scraping the bowl as needed. Beat in the eggs one at a time, for about thirty seconds each. Add vanilla and beat briefly until combined. Add 9 oz. of the peanut butter, and beat another 1-2 minutes, or until combined.

4. Add the dry ingredients to the mixer, and mix on low speed until combined. Spread the batter (it will be thick) onto the parchment-lined pan.

5. Bake for 10-12 minutes (it will look a little dry), then remove to a wire rack.

6. Once the fingers have cooled, spread with the remaining peanut butter and then frost with your choice of chocolate frosting. Enjoy!


Favorite Peanut Brittle

Peanut Brittle
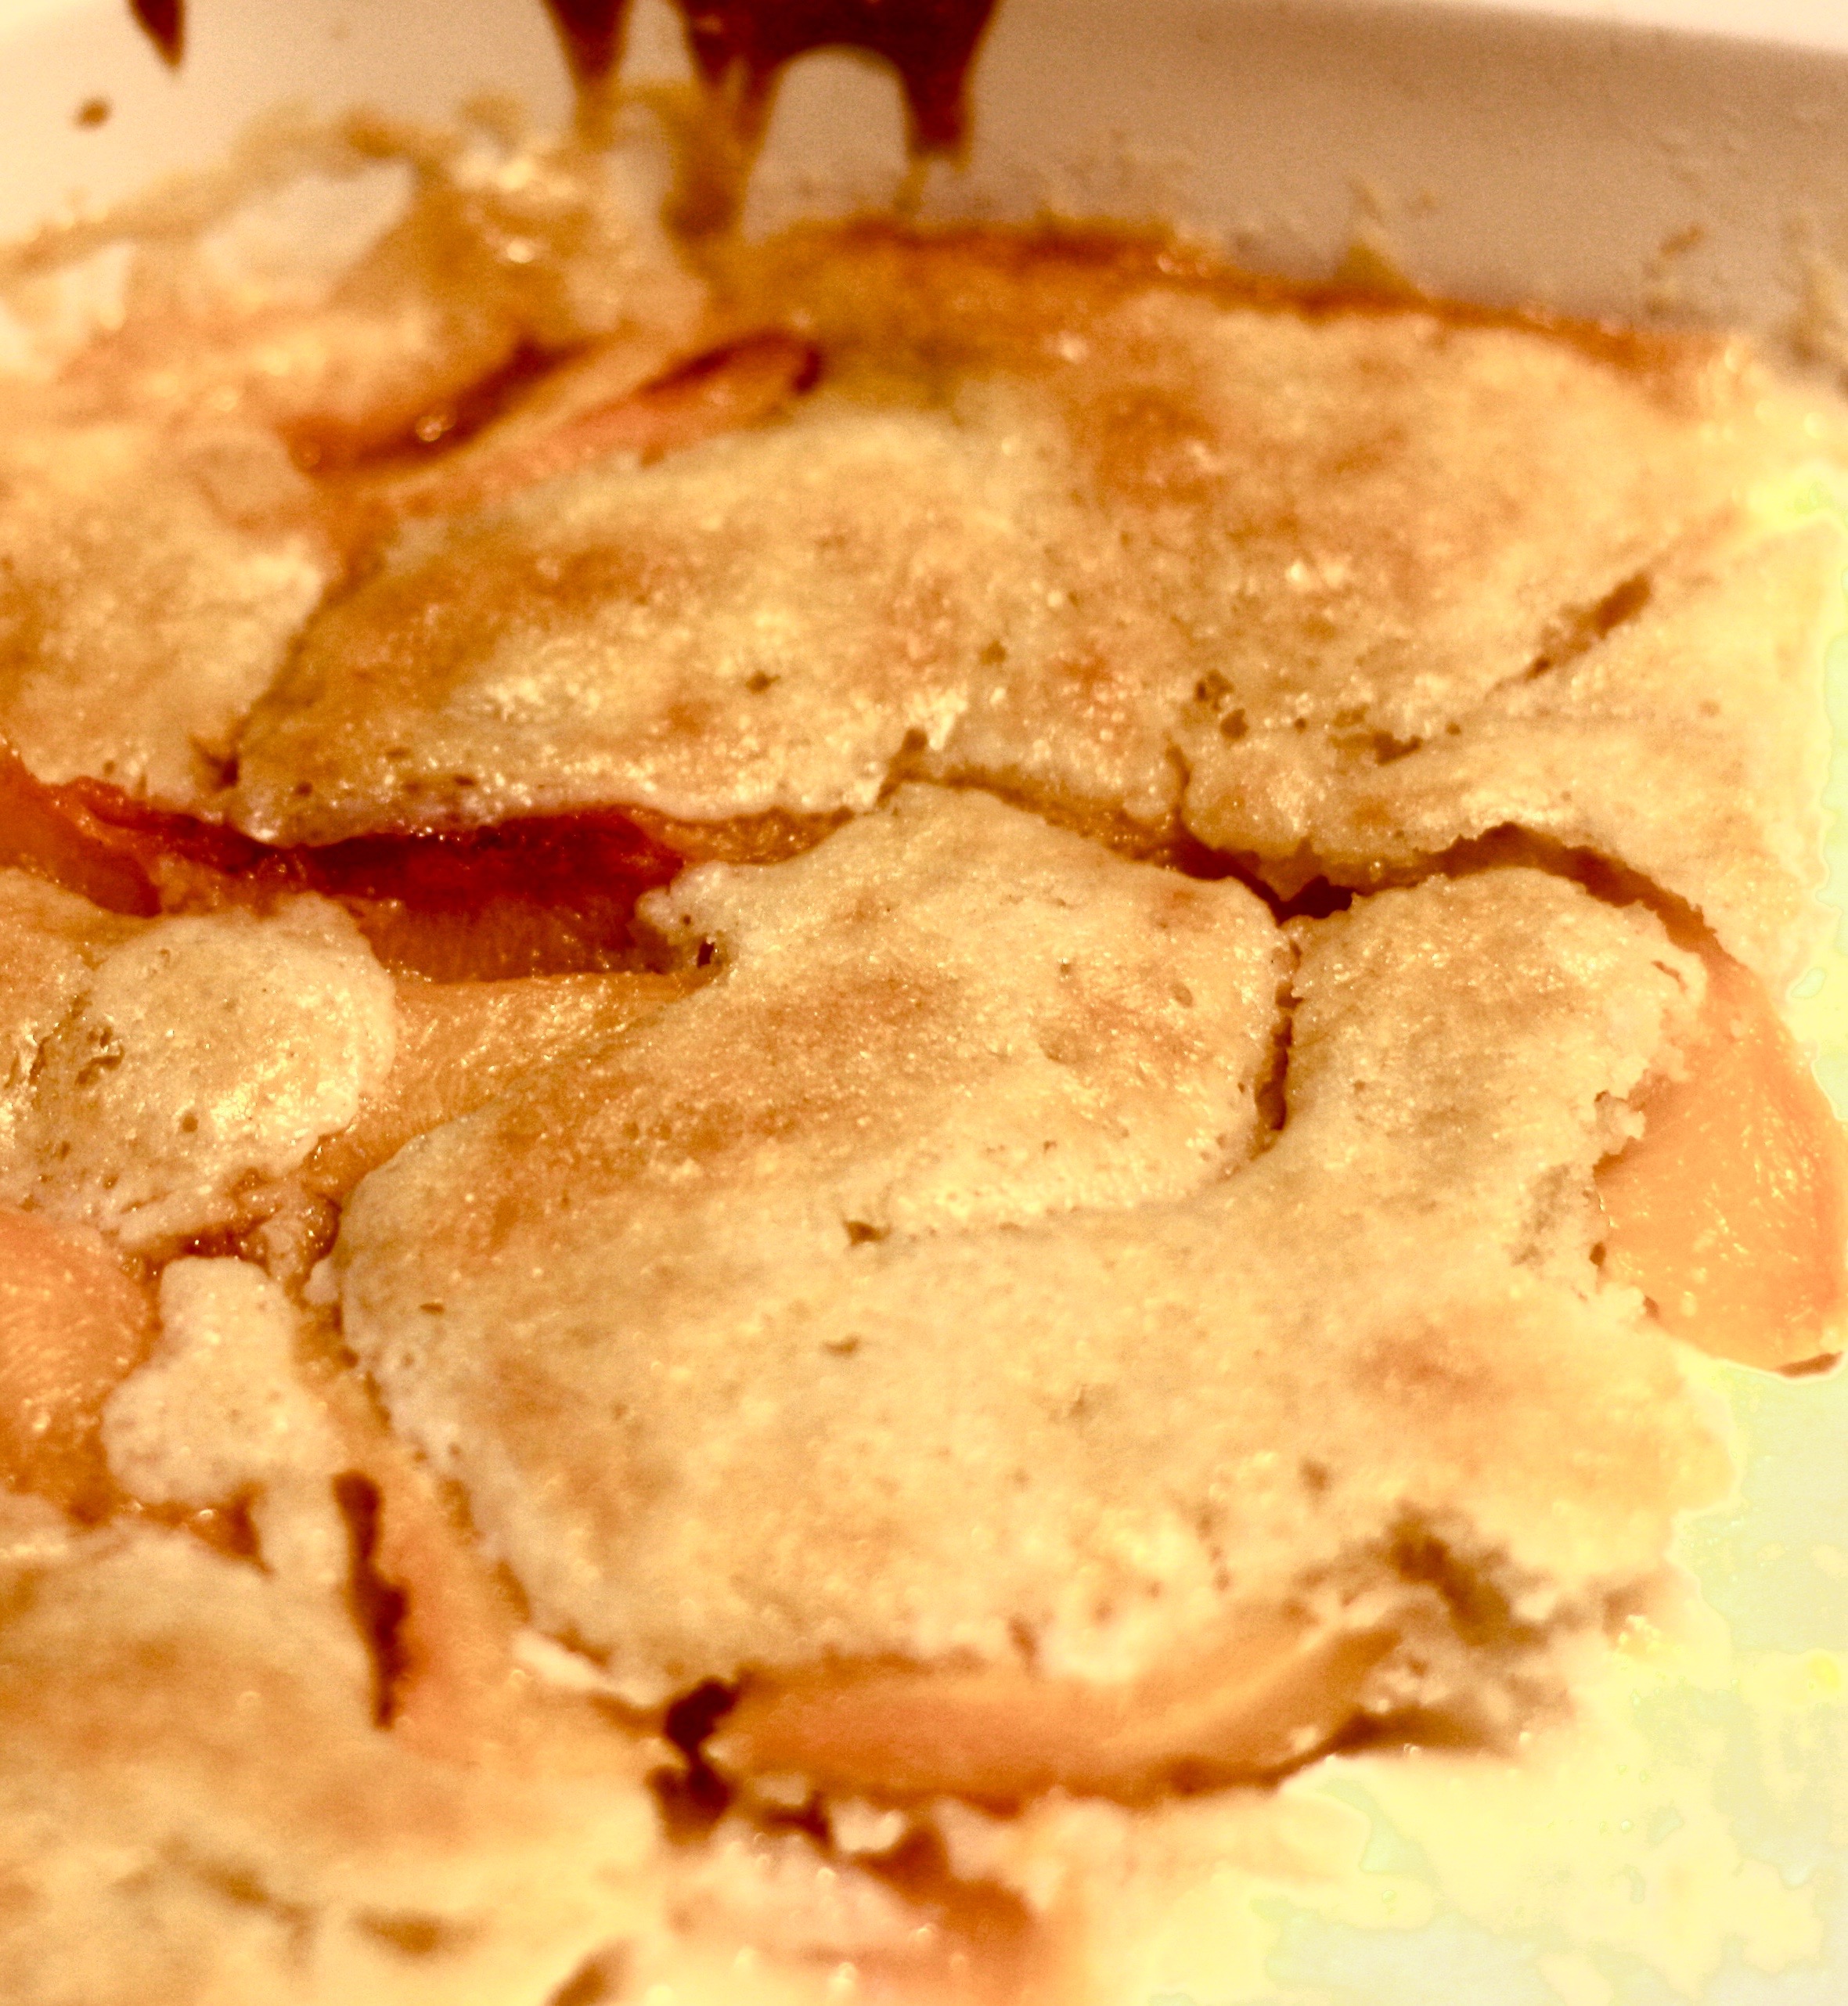
Now that it’s Christmastime, and I’m feeling a little bit better from morning sickness, I’ve started a bit of holiday baking. I love this recipe of Martha’s for peanut brittle (she has several!). I like the lift that the baking soda gives, and I really like that it uses salted and roasted peanuts, since those are the easiest to find. Peanut brittle is such an easy candy to make–as long as you have a candy thermometer–but don’t be discouraged if a batch doesn’t work out–it just happens that way from time to time. This recipe comes from the December 2010 issue of Everyday Food.

Peanut Brittle

  • Nonstick cooking spray
  • 2 c. sugar
  • 1/2 c. light corn syrup
  • 1/2 t. coarse salt
  • 2 T. unsalted butter
  • 1/2 t. baking soda
  • 3 c. salted dry-roasted peanuts (about 1 pound)
  1. Line a rimmed baking sheet with parchment and lightly coat with cooking spray (I usually use a silpat–it makes cleanup super easy). In a medium saucepan, combine sugar, corn syrup, salt, and 1 cup water. Bring to a rapid simmer over medium-high and cook until deep golden, about 20 minutes (295 degrees on a candy thermometer at sea level. One degree less for every 500 feet above sea level you’re cooking at). Remove pan from heat. Stir in butter, baking soda, and peanuts (mixture will foam). Stir until mixture is no longer bubbling and caramel is smooth, 1 minute. Transfer to sheet and spread with a lightly greased spatula. Let cool until firm, 15 minutes. Break into pieces.


Dad’s Best Peach Cobbler

I know it’s hard to be discerning about foods you grew up with, but I’ve always loved my dad’s peach cobbler. I’ve never seen anything like it in recipe books until recently in a Cook’s Country they had a similar cobbler that they described as a “pancake-like” batter from Texas. Well, I don’t know how our family came upon this recipe, because we have no ancestral ties to Texas, but  it’s a winner, and it really makes a plethora of peaches much more fun.  Another reason to love September.

Dad’s Best Peach Cobbler

1/2 c. butter
1 c. milk
1 c. flour
1 t. baking powder
1/2 t. salt
1/4 t. baking soda
1 c. sugar
sprinkle of cinnamon or nutmeg
1 quart canned peaches with juice (we always had these growing up)
or 4 c. fresh peaches, with juices, peeled, sliced and macerated in 1/2 c. sugar for 20 minutes
[I actually use frozen peaches with their juices, defrosted a bit)

1. Heat oven to 350. Place butter in a glass 9×13 baking dish, and place in the oven for the butter to melt (this happens quicker if you slice the butter into eight pieces first). Pull the pan out of the oven before the butter has a chance to brown (about 5 minutes).

2. Combine the soda, powder, salt, flour, and sugar in a medium bowl. Then, whisking, add the milk.

3. Once the butter has melted, remove the pan from the oven and pour the peaches over the butter. Then, pour the batter over the peaches. Sprinkle with cinnamon and a pinch of nutmeg, if desired. Place into the preheated oven and bake for 40 minutes.

4. Serve with whipped cream or ice cream hot from the oven. Or cold the next morning for breakfast.

peach-cobbler-1