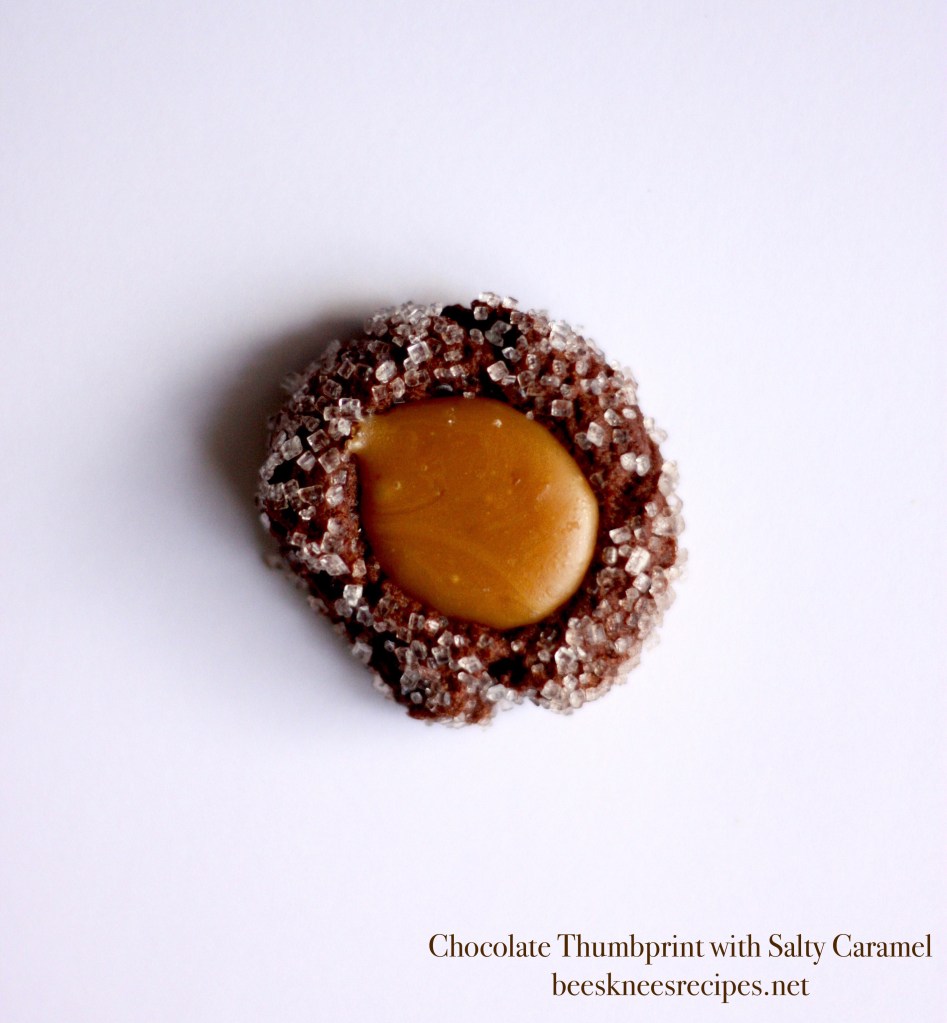
This is the recipe that popped out at me when I opened Erin McDowell’s The Fearless Baker. This book is full of fun and beautiful recipes, and I have already made a couple, but this one is a good one for a few pantry staples (especially if you happen to have salted caramel sitting in your fridge–which luckily, I did), so it might inspire those of us who are rather homebound.
My main alteration for next time would be to play with the baking times. I’ve liked baking meringues hot and fast rather than low and long (doesn’t that sound very 21st C.?) because I’m not a great ahead-of-time thinker and I’ve had terrific luck with it (like my Christmas Dream Drops), but I did as the recipe suggested here and went for low and long. It didn’t work great–I probably pulled the pans too soon, and the meringues collapsed. They tasted great and were still pretty, but I will go longer next time, or go fast and hot. Haven’t decided yet. In the meantime, I hope you enjoy these beautiful little cookies! My twelve-year-old is already asking for them again . . .
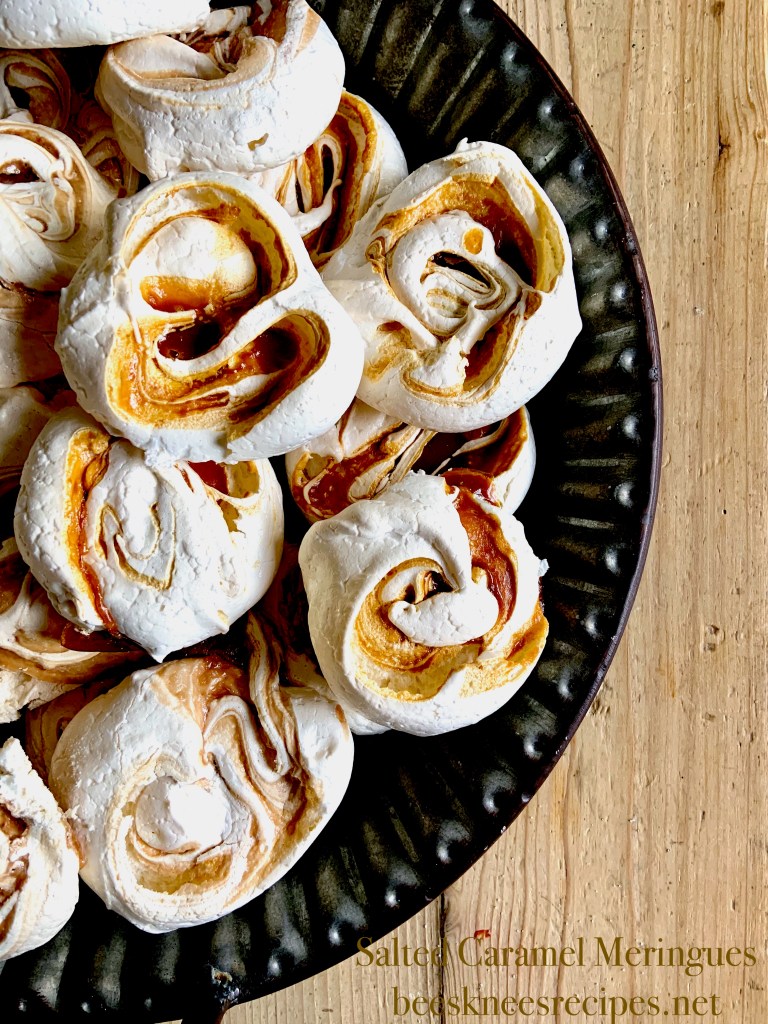
Salted Caramel Meringues
4 large egg whites
1/4 t. cream of tartar
1 c. granulated sugar
1/2 t. vanilla extract
1/4 t. fine sea salt
1 c. Salted Caramel Sauce
Preheat the oven to 325. Line two baking sheets with parchment.
In the bowl of a stand mixer fitted with the whisk attachment (or in a large bowl with a hand mixer), whip the egg whites and cream of tartar on medium speed until lightly foamy. Raise the mixer speed to high and add the sugar in a slow, steady stream. Continue whipping until the meringue holds medium peaks, 5-7 minutes. Add the vanilla and salt and mix to combine, about 1 minute.
Gently scoop the meringue onto the prepared sheets using a scoop or two spoons to create 1/4 c. dollops, leaving 1 1/2 inches between each. Use a small offset spatula to slightly flatten the mounds, keeping them circular. [I didn’t flatten them, but I did depress a mound in the center and then filled it with the sauce, and then swirled.]
Drizzle 2 teaspoons of the caramel sauce over each meringue (you can transfer the caramel to a disposable pastry bag to do this, or just use a spoon), then use the tip of a paring knife to gently swirl them together, keeping the swirl to one or two wide strokes (the more you swirl the more likely the meringues will deflate).
Transfer the meringues to the oven, lower the oven temperature to 250 and bake until the meringues are very dry to the touch (the caramel will melt slightly into the cookies.) How long this takes depends on how dry the weather is–anywhere between 45-90 minutes [aim for the longer–I live in a dry desert climate, and it wasn’t fully done at 60 min.]. When the meringues are dry, turn off the oven and leave the sheets in the oven until the cookies and sheets cool completely.

Salted Caramel Sauce
1 1/2 c. sugar
1/4 c. corn syrup
1/4 c. water
1 t. vanilla extract
4 oz. unsalted butter, cut into cubes, at room temperature
1/2 c. heavy cream
3/4 t. fine sea salt
Note: I think this is a particularly well written caramel recipe! If you’re a newcomer to caramel, the author explains the process very well.
Combine the sugar, corn syrup and water in a medium saucepan. Bring to a boil over medium-high heat. You can stir the mixture before it boils to help dissolve the sugar, but stop stirring the moment it starts. Boil the syrup until it’s a medium amber color. Once it starts to color, tilt the pan occasionally–it’s easier to see the true color of the caramel when you’re looking at less of it (or it may seem darker than it really is). As soon as it’s close to medium amber, turn off the heat–the caramel will retain some heat, so it’s good to allow for carryover cooking.
Add the butter to the caramel and stir gently to combine. Stir in the cream (be careful–the caramel may bubble up and steam a lot. Just keep stirring and it will die down). The sauce should be smooth and creamy. If it seizes up and you see lumps of caramel that haven’t fully dissolved in the sauce, return the pan to low heat and stir occasionally, until the sauce is smooth. Stir in the salt and vanilla. Remove from heat and cool.


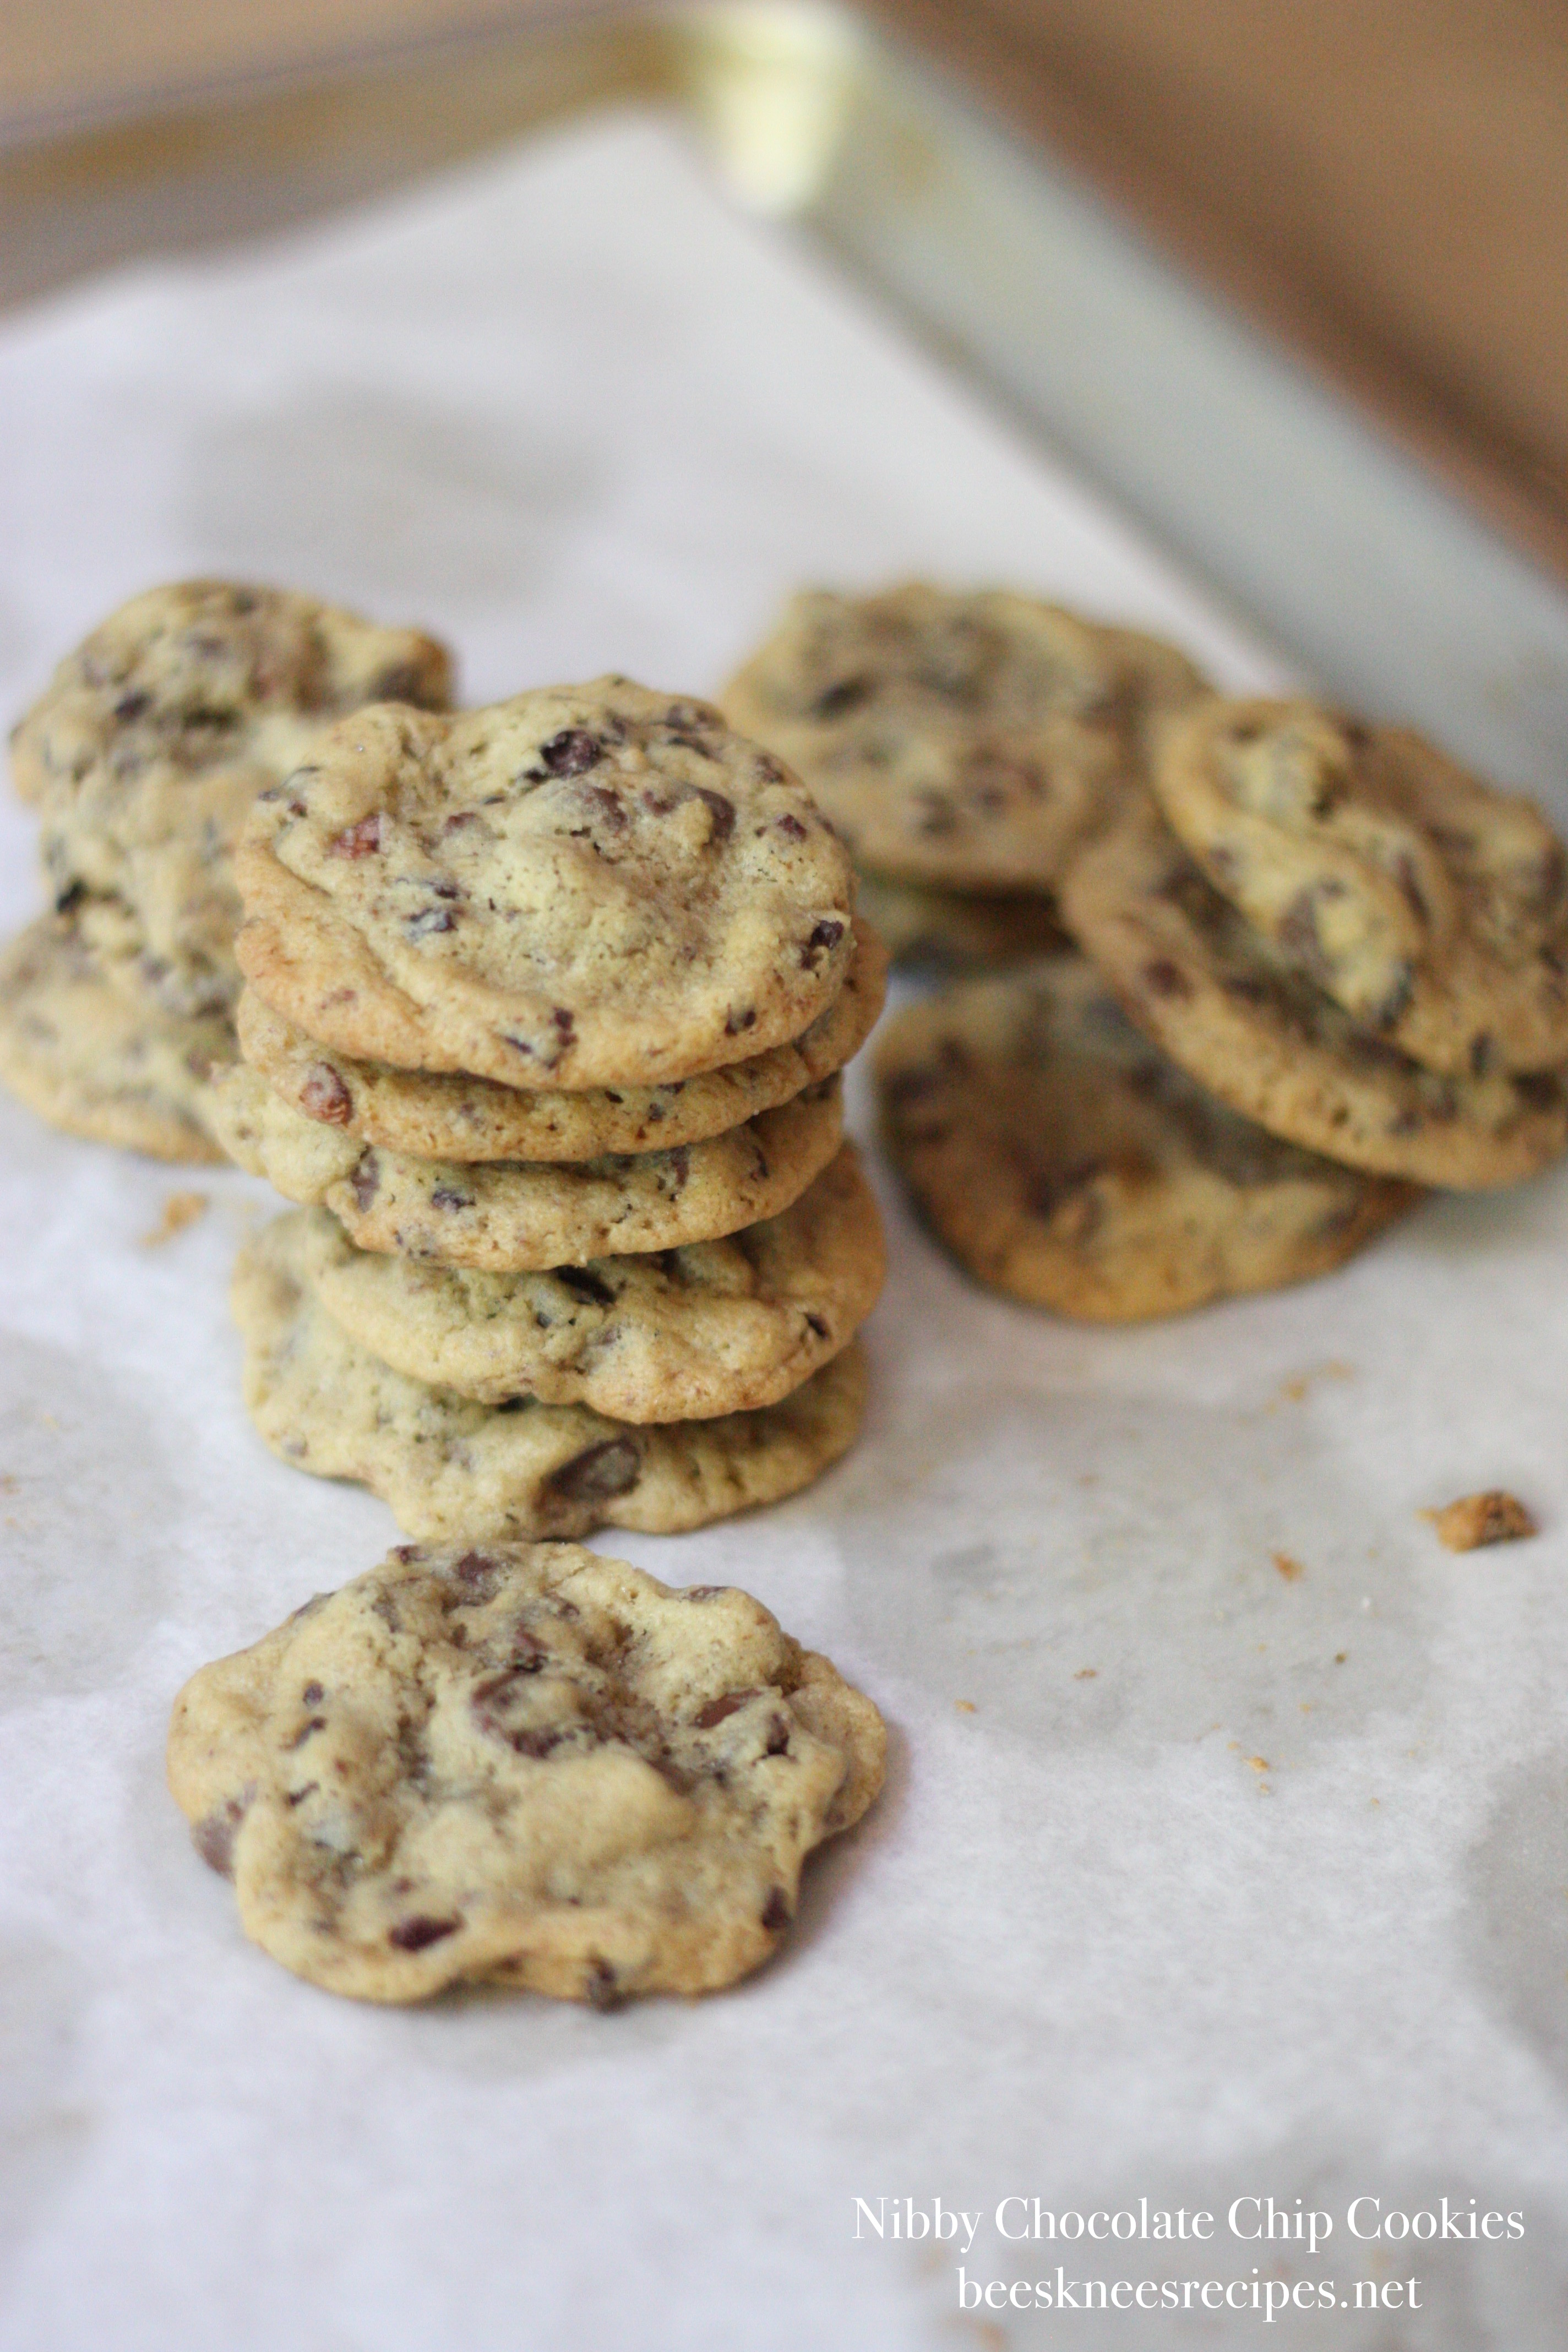
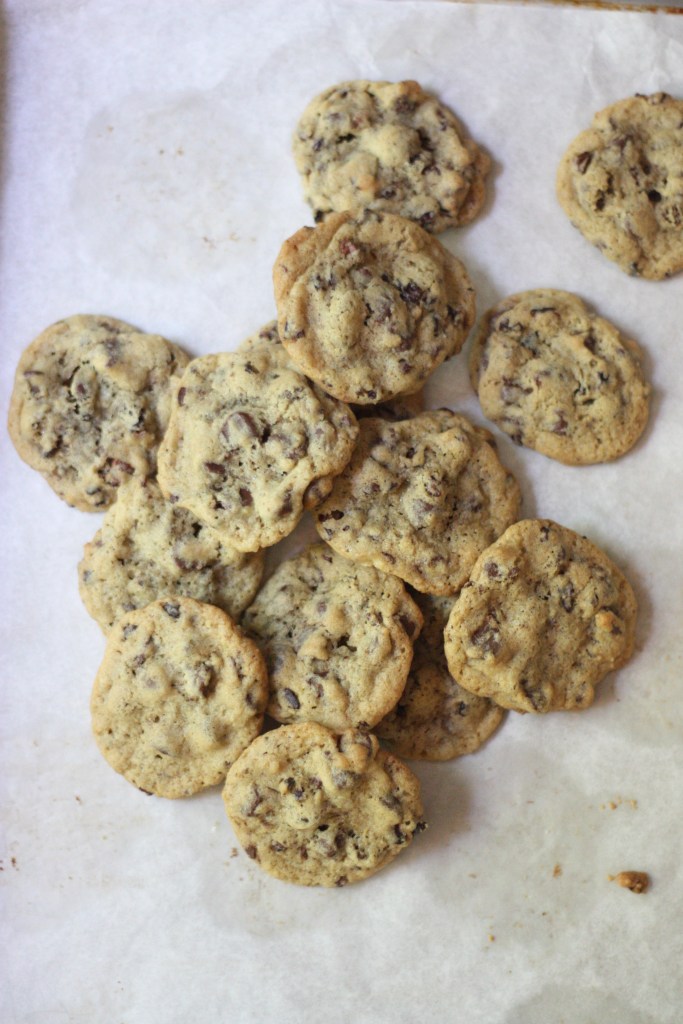
 I picked up a cookbook recently called Sugar & Spice (by Sarah Seneviratne), thinking it would have ideas right up my alley, and though I haven’t found myself in it very often, I was so happy to try this amazing recipe. The author calls this her “go-to” chocolate chip, rather than selling it as a riff on the classic. When I tried it, I thought, “yeah, this could be a new ‘go-to’ but it also is so unique!” So, I’ve renamed them to reveal a little more of what they bring to the table. Even so, my name also doesn’t give them full disclosure, because it doesn’t incorporate how much the vanilla shines through and carries the flavors together. This might be my favorite part!