I’ve been so in love with this idea since I first saw it two years ago. It has probably already circled the internet a few times, but if you haven’t, by chance, seen it, I would say this might be the one Easter idea that is worth doing, especially if you are short on time. In fact, I am thinking of having these be my kids’ Easter baskets this year–small, simple, beautiful, and ready to fill with a few candies and eggs.
This recipe comes from Alice Medrich, who I think is incredible, and I originally saw it on Food52. I used to do a lot of candy making at Easter–caramel and peanut butter eggs, molded chocolates, homemade Peep-type things, but now I really just do this and some breads. It’s the right amount. And again, so pretty.
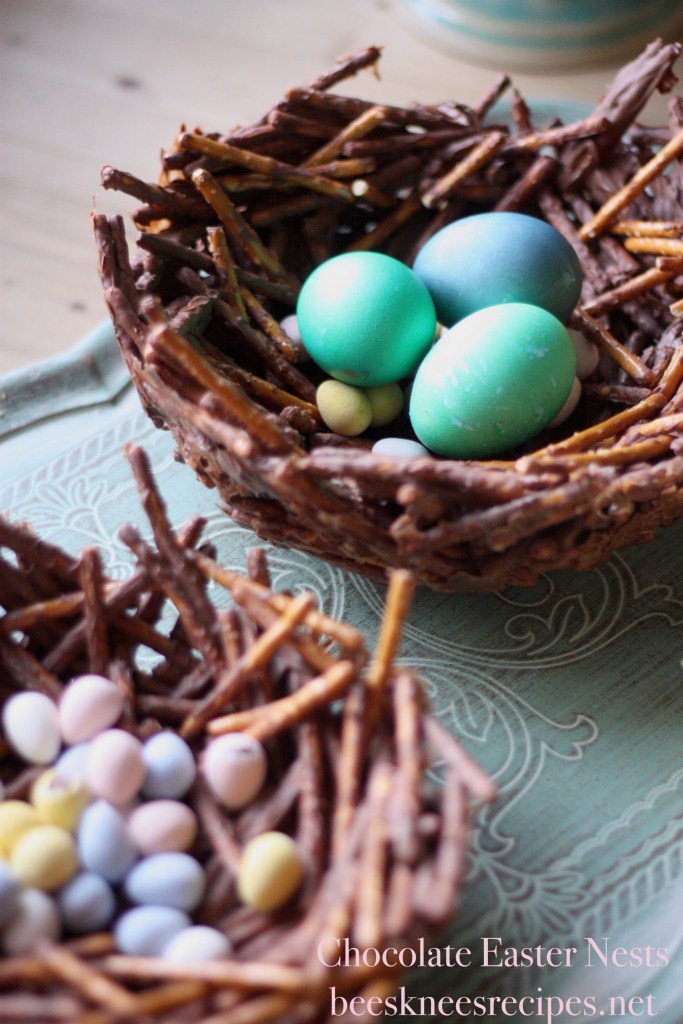
Chocolate Easter Nests
- 4 ounces (115 grams) dark chocolate or 6 ounces (170 grams) milk chocolate, chopped [I ended up adjusting a little according to the look, too]
- 4 to 6 cups thin salted pretzel sticks (such as Snyder’s of Hanover)
- Equipment: Two-quart stainless steel bowl to use as a mold
- To prepare the mold, press a sheet of plastic wrap across the bottom and up the sides of the bowl, as smoothly as possible and with as few air bubbles as possible, letting the ends hang over the bowl. If necessary, press another sheet into the bowl crosswise to cover any bare sides of the bowl. Tip: If you wipe the bowl with a damp sponge or cloth, it will help to adhere the plastic a little better, but be sure that chocolate never comes in contact with a moist surface. And no, foil is not better for lining the mold!
- Put the chocolate in another (clean, dry) medium stainless steel bowl. Bring about an inch of water to a simmer in a wide skillet. For dark chocolate, set the bowl directly in the water and adjust the heat so that the water is not quite simmering. For milk chocolate, turn the heat off under the skillet and wait 60 seconds before setting the bowl of chocolate in the water. [If you’re familiar with melting chocolate in the microwave, it’s also very doable and easy. Just microwave only in 30 second segments, stirring between each turn. It doesn’t take long and requires attention not to scorch, but it can be easier.]
- Stir the chocolate frequently with a clean, dry spatula until the it’s melted and smooth. Remove the bowl from the water and let the chocolate cool to lukewarm, (about 90° F–this will temper the chocolate relatively well, too, so you don’t have white streaks). Pour about 4 cups of the pretzels into the chocolate. Use a rubber spatula to turn the pretzels gently in the chocolate until they are completely coated; add more pretzels if you can, as long as you can get them coated. It’s okay if some of the pretzel shows through the chocolate, but they should be coated and the chocolate should still be sticky. Continue to turn the chocolate-coated pretzels in the bowl until the chocolate seems a little thicker and cooler, but not yet starting to set.
- Use your fingers to arrange the pretzels in the bottom and up the sides of the lined mold.
- Refrigerate to set the chocolate. To unmold, lift the plastic liner out of the bowl. Set the basket down on a serving platter and peel the plastic gently away from the pretzels. Serve filled with chocolate truffles, stemmed strawberries, or other treats.


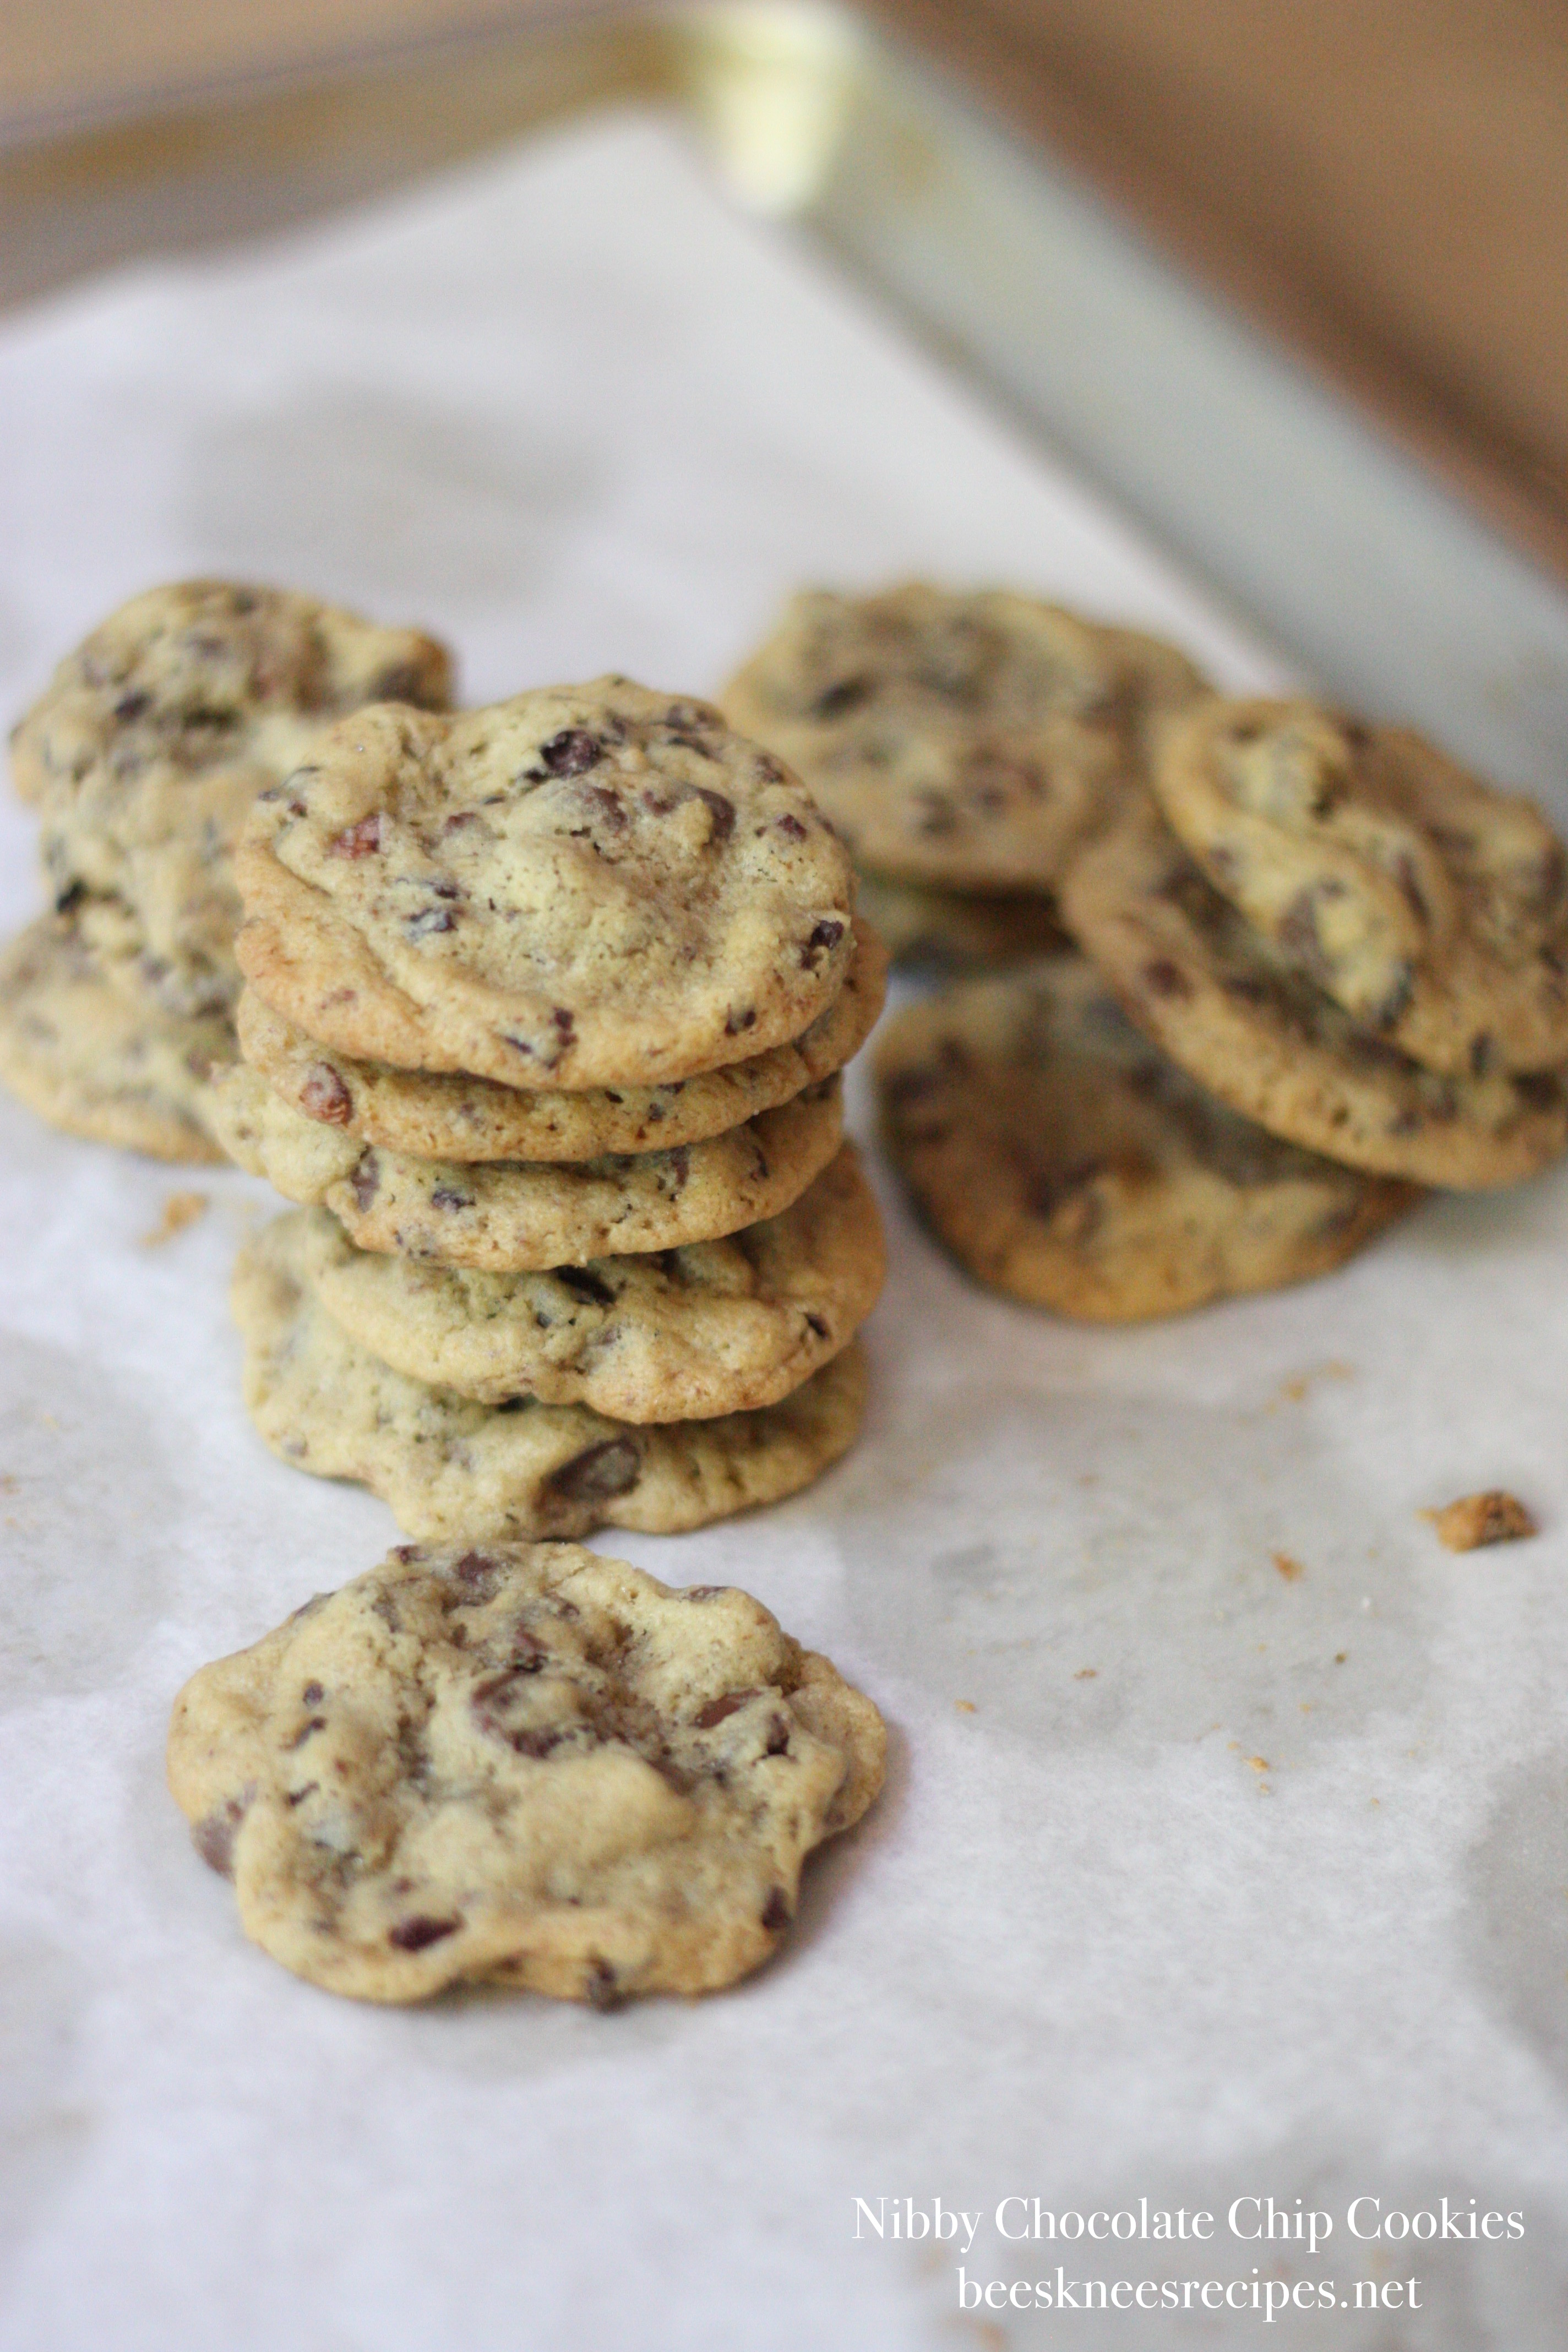
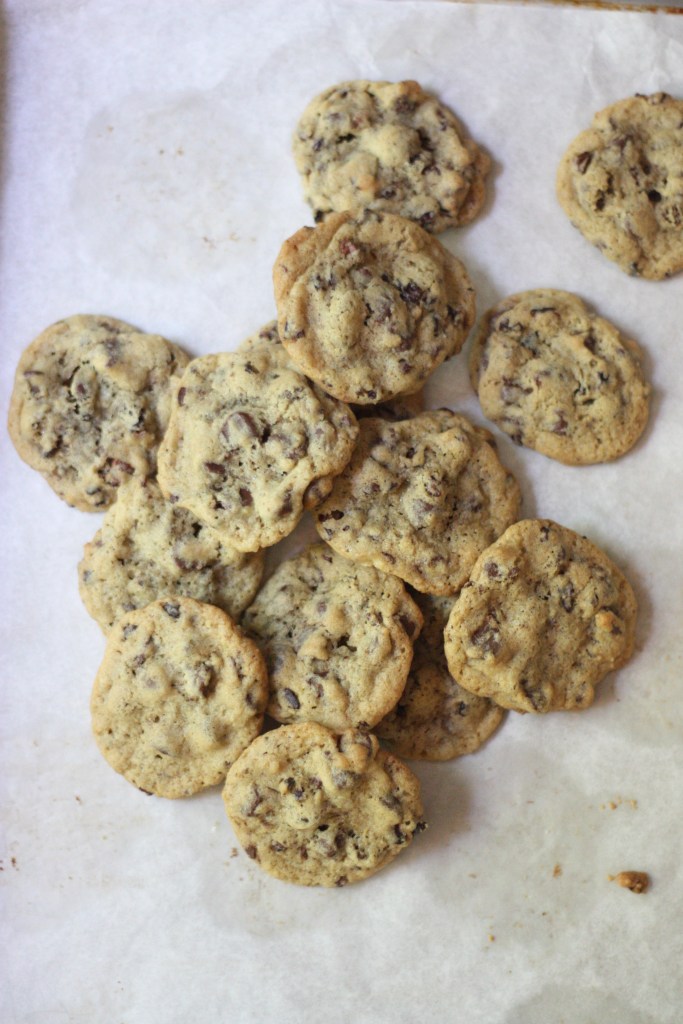
 I picked up a cookbook recently called Sugar & Spice (by Sarah Seneviratne), thinking it would have ideas right up my alley, and though I haven’t found myself in it very often, I was so happy to try this amazing recipe. The author calls this her “go-to” chocolate chip, rather than selling it as a riff on the classic. When I tried it, I thought, “yeah, this could be a new ‘go-to’ but it also is so unique!” So, I’ve renamed them to reveal a little more of what they bring to the table. Even so, my name also doesn’t give them full disclosure, because it doesn’t incorporate how much the vanilla shines through and carries the flavors together. This might be my favorite part!