Many of you already know, but I haven’t been in the kitchen much lately since Hazel came on Easter Sunday. She’s a great reason to slow down a little!

Hazel last week, at 3 weeks
Many of you already know, but I haven’t been in the kitchen much lately since Hazel came on Easter Sunday. She’s a great reason to slow down a little!
Hazel last week, at 3 weeks

This is a great dip from the New Best Recipe that works well with vegetables and with crackers. My friend Linda requested it, and since there might be a few potlucks and gatherings this weekend, I thought it might be of interest to more than just her! The taste depends on the fresh dill and parsley and garlic, so I wouldn’t recommend substituting dried.
Herbed Spinach Dip
Makes about 1 1/2 c. (for 8-10 people)
1 (10 oz.) box frozen, chopped spinach
1/2 c. sour cream
1/2 c. mayonnaise
3 medium scallions (green onions), white parts only, sliced thin
1 T. chopped fresh dill
1/2 c. packed fresh parsley leaves
1 small clove garlic, minced
1/4 t. hot pepper sauce (like Tabasco)
1/2 t. salt
1/4 t. ground black pepper
1/2 medium red pepper, cored, seeded, and diced fine
1. Thaw the spinach in a microwave for 3 minutes at 40% power. (The edges should be thawed but not warm; the center should be soft enough to be broken into icy chunks.) Squeeze the partially frozen spinach of excess water.
2. In a food processor, process the spinach, sour cream, mayonnaise, scallions, dill, parsley, garlic, hot pepper sauce, salt, and pepper until smooth and creamy, about 30 seconds. Transfer the mixture to a serving bowl and stir in the bell pepper; serve. (The dip can be covered with plastic wrap and refrigerated for up to 2 days–and even tastes a little better.) [Note: if you don’t have a food processor, you can blend the mixture, or just chop it really fine and stir it together–it will still work!]

I got this idea last year (after gasping at the price of both the grocery store’s and the candy shoppe’s peanut

Some of the eggs the kids and I decorated--I didn't use a mold for these
butter filled Easter eggs) to try and dip my own. I bought chocolate molds (cost about $2), poured a thin coat of tempered chocolate into them, filled them with the homemade Reese’s filling that I adore, and was quite pleased with the result. Placing them in the little cellophane bags from Michael’s (well, I really got mine at Dyan’s Sweet Tooth, but Michael’s and JoAnn’s would have them too), they looked suitable for the Easter baskets.
This year, I had too much peanut butter filling for just the molded chocolates that I made, so I decided to shape the remaining filling into egg shapes, and then dip them. Because I had some extra colored melting chocolate from another project, I melted it, and the kids and I decorated the eggs. I have to say, it was as enjoyable (if not just a little more) than decorating real hard-boiled eggs.
In addition to filling the molded chocolates with peanut butter, I also made a batch of homemade

Marshmallow-filled duck being propped up by a bunny--I used a mold for this
marshmallows. This was messier, but the result was worth it. Again, I put a coat of tempered chocolate (melt milk chocolate to 88 degrees, and then spoon it in the mold), and let it cool. Then, I made the marshmallows (Martha’s recipe is below), and after putting shortening on my fingers, I pulled the marshmallow out, and shaped it into the mold. I let the mold sit for 4 hours, then covered the back with more tempered chocolate. If you want to try it out, but don’t have molds, you could also cut the marshmallows into squares and dip them, or cut them into egg shapes with a cookie cutter. I also found that you can grease a chocolate mold, dust it with powdered sugar, and then fill it with marshmallow and make molded marshmallows (which I then dipped–the more chocolate the merrier). I would love to hear if anyone tries this, and what you ended up doing!
Martha’s Marshmallows
Makes 24
Confession: I actually haven’t used this recipe of Martha’s before–the one I’ve used calls for 2 T. of vanilla, and yield is a little lower. I didn’t like how strong the vanilla was, so this last batch, I lowered it to 2 t., which I liked a lot more. If you look on Martha’s website, there are lots of variations–including one that uses a vanilla bean. They are all essentially similar, though, but you may find you prefer more/less sugar, vanilla, etc.

In February’s Living, Martha had a great idea for leftover ham that I tried, the Croque Monsieur. These

Martha's pic of the Croque Monsieur minus the sauce
sandwiches are great: a simple variation on a grilled ham and cheese (essentially, you pour a bechamel sauce on top and broil. Brilliant!) that works out well. I think this is our plan for Easter ham . . .
Croque Monsieurs
Makes 4

I’m obsessed with this salad lately. Maybe Rex can pipe in whether or not it’s as terrific as I think it is, but I’m really in love with it. If you start the recipe before cooking the rest of your meal, the pears will have sufficient time to cool before serving. The recipe comes from America’s Test Kitchen’s 2009 Annual.
Pan-Roasted Pear Salad
3 ripe but firm pears, quartered and cored (the flesh at the neck of the pear should give slightly when pressed)
2 1/2 t. sugar
salt and pepper
2 t. olive oil, plus 2 T.
4 T. balsamic vinegar
1 small shallot, minced
1/2 head of green leaf lettuce, washed and torn
2 small bunches of watercress (or frisee or radichio, or just more lettuce), washed, dried and stemmed
4 oz. parmesan cheese, shaved into slices with a vegetable peeler (or blue cheese or goat cheese)
3/4 c. toasted pecans (or walnuts or almonds)
1. Toss the pears, 2 t. sugar, 1/4 t. salt and 1/8 t. pepper in a medium bowl. Heat the 2 t. oil in a large skillet over med.-high heat until jus smoking. Add the pears cut side down in a single layer and cook until golden brown, 2-4 minutes. Using a small spatula or fork, tip each pear onto its second cut side; continue to cook until the second side is light brown, 2-4 minutes longer. Turn off the heat, leave the skillet on the burner, and add 2 T. of vinegar; gently stir until the vinegar becomes glazy and coats the pears, about 30 seconds. Transfer the pears to a large plate and let cool to room temperature, about 45 minutes. Cut each pear crosswise into 1/2″ pieces.
2. Whisk the remaining 2 T. oil, remaining 2 T. vinegar, remaining 1/2 t. sugar, and shallot together in a large bowl; season with salt and pepper. Add the lettuce, watercress and cooled pears and toss. Divide among plates and top with cheese and nuts.
This is a Martha Stewart Living Recipe from this last December. When some friends and I were together last year, eating these yummy

Martha's Picture, not mine
rice balls in Boston, I starting searching for a good recipe to make them. Although this one might be a little more extravagant than others, it’s also very, very good. I didn’t use grapeseed or safflower oil (just canola), and because pomegranates are out of season now, I put in small dollops of black current jam. I think lingonberry jam would also be terrific, as would probably raspberry or any other favorite. I did use fontina cheese, and it was great–melted perfectly and was delicious. But, if you’re wanting something a little more budget-friendly, cubes of mozzerella would also be good, I think (just not fresh mozz). Cubes of ham would also be good, if you wanted.
Also, the recipe doesn’t specify how much salt to add, but it needs quite a bit. Definitely taste the rice mixture before refrigerating it, and add according (1 t. + more according to taste). And note the yield: it makes a lot. I refrigerated the rice mixture for a couple of days and it held up well in an airtight container.
Pomegranate Fontina Rice Balls
Makes about 50

This is a great recipe for several reasons. One, you might be sick of multigrain bread every week (me). Two, you can use ALL whole

So, this loaf is only about 50% whole wheat, but it works both ways!
wheat if you want to (think “getting rid of barrels of wheat in my basement”). Three, it has no fat in it, which when I’m on my pendulum swing towards better diet, I really appreciate. Plus, it’s delicious. I promise. It’s a pretty wet dough, but it will still rise and cook well, and it makes 3 loaves, which is a good-sized amount. A word of caution, though: there’s a little too much dough in this recipe to mix in a standard Kitchen Aid, so either 2/3 the amounts or turn it out by hand and knead, if applicable (or be willing to clean the Kitchen Aid after you’re done mixing because it gets up into the spring thingy–that’s what I usually opt to do).
Margo’s Famous Whole Wheat Bread
2 1/2 c. warm water
1/2 c. powdered milk
2 T. yeast
1/2 c. honey
1 c. mashed potatoes (or reconstituted potato flakes)
1 c. applesauce
2 eggs (ohh–I guess there is a little fat; I forgot about these)
1/2 c. wheat gluten (this is optional–you can buy this in the Health food store/aisle–Arrowhead Mills makes some. It helps the bread rise better and if you’re using 100% whole wheat, I would recommend using it).
2 T. salt
9 c. whole wheat, approximately (I usually do 1/2 wheat and 1/2 white)
Dissolve yeast in 1/2 c. of the warm water with a pinch of sugar in the bottom of a mixing bowl. In five minutes, add the remaining water and the rest of the ingredients through the salt, plus 2 c. of flour. Mix (by hand or mixer) for 1-2 minutes until creamy, then continue to add the remaining flour 1/2 c. at a time until the dough comes off the side of the bowl (adding the flour should take about 3-4 minutes). Knead the dough by mixer or by hand, 5-6 minutes in a mixer, 10-12 minutes by hand. This is a wet dough, so you may find yourself adding more flour. When the dough is smooth if you brush your finger across it but sticky when you touch directly, and it comes together in a good ball, place it in a greased container and let rise until doubled, 1 1/2-2 hours.
Turn the dough out and divide into 3 parts. Form each section into a rectangle, then starting at the shorter end, roll the dough up tightly and pinch the ends. Place the pinched side on the bottom of a greased (or cooking sprayed) bread pan. Cover lightly with plastic wrap and let rise again for 1 hour. Twenty minutes before baking, preheat oven to 350. You can dust the loaves with a little flour before throwing them into the oven (see pic) or not. Bake the loaves for 38-45 minutes.

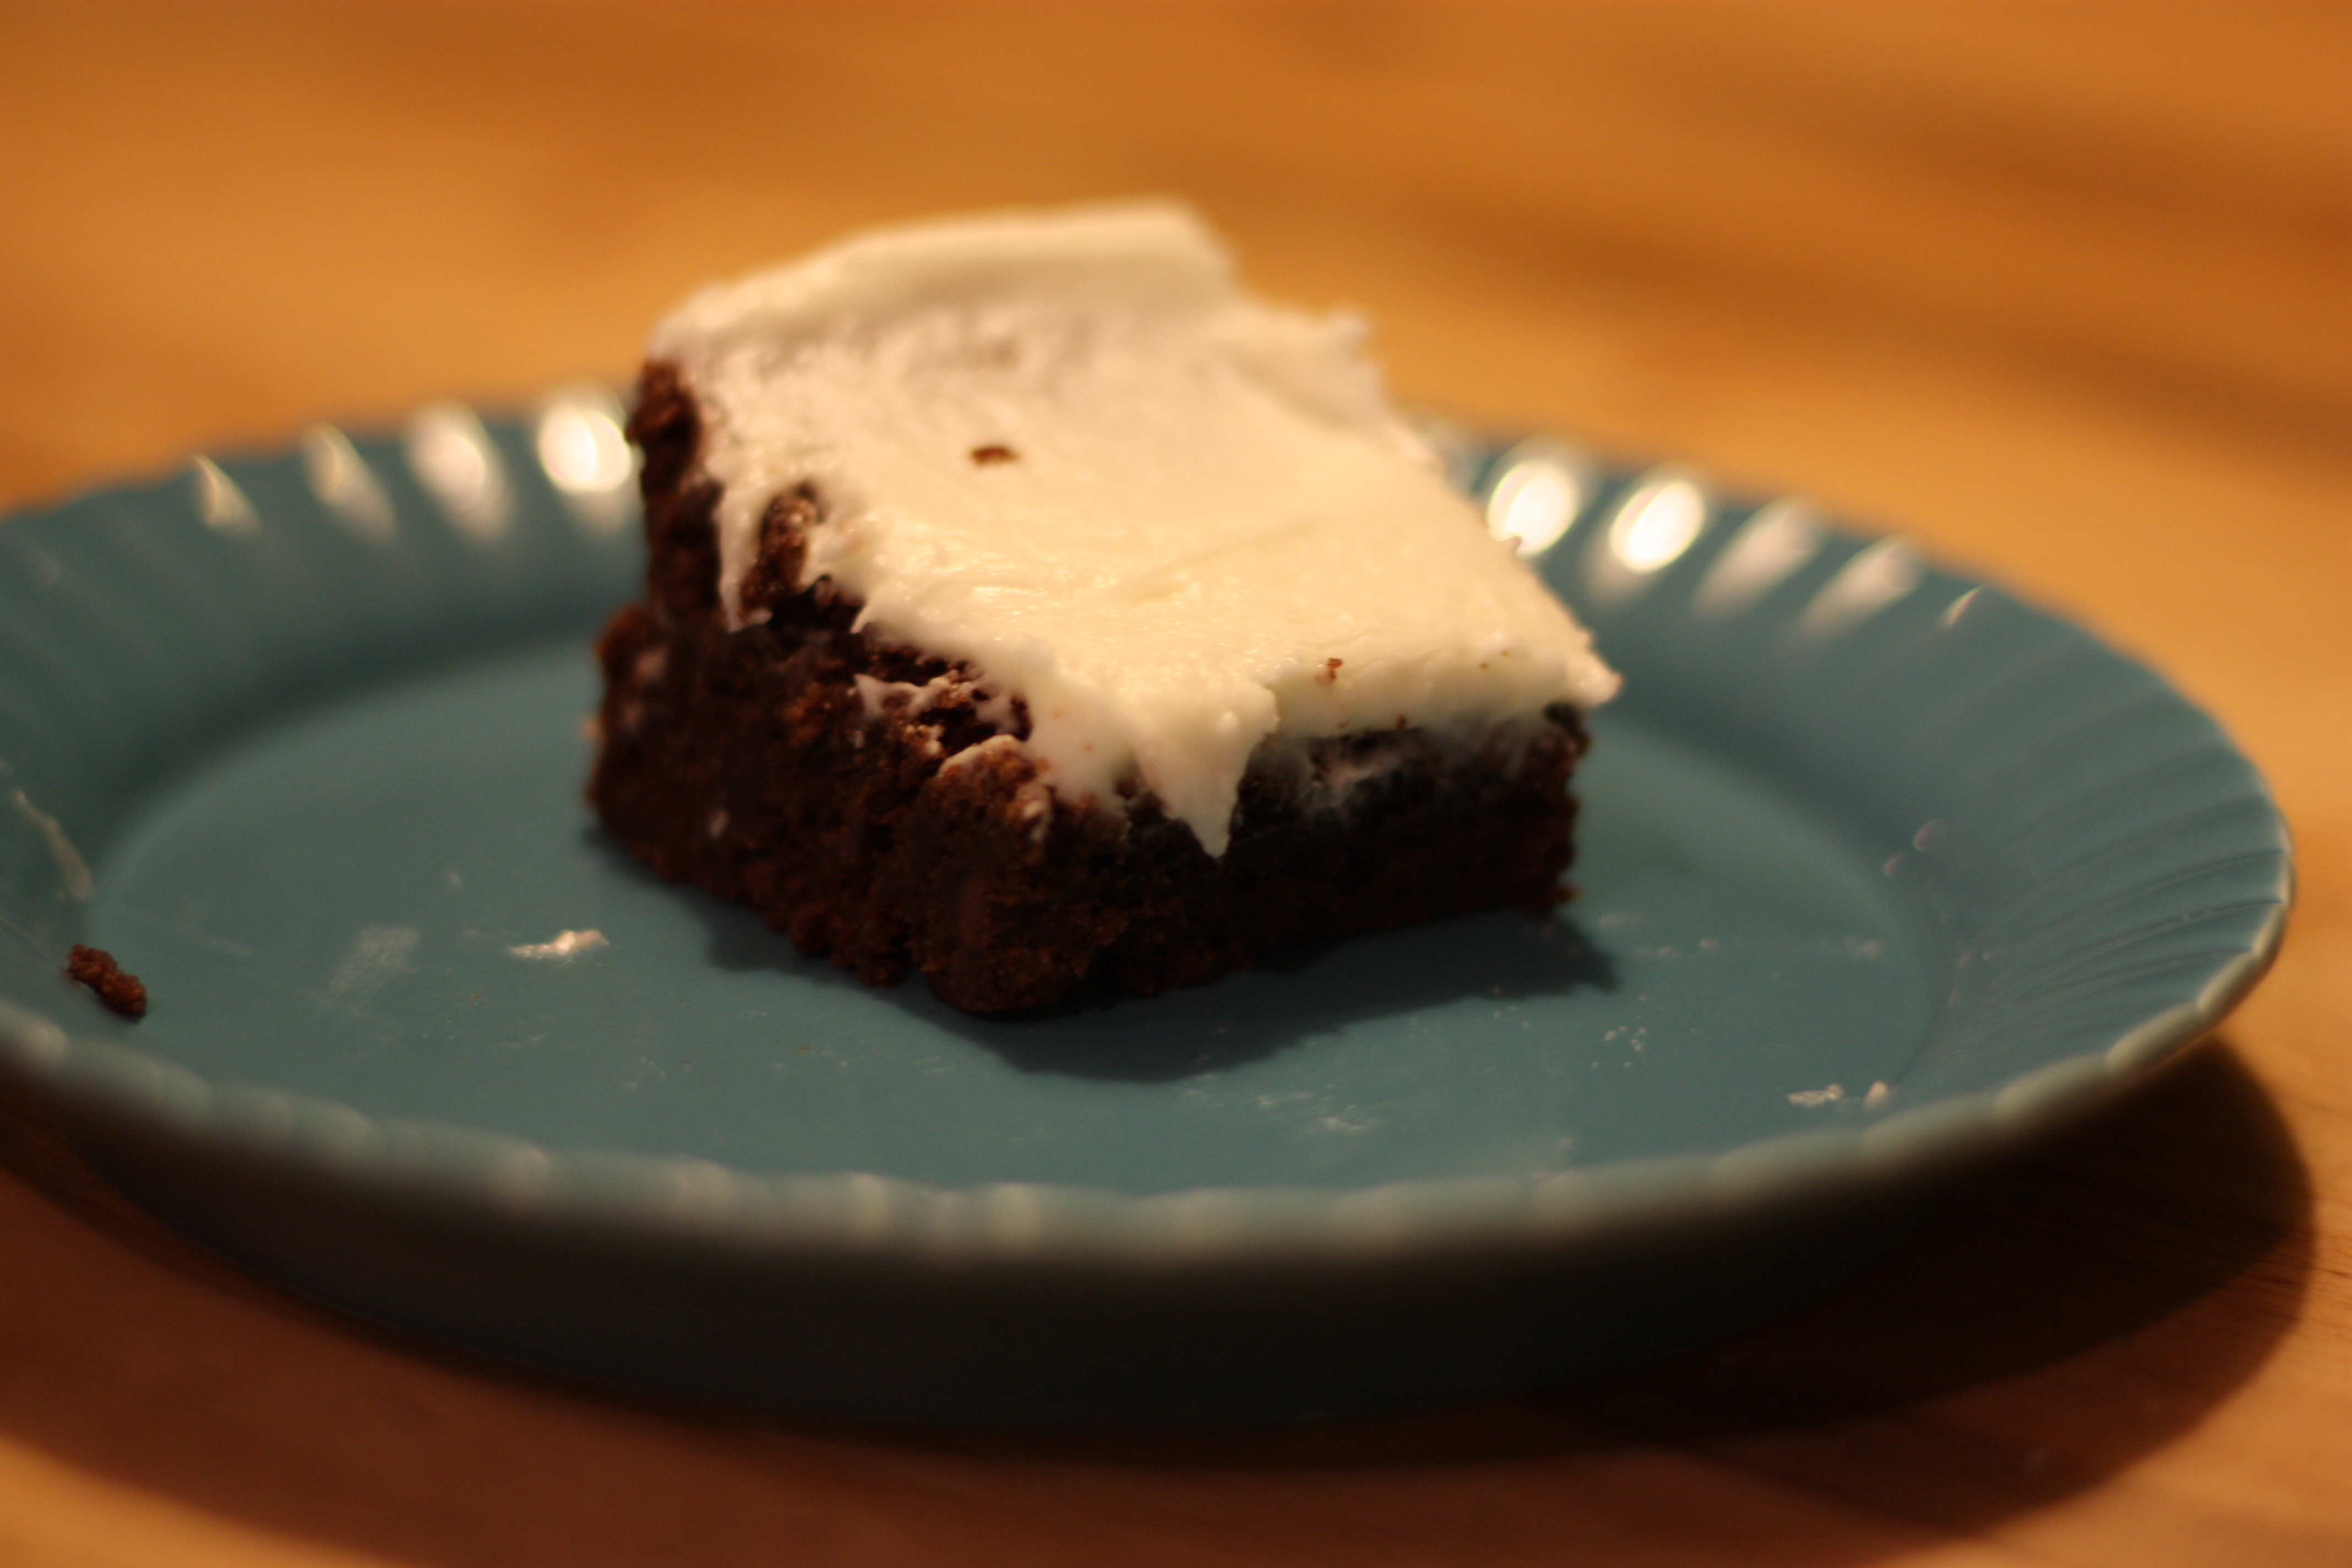 I guess I figure mint brownies are a natural St. Patty’s dessert not because of any Irish affliliation, but because of the green frosting. These are my two favorite. I post the BYU mint brownie recipe because I fell in love with mint brownies there. Although this is supposedly the real deal (from an alumni magazine), I don’t know that it tastes the same as the sheets that come out of BYU catering–but a good enough substitute.
The second recipe is from a family cookbook and I think it’s fantastic. Definitely more butter! The more the merrier . . . Of course, you can simply make a box of brownies and frost them with these frostings, and have this dessert a little faster (FHE treats this week for us). The picture above is of the BYU mint brownie, minus the chocolate frosting on top, and the green food coloring in the mint frosting.j
BYU Mint Brownies
1 c. butter
1/2 c. cocoa
2 T. honey
4 eggs
2 c. sugar
1 3/4 c. flour
1/2 T. baking powder
1/2 t. salt
1 c. chopped walnuts
Mint Icing
5 T. butter
dash of salt
3 T. milk
1 T. light corn syrup
2 1/3 c. powdered sugar
1 t. mint extract
1-2 drops mint food coloring
Melt butter and stir in cocoa. Allow to cool. Add all ingredients except nuts, and mix well, then gently fold in the nuts. [These instructions are the ones from the BYU recipe. I mixed the dry ingredients in one bowl, then combined eggs, sugar, cooled cocoa mixture and honey in another, then combined.] Pour into a greased 9 x 13 pan. Bake at 350 for 25 minutes and cool. [Note: at 25 minutes yesterday, these didn’t seem done, so I let them go an extra 7 minutes, and the end result was pretty dry. I think they must need to be pulled out at 25 minutes to be the right consistency, even though they’ll seem underdone.]
For the icing, soften butter. Add salt, corn syrup, and powdered sugar. Beat until smooth and fluffy. Add extract and coloring. Mix. Add milk gradually until the consistency is a little thinner than cake frosting. Spread mint icing over brownies. Place brownies in the freezer for a short time to stiffen the icing. Remove from the freezer and carefully add a layer of chocolate icing (if desired).
Diane’s Chocolate Mint Dessert (aka Brownies)
1 c. flour
1 c. sugar
1/2 c. butter, softened
4 eggs
1 t. salt
1 1/2 c. Hershey chocolate syrup
Heat oven to 350. Greae 9 x 13 pan. In a bowl, combine flour, sugar, butter, eggs and syrup. Beat till smooth. Pour into pan and bake 25-30 minutes. Cool.
Mint Cream
2 c. powdered sugar
1/2 c. softened butter
1 T. water
1/2-3/4 t. mint extract
3 drops green food coloring
Combine all mint cream ingredients and beat until smooth. Spread on cooled brownies and refrigerate until cold (1-2 hours).
Chocolate topping
6 T. butter
1 c. chocolate chips
Melt butter and chocolate chips over low heat or in the microwave at 30 second intervals. Pour over chilled dessert and cover and chill 1 hour.

I don’t know what these cookies are called, so I kind-of made up this name. In my America’s Test Kitchen book, they call them Peanut

Don't these take you back?
Blossom cookies, but I had never heard that before, and in fact, skimmed over the recipe several times before I looked at it. When I did look at it, I actually preferred an older recipe I had for these cookies, which came from my second cousin. This recipe below is super reliable, and tastes just how I want these cookies to taste. The Test Kitchen recipe is similar, but blends a cup of peanuts with the flour before adding it to the cookies–I don’t need that many peanuts for my taste. The suggestion of the Test Kitchen that I did like, though, is to put the Hershey Kiss on the cookie 1-2 minutes before they have finished baking. When the cookies cool, the interior of the kisses stay soft, which is a nice touch, and they have a nice sheen. This recipe yields about 24-28 cookies.
Peanut Butter & Kisses Cookies
1 3/4 c. flour
1 t. soda
1/2 t. salt
1/2 c. butter, softened, but not too soft (1 stick)
1/2 c. peanut butter
1/2 c. sugar
1/2 c. brown sugar
1 egg
1 t. vanilla
1 package Hershey Kisses, unwrapped
Preheat oven to 375. Get out a cookie sheet, but there’s no need to grease it. In a small bowl, whisk flour, soda and salt. In another bowl, cream butter, then add peanut butter and beat until combined (1 minute). Add sugars and cream for 2-3 minutes. Then add egg and vanilla and mix another 30 seconds, until combined. Add the dry ingredients and mix until the flour has been absorbed, making sure to scrape the bottom of the bowl.
Roll the dough into balls the shape of walnuts, and then roll the balls in granulated sugar and place on cookie sheet (they will spread to be about 1 1/2″ as they bake). Bake for 10-12 minutes, until lightly browned. After removing them from the oven, place a kiss in the middle of the cookie. Wait one minute, then twist the kiss into the middle to secure. (Or see note above for the Test Kitchen’s alternative.)

We made this last weekend when we got together with friends, and we were surprised out how well it turned out, especially ’cause it’s made mostly with pantry supplies (I love things that are easy to keep on hand–it seems like I’m always needing to find something to make for a party and I don’t have enough time to get to the store beforehand. And between this and the quesadillas, I now have two reasons to keep roasted red peppers on hand!). The dip’s sweeter than I would’ve expected, but it tasted great with salty crackers and the other veggies we had. This recipe comes from The New Best Recipe cookbook.
Roasted Red Pepper Spread
1 c. walnuts
12 oz. jarred raosted red peppers, drained, rinsed, and patted dry with paper towels
1/8 t. cayenne pepper
1/4 c, coarsely ground plain wheat crackers
3 T. juice from 1 large lemon
1 T. mild molasses
1 t. honey
1/2 t. ground cumin
3/4 t. salt
2 T. extra-virgin olive oil
Place the walnuts in a medium skillet over medium heat and toast, shaking the pan occasionally to turn the nuts, until they are fragrant, about 5 minutes. Cool the nuts on a plate.
Process the toasted walnuts with the remaining ingredients in a food processor until smooth, about 10, one-second pulses. Transfer to a serving bowl, cover with plastic wrap and chill until the flavors meld, at least 30 minutes (the dip can last 2 days in the fridge before serving). Note: you can also finely chop the walnuts and peppers and mix with other ingredients, or use your blender if you don’t have a food processor.
