Suzan’s Aebelskivers

This recipe is another morning staple at our home.  A few years ago, Aunt Suzan gave us an aebelskiver pan with her Danish grandfather’s recipe. her family makes

These are stuffed with banana, but you can't tell! You can tell where I've pricked them with the skewer when I flipped them, though.

this recipe at Christmas, but after my kids tasted them the first time, they decided we should have them regularly. My Lucy prefers the aebelskivers (which is a spherical Danish pancake) stuffed with a few chocolate chips, and Henry and I like them best with a slice of banana in the middle. I’ve tried placing jam and jelly in the middle, which is great, but a little messier. I know these pans are available online and Williams-Sonoma has them (usually, I think). There’s also many variations–you can be creative–but another one I’ve loved included placing a sage leaf in the pan first (so it was baked onto the surface of the pancake), and then stuffing them with goat cheese. Beautiful.

Aunt Suzan’s Grandpa Ruel’s Aebelskivers

3 eggs
3 c. buttermilk
6 T. melted butter (for taste) or oil (for convenience–and a little crisper, I believe)
3 c. level flour (or 2 c. all-purpose +1 c. whole wheat)
1 t. salt
2 T. sugar
1 1/2 t. baking soda (I usually cut this down by 1/4 t.)
1 t. baking powder (and I cut this one down by 1/4 t. too)
1 t. vanilla

Preheat the aebelskiver pan on medium-high heat.

In a medium bowl, combine the flour, sugar, salt, powder, and soda well with a whisk. In another bowl, whisk the eggs, milk, oil, and vanilla. Make a well in the dry ingredients, and add the wet ones, whisking until just combined. (Grandpa Ruel separated the egg whites, beat them until frothy, and folded them in after mixing the wet and the dry ingredients together. I always omit this step, because of the morning rush, but it’s worth it for the lightness in texture, if you have time!)

Spray the aebelskiver pan with a cooking spray or wipe with oil. When the pan is hot, place about 2 T. batter into each hole. When the pancake has started to firm up on the sides, insert a filling, if desired (chocolate chips, banana slice, jam). Push the filling into the center of the pancake with a skewer tip. Once the pancake releases air bubbles to the surface, about 2 minutes, flip the pancake using the tip of a skewer or a knitting needle or chopstick, so it can cook on the other side for another 2 minutes. Decrease the pan heat, if necessary, to prevent scorching. Continue to bake the rest of the batter. Serve with powdered sugar, syrup, jam, or Nutella, etc.

Makes about 40 aebelskivers.

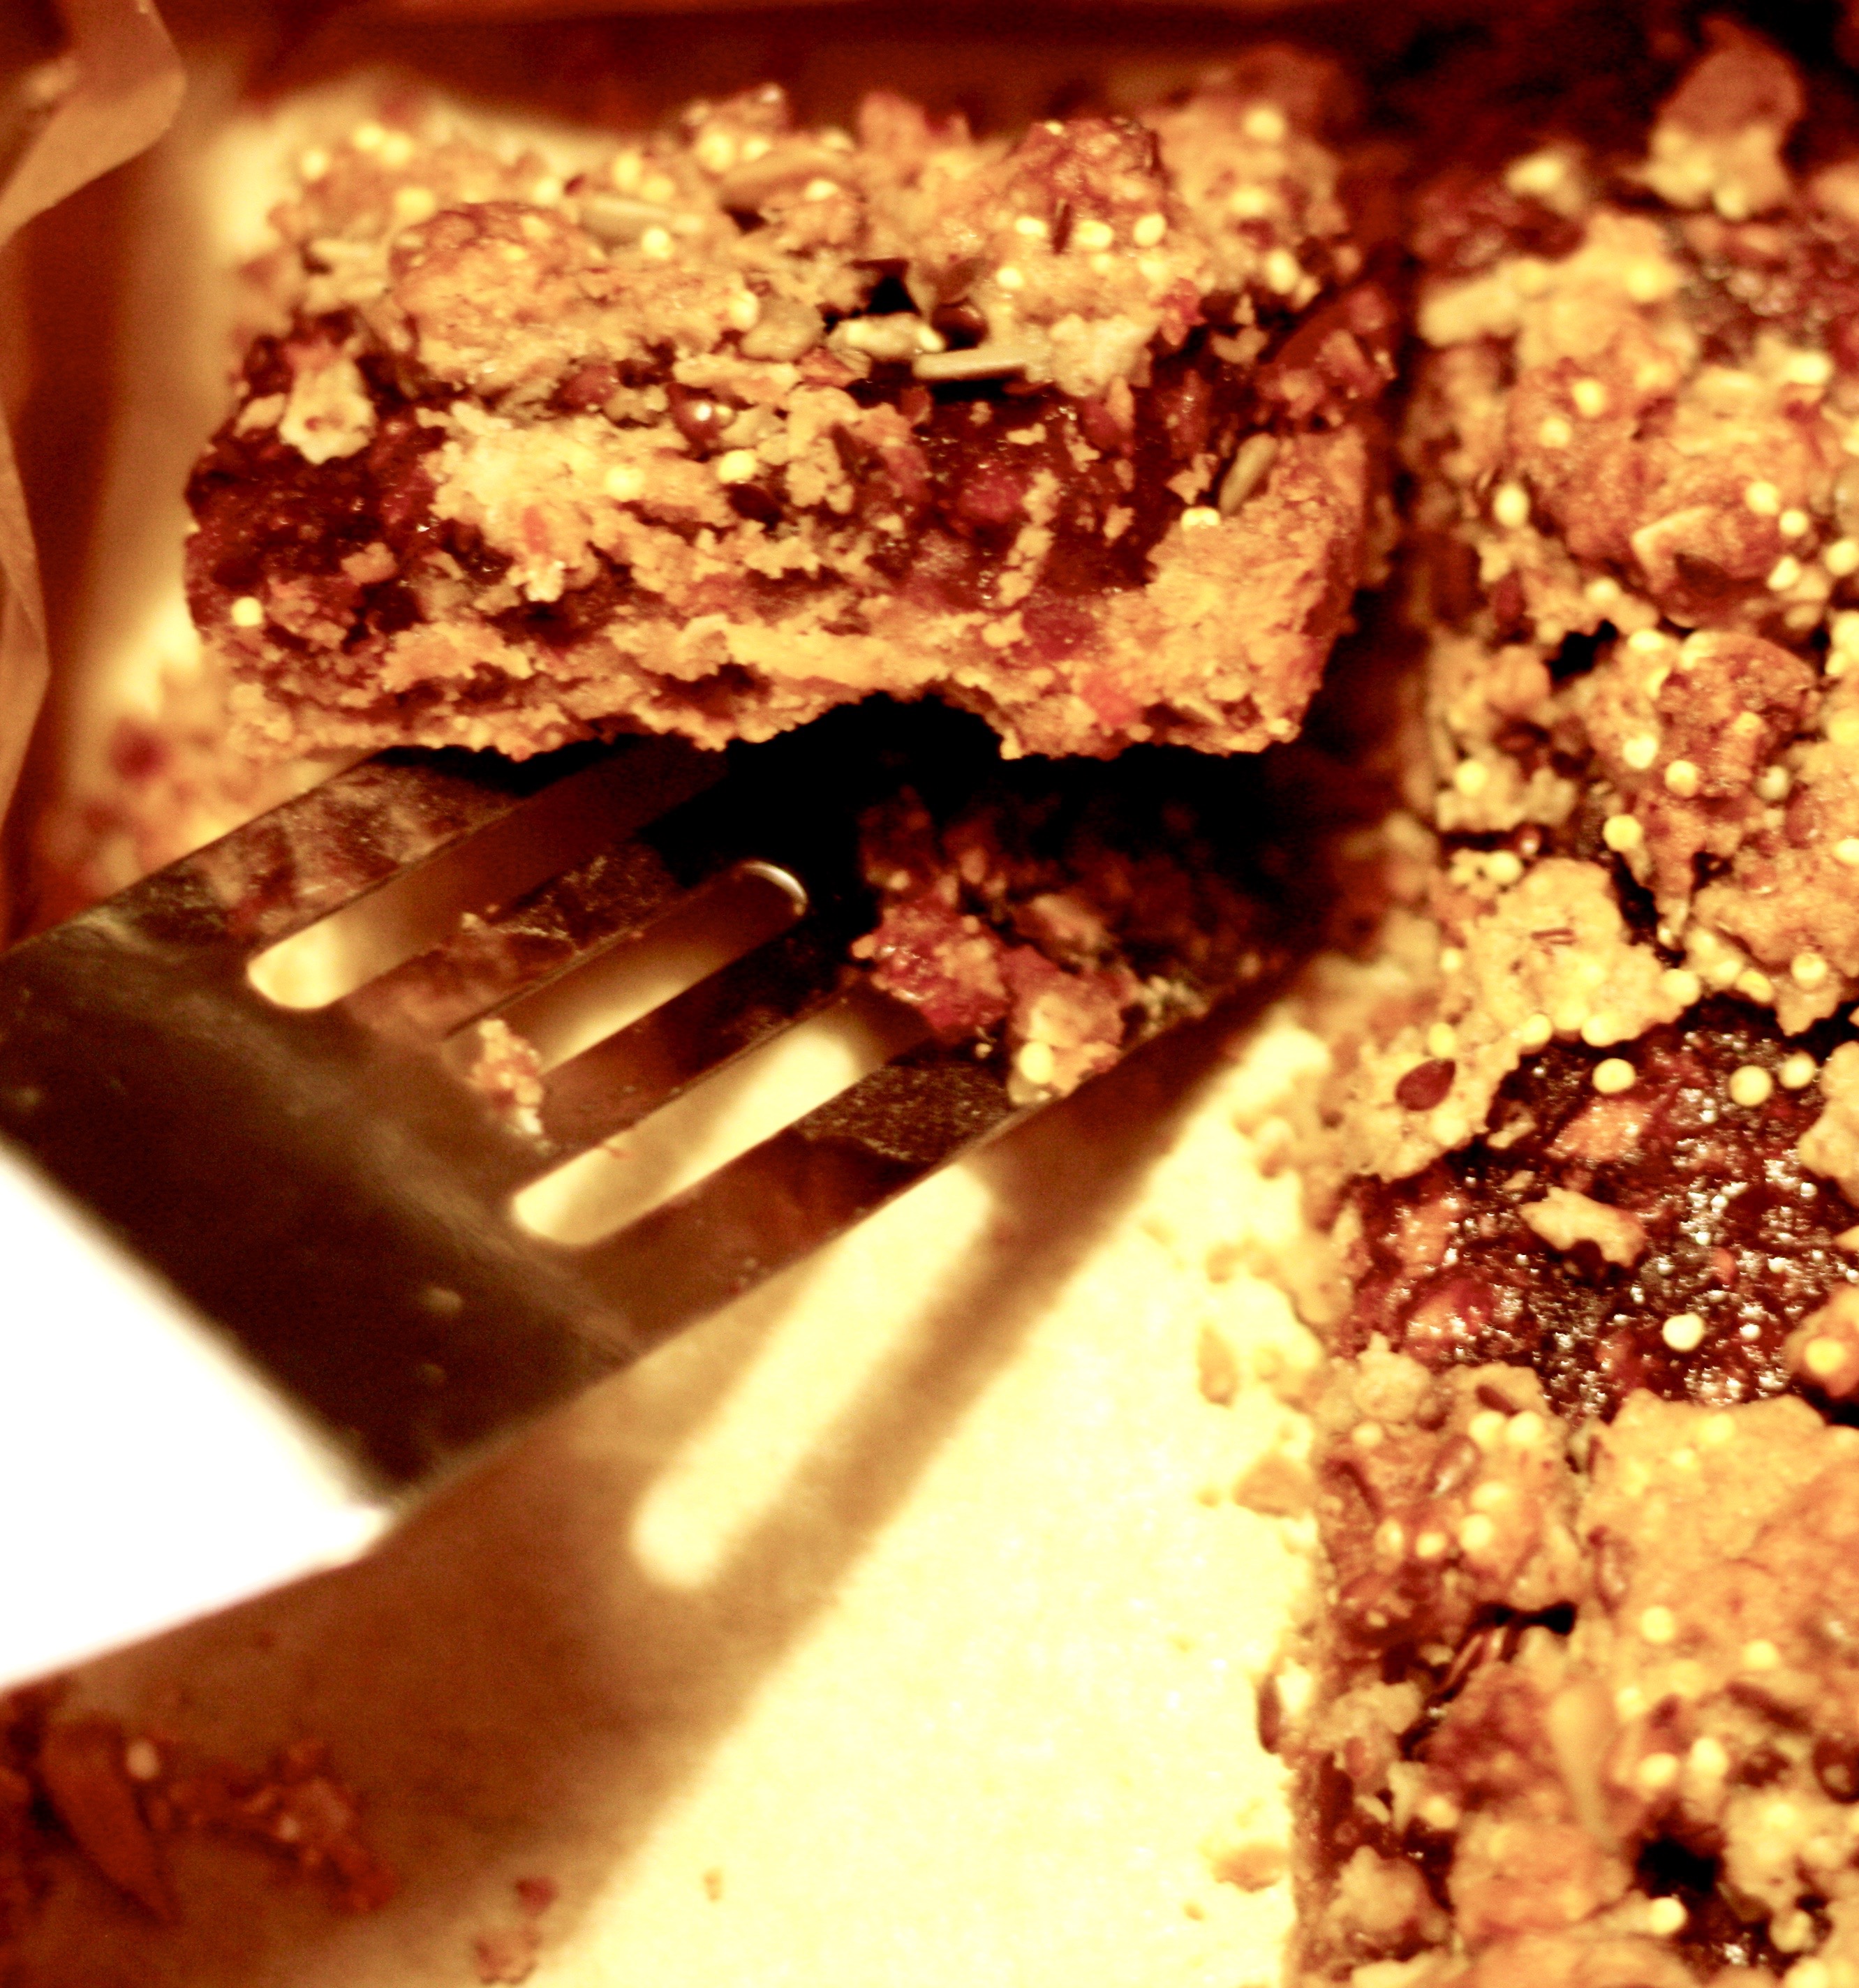
I didn't fill the whole pan because this was the end of the batter. You can get a good sense for what the pan is--a cast-iron skillet with spherical grooves for the pancake.

The Flour Bakery’s Granola Bars

flour-granola-bar
I got a new cookbook with this recipe, and since I’ve been in granola-bar mode, I thought I’d give it a whirl. I’m totally impressed with the result. The 
ingredients sound like a health food shop on their own, but incredibly, their sum is so, so delicious, and no one flavor overwhelms the taste at all. In fact, my kids inhaled these like any other cookie/bar I’ve made, so I am really happy. I thought for sure they’d turn their noses up at the seeds, but they didn’t. It’s a treat, but has lots of good stuff, too; a happy medium, and perfect for a lunch box.

The recipe’s a little on the cumbersome side, in terms of time, but definitely worth trying. You need a couple of hours (not consistent work, of course), and you probably can’t count on them for the same day unless you start cooking early in the day. The author says the bar tastes better after 2-3 days, but at our house, I don’t think they’ll last that long. Incidentally, the Flour Bakery is located in (just outside?) Boston.

Granola Bars with Cranberry Jam and Seeds

1 c. dried apples
1 c. dried cranberries
1 c. dried apricots
1/2 c. granulated sugar
2 c. water

1 c. walnut halves [I prefer pecans]
1 3/4 c. unbleached all-purpose flour
1 1/2 c. old-fashioned (not quick) oats
2/3 c. packed light brown sugar
2/3 c. sweetened shredded coconut
1 t. kosher salt
1/4 t. ground cinnamon
1 c. unsalted butter, room temperature, cut into 8 pieces
6 T. honey
3 T. flaxseeds
3 T. sunflower seeds
3 T. millet

TO MAKE JAM
In a medium saucepan, combine the apples, cranberries, apricots, granulated sugar, and water and bring to a boil over high heat. Remove from the heat and let sit for about 1 hour. Transfer to a food processor and pulse 8-10 times or until a chunky jam forms. (The jam can be made and refrigerated for 5 days or frozen for up to a month.)

TO MAKE BARS
Position a rack in the center of the oven and heat to 350. Spread the nuts on a baking sheet and toast for about 10 minutes, or until fragrant. Transfer to a plate and let cool, but leave the oven on at 350.

Line a 9×13 pan with parchment paper. In a food processor, combine the nuts, flour, oats, sugar, coconut, salt, cinnamon, and butter, and pulse about 15 times or until the mixture is combined. Turn the mixture out into a bowl and drizzle the honey on top. Work in the honey until the mixture comes together, then spread 2/3 of the mixture in the bottom of the prepared pan. Bake for 30-40 minutes or until light brown. Work the millet, flaxseeds, and sunflower seeds into the remaining 1/3 oat mixture. Cover it with plastic and refrigerate.

After the crust has baked, remove it from the oven and spread the jam evenly on top. Then, crumble the seed/oat mixture on top, breaking it with your fingers. Return the pan to the oven to bake for an additional 50-60 minutes. Let cool on a rack for 2-3 hours before cutting.

The bars can be stored at room temperature in an airtight container for a week.

The recipe yield says 12, but those would be huge! We’re going to get about 20 or more out of it.

Coconut-Lime Chicken Noodle Soup

This recipe, from Martha’s March 2012 Everyday Food, is so easy and so lovely. I can’t find it on Martha’s site yet (?!!), so I’m typing it up. The ingredients

A very white soup--the cilantro helps!

came together quickly, and the taste has the Thai sweet, salty, and sour combo. Really, really good. I served this soup with little chicken sandwiches with cucumber, sriracha sauce, hoisin sauce, and shredded green onions. Kind-of a mix of cuisines, but a fun dinner. And, if it matters for you, this soup is gluten-free.

Coconut-Lime Chicken Noodle Soup

6 oz. dried flat rice noodles
3 1/2 c. chicken broth
2-inch piece peeled fresh ginger, cut into 1/4″ rounds
1 can (13.5 oz.) unsweetened coconut milk
3/4 lb. boneless, skinless chicken breast, thinly sliced
6 T. lime juice (about 3 limes)
3 T. fish sauce
2 t. light brown sugar
1 jalapeno, thinly sliced
3/4 c. packed fresh cilantro leaves

1. Soak rice noodles according to package instructions. Drain.

2. In a large pot, bring broth and ginger to a boil over high heat. Reduce heat to medium, cover, and simmer 10 minutes.

3. Add coconut milk to broth and return to a simmer. Add chicken and simmer until chicken is cooked through, about 3 minutes. Stir in lime juice, fish sauce, brown sugar, jalapeno, and 1/2 c. cilantro; cook one minute. Stir in noodles and serve immediately, topped with 1/4 c. remaining cilantro.

Serves 4

Homemade Brown Sugar & Cinnamon Pastry Tarts

This recipe is a knock-off of Martha’s for a homemade Pop Tart. I love Pop Tarts, but they don’t taste

I haven't added the frosting yet, here . . . probably I will in the morning

that great to me anymore (preservatives? not sure), but I still want to eat one quite regularly. This recipe isn’t really a quick fix-it like the box version, but a really fun treat for a special occasion. I made them today with some friends, then we cut them into hearts for a Valentines breakfast. Martha’s recipe has a cinnamon-brown sugar filling, but we did jams as well, and they look great! Incidentally, make sure to note that you add 5 t. water to the filling, not 5 T., like I did today. Makes a big difference 🙂 This recipe comes from Everyday Food, September 2010.

Homemade Brown Sugar & Cinnamon Pastry Tarts (or Pastry Hearts)

3 cups all-purpose flour (spooned and leveled), plus more for working
1 teaspoon coarse salt
1 cup (2 sticks) unsalted butter, room temperature
1/4 cup granulated sugar
1 large egg, lightly beaten, plus 1 egg yolk, lightly beaten
1/4 cup whole milk
1/4 cup sliced almonds
1 1/2 cups confectioners’ sugar
1/4 cup light-brown sugar
1 tablespoon plus 1/4 teaspoon ground cinnamon

In a large bowl, whisk together flour and salt. In another large bowl, using an electric mixer, beat butter and granulated sugar on high, scraping down bowl as needed, until light and fluffy, about 4 minutes. Add whole egg and beat to combine. Beat in half the flour mixture, then milk and remaining flour mixture. Turn dough out onto a lightly floured work surface and gently knead to combine. Divide dough in half. Lightly flour a large piece of parchment paper and roll out 1 dough piece to a 9-by-12-inch rectangle. Repeat with remaining dough and another piece parchment. Refrigerate until firm, 30 minutes.

In a food processor, pulse almonds until coarsely chopped. Add 3/4 cup confectioners’ sugar, brown sugar, 1 tablespoon cinnamon, and 5 teaspoons water; pulse until combined. Remove 1 dough sheet from refrigerator and cut into twelve 2-by-4 1/2-inch rectangles. Spread half with 1 heaping teaspoon almond mixture each, leaving a 1/2-inch border. Brush edges with yolk; top with remaining dough pieces. With the tines of a fork, crimp edges firmly. Brush tops with yolk. Repeat with remaining dough.

Chill pastries on two rimmed baking sheets until firm, 30 minutes (or up to 1 day). Preheat oven to 350 degrees, with racks in upper and lower thirds. Bake until edges are golden, 20 minutes, rotating sheets halfway through. Let cool completely on sheets on wire racks.

In a bowl, whisk together 3/4 cup confectioners’ sugar, 1/4 teaspoon cinnamon, and 5 teaspoons water. With an offset spatula or table knife, spread glaze over pockets. Let set 5 minutes.

Morning Crepes with Blueberry Sauce

I’m trying to catalog the recipes I use most as a means of organizing myself, so I’m typing up all my go-to recipes, and hopefully someone else will enjoy them as well. I make this recipe about once a week for breakfast, and serve them with Nutella, maple syrup, jam, powdered sugar and lemon juice, homemade blueberry sauce, or lemon curd and sour cream (my favorite). The batter mixes quickly, but then takes about 20 minutes to cook. If you don’t have nonstick skillets, simply spray your skillets with cooking spray or a place a dab of butter in each to prevent sticking, about every 5 crepes or so. This recipe was adapted from The Best International Recipe.

Our Favorite Crepes

Heat two nonstick skillets over medium-high heat while preparing the ingredients.

Combine in a blender:
2 1/8 c. warm water
1/2 c. powdered milk (or 1 1/2 c. warm milk and 1/2 c. + 2 T. water and omit warm water above)
1 1/2 c. all-purpose flour (you can substitute 1/2 c. of it for wheat flour, it desired)
3 T. sugar
3 eggs
1 1/2 t. vanilla
1/4  t. salt (can do up to 1/2 t. salt, if desired)
5 T. butter, melted (I melt this in one of the skillets as I assemble the other ingredients)

Blend until the mixture is perfectly smooth. Pour approximately 2 T. of batter in each hot skillet, swirling to make sure it evenly coats the bottom of the pan. Cook for about 30 seconds, or until the edges have browned. Using a flat spatula, loosen the sides of the crepes, and then tip onto a plate. Repeat. If crepes are browning too quickly, turn down the heat. (One of my skillets cooks the crepes well at medium-high heat, while the other does better with medium heat!?!)

Quick Homemade Blueberry Sauce

1/3 c. water
2 c. frozen blueberries
2 T. sugar or agave
1 t. cornstarch
squeeze of lemon juice (optional)

Bring water to a boil in a saucepan over high heat. Once boiling, add the blueberries and the sugar. Once the mixture boils, turn down the heat to a simmer, and cook another 5 minutes, until the mixture is saucy. In a small bowl, combine cornstarch and 1 t. water, and mix well to combine completely. Add the cornstarch to the blueberries and stir until combined and thickened. Remove from heat, squeeze in the lemon juice, if using, and serve. [If you do this before you start cooking the crepes, it’s ready to serve at the same time the crepes are done.]

Homemade Graham Crackers

Every new year, it seems I renew my resolve in general to make more, and consume less, especially when it comes to boxed items at the grocery store. This year, I’m also trying to make my sugar intake meaningful rather than inevitable, so making most of what we eat is a big part of that. Anywhoo, this is a great recipe, whether you think of it as a healthy cookie or a sweet snack; I think the last batch lasted an hour before they disappeared. This recipe comes from America’s Test Kitchen’s 2009 Annual.

One more note: you can make these into cinnamon grahams by adding another 1/4 t. cinnamon to the recipe, and then sprinkling cinnamon (1 t.) and sugar (1/4 c.) on top of the crackers right before baking. Oh, and graham flour can be found at health food stores like Sunflower Market as a Bob’s Red Mill product. You can also use wheat flour, but it’s not exactly the same thing, so it will taste a bit different.

Homemade Graham Crackers

1¾ cup graham flour
½ cup unbleached all-purpose flour
½ cup sugar
1 teaspoon baking powder
½ teaspoon baking soda
½ teaspoon salt
¼ teaspoon ground cinnamon
½ cup (1 stick) unsalted butter, cut into ½-inch pieces and chilled
5 tablespoons cold water
2 tablespoons light molasses
1 teaspoon vanilla extract

Adjust oven racks to the upper-middle and lower-middle positions and heat oven to 375 degrees.

In a large bowl, mix flours, sugar, baking powder, baking soda, salt and cinnamon. With a pastry blender, cut in the butter until the mixture resembles coarse meal. Add 3 tablespoons of the water, the molasses and vanilla and stir until the dough comes together. If the dough seems dry, add the remaining 2 tablespoons water a little at a time. You may need to use your hands to get the dough to meld into a large ball. (Alternatively, process the dry ingredients in a food processor for 3 seconds, then add the butter and process for 15 seconds, until it resembles coarse meal. Add water, molasses, and vanilla and process till the dough comes together, 20 seconds more.)

Divide the dough into two pieces. Roll each piece out between two pieces of parchment paper to a rectangle that is 1/8 inch thick and measures about 16 inches by 8 inches. Remove the top sheet and trim the dough with a knife into a tidy 15 inch-by-7½ inch rectangle, then score it into 18 2½-inch squares. Prick each square several times with a fork. [I find it works better to score them before baking, but then to do it again after they bake. They actually break easily this way.]

Slide each piece of dough and parchment paper onto separate baking sheets. Bake until the crackers are golden brown, 10 to 15 minutes, switching and rotating the baking sheets halfway through baking. Let the crackers cool completely on the baking sheets, then break them apart along the scored lines and serve.

Store in an airtight container at room temperature for up to three days.

Makes 36 graham crackers.


2011 in review

The WordPress.com stats helper monkeys prepared a 2011 annual report for this blog.

Here’s an excerpt:

The concert hall at the Syndey Opera House holds 2,700 people. This blog was viewed about 16,000 times in 2011. If it were a concert at Sydney Opera House, it would take about 6 sold-out performances for that many people to see it.

Click here to see the complete report.

White Christmas Dream Drops

christmas-dream-drops
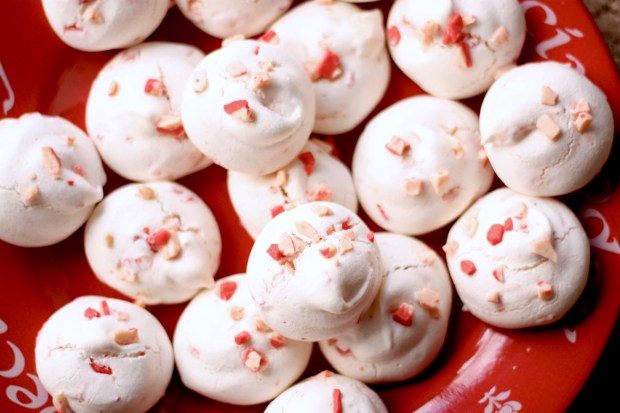
I tried a bunch of new recipes this year for Christmas, and even though I’m not a huge fan of meringues, I really loved this recipe. It was unique, beautiful, and tastes great, so I’ll definitely repeat. I also was surprised at how much my kids loved them! This recipe comes from Sunset Magazine’s December 2011 issue.

White Christmas Dream Drops

  • 2 large egg whites, at room temperature
  • 1/8 teaspoon cream of tartar
  • 1/2 teaspoon vanilla extract
  • 1/8 teaspoon salt
  • 3/4 cup sugar
  • 1 cup white chocolate chips
  • 1/3 cup plus 1 1/2 tbsp. coarsely crushed peppermint candies
  1. 1. Preheat oven to 250°. Beat egg whites and cream of tartar in a deep bowl with a mixer, using whisk attachment if you have one, just until soft peaks form. Add vanilla and salt. With motor running and mixer on high speed, pour in 1 tbsp. sugar and beat 10 to 15 seconds, then repeat until all sugar has been added. Scrape inside of bowl and beat another 15 seconds. At this point, meringue should form straight peaks when beaters are lifted. Fold in chocolate chips and 1/3 cup candies with a flexible spatula.
  2. 2. Line 2 baking sheets with parchment paper, using a bit of meringue at corners as glue. Using a soup spoon, drop meringue in rounded 1-tbsp. portions slightly apart onto sheets, scraping off with another spoon. Sprinkle with remaining 1 1/2 tbsp. candies.
  3. 3. Bake until meringues feel dry and set when touched but are still pale, 30 to 35 minutes, switching pan positions halfway through. Turn off oven, open door, and let cookies stand about 10 minutes. Let cool on pans.
  4. Make ahead: Up to 2 days, stored airtight.

My Favorite Caramel (especially for Christmas)

My friend Amy put me on to a recipe book named Caramel by Peggy Cullen years ago, and I still think her caramel recipe is my favorite, despite all the others I’ve   tried. If you are as careful as the recipe tells you to be, the recipe turns out perfectly. This is definitely one of my favorite all-time recipes. The caramels are easy to cut (well, as easy as caramel can be), and the flavor is fantastic. I usually make the vanilla bean and honey variation, because it’s my favorite, and my friends who don’t care much for honey have still loved them (the honey flavor isn’t overbearing at all).  I allow these caramels to cool in my bread pans lined with Reynolds Release foil (a gem for caramels!) and then slice and wrap the next day. Beautiful! Please note, if making this recipe above sea level, adjust the temperature accordingly: 2 degrees lower for every 1000 feet above sea level you are cooking at. So, for Provo, decrease the temperature by 9 degrees in all instances when measuring the candy. Also, it’s a good idea to have everything prepped before starting (cans opened, ingredients measured), and you will probably be standing over the stove for about 45-60 minutes. Incidentally, I’ve passed these out at Christmas, plain, but I’ve also dipped them for Valentines or other holidays. Always terrific.

Classic Cream Caramels or Honey Vanilla Bean Caramels

2 c. sugar
1/2 c water
1 1/2  c. light corn syrup (or 1 c. corn syrup and 1/2 c. honey)
1/2 t. salt
1/2 c. unsalted butter, cut into pieces
2 c. heavy cream
1 c. sweetened condensed milk
1 T. pure vanilla (plus vanilla seeds scraped from a pod, if doing the variation)
(2 c. lightly toasted walnuts, chopped, optional, but good with the honey/vanilla bean variation)

Line a 9-inch square pan with aluminum foil so that the edges of the foil are overhanging; press the foil snugly into the corners of the pan (I’m telling you, get Reynold’ Release!). Lightly butter the foil (not necessary with the Release). Set the prepared pan on a cooling rack. Place a nonbreakable glass of water next to the stove for storing the pastry brush and wooden spatula when not in use.

In a 3-1/2 or 4-quart saucepan, gently stir the sugar, water, corn syrup, and salt together (and honey, if using). Wash down the sides of the pan with a wet pastry brush. Over medium-high heat, bring the syrup to a boil. Insert a candy thermometer and boil, undisturbed, until the temperature reaches 250 degrees, about seven minutes. Wash down the sides of the pan and add the butter. Once it melts, gradually stir in 1 cup of the heavy cream; bring to a boil. In about five minutes, when the level of liquid reduces somewhat, gradually stir in the remaining 1 cup cream. Continue to boil, stirring occasionally with a figure-8 motion, until the temperature reaches 250 degrees, about 7 minutes.

Remove the pan from the hat and stir in the condensed milk. Return the pan to the heat. Stirring constantly with a figure-8 motion, boil until the temperature reaches 244 degrees (or 245, if using honey), about 4 minutes. Immediately remove from the heat and continue to stir for 1 minute. Stir in the vanilla (and vanilla seeds, if using). Pour the caramel into the prepared pan without scraping the saucepan.

Let the caramel cool and sit undisturbed, for at least 8 hours or as long as overnight; do not cover. Turn the caramel out onto a piece of waxed or parchment paper and peel off the foil. Using a large sharp knife, cut the slab into quarters. Cut each quarter into four 1×4″ bars or 16- 1″ squares (or whatever). The caramel can be wrapped and stored at room temperature for 3 weeks.