I’m teaching a breadmaking class tomorrow night (if you’d like to come, you’re totally invited! It’s just at my house with some friends. Contact me and I’ll give you details!), so I’m wondering why I haven’t put more bread recipes up here on my blog! I’ve been making bread for about fifteen years, and sometimes I still feel like a complete novice, even though I probably make between 6-10 loaves a week. It’s just amazingly complex, and yet a complete surprise every time. Usually a delightful surprise! This is a loaf I was very committed to about a year ago. Now, I’m into a new recipe (which should be posted shortly) but there are so many ways you can go about making bread, I thought I’d share a few of my favorites.
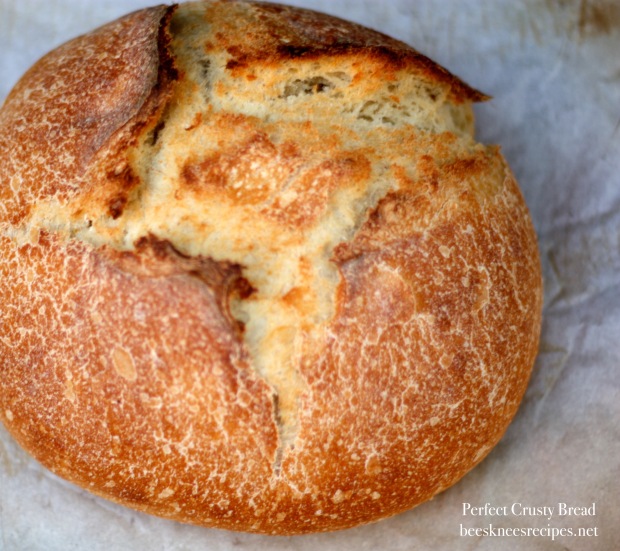
This recipe comes from King Arthur Flour, which is such a great repository of baking knowledge and inspiration. I love the look of this loaf especially. It’s a little bit of a dazzler, and almost always gives you wings (the crust on the top that splits and sprays itself away from the loaf. Beautiful!). Anyway, their instructions are great and easy to follow, so I’ll include them here as well. This is King Arthur Flour’s definition of the perfect loaf of crusty bread. I’ll just add it to one of many that I love. I’ve changed their technique, because I didn’t want to use a bread machine, like they wrote the instructions for.
KAFs Perfect Crusty Loaf
THE SPONGE (BEGIN THE NIGHT BEFORE)
- 1 cup cool water
- 1/4 teaspoon instant yeast
- 1 1/4 cups Unbleached Bread Flour
- 2 tablespoons 100% Whole Wheat Flour
- 1 tablespoon yellow cornmeal
- 1 tablespoon semolina flour
THE DOUGH
- 1 cup cool water
- 1 tablespoon kosher salt
- 1 tablespoon granulated sugar
- 1/4 teaspoon instant yeast
- 3 1/2 cups Unbleached Bread Flour
- To make the sponge: Place all of the sponge ingredients in a bucket and stir well. Let the sponge rest at room temperature overnight, or for 8 to 12 hours.
- The next day, add all of the dough ingredients to the sponge in the bucket. Mix it well with your hands to form first a soft mass, then eventually a ball that’s soft, but not overly sticky. Adjust with additional flour or water as necessary.
- Cover again and let it rest for 30 minutes. If you want to leave the dough all day, place it in a lightly greased bowl, cover the bowl, and refrigerate it.
- When you’re ready to work with it, deflate the dough gently and form it into a round ball. Place the ball, seam side-down, on a cornmeal-dusted baking sheet.
- Cover the dough lightly. Let it rise a second time until it’s puffy and about 30% to 40% larger, about 1 hour (or longer, if the dough has been refrigerated). Don’t let it rise too much, since it rises some more in the oven and, if it’s over-proofed initially, it’ll collapse as it bakes.
- Preheat the oven to 475°F. Make several 1/4″ to 1/2″ slashes or crosshatches in top of the loaf. Using a clean plant mister, spritz the loaf with water. Spray some water into the oven, and place the bread on the lowest rack.
- Spritz the oven walls every few minutes for the first 15 minutes of baking. Lower the heat to 425°F (this reduction in heat mimics the “falling oven” used by brick-oven bakers, and will give your bread an incredible crust), and continue to bake until well-browned, about 35 minutes. The interior temperature of the bread should register at least 190°F on a digital thermometer. [I use a cloche or dutch oven instead of spritzing the loaf, and I remove the lid after 25 minutes.]
- Remove the bread from the oven, and cool it on a rack before slicing.

